Since my last post I have been busy working towards the day when the engine can be started, and there is not too far to go now.
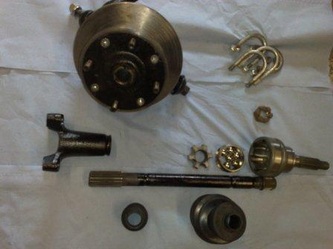
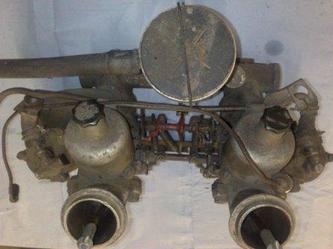
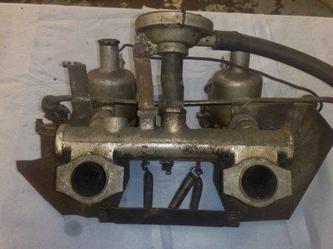
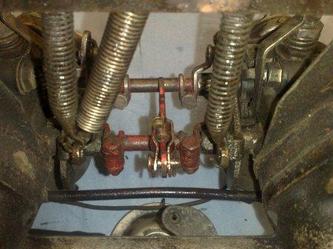
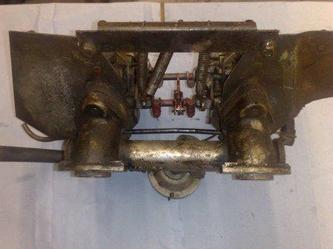
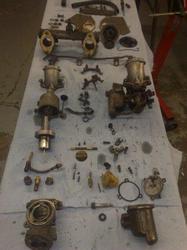
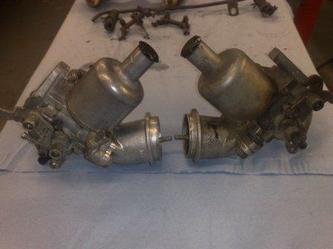
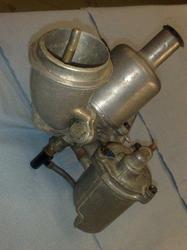
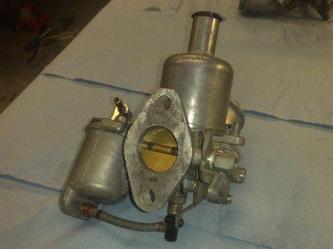
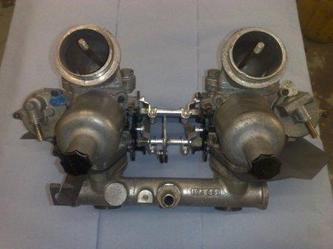
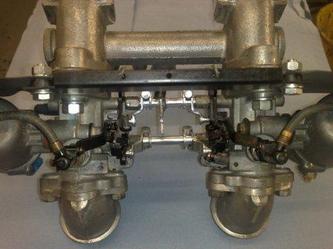
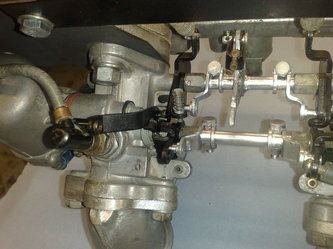
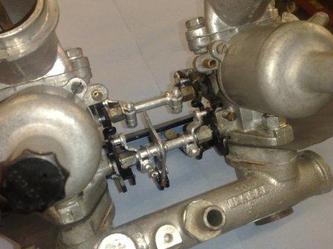
After refurbishing the Carburetors the next job was to refurbish and refit the front drive shafts and hubs.
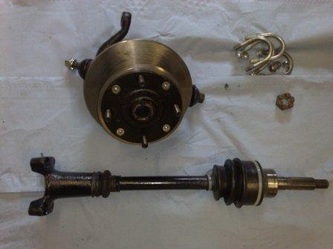
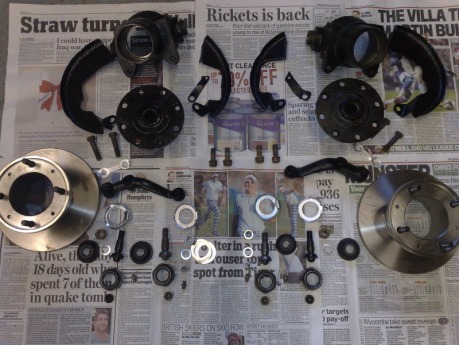
I had previously refurbished the hubs, they had required two new ball joints, new bearings and new discs, while the rest of the components had been stripped to bare metal and given a coat of rust preventing primer and engine enamel paint. So onto the drive shafts.
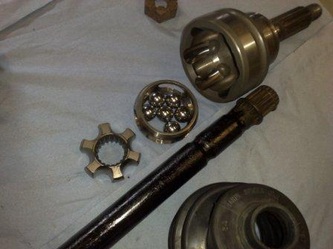
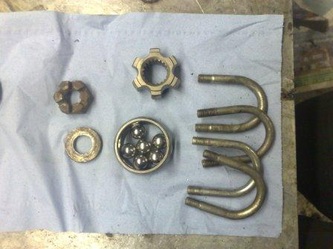
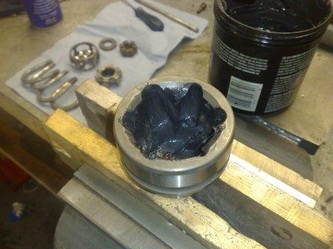
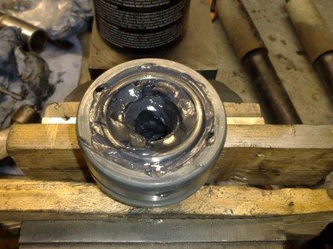
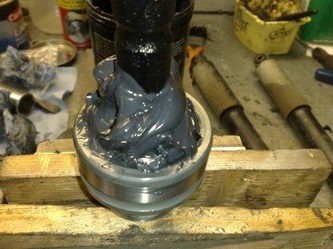
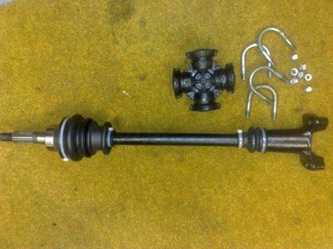
After cleaning and dis-assembly I inspected the rubber components (drive donuts, and gaiters etc) for any signs of damage, dryness or cracking and was pleased to find that I only needed to replace the small inner boots. I then inspected the ball bearings, cages and housings for any pitting or polishing, and once again was pleased to find them all in excellent condition.
So then it was a simple matter of fitting them all back together again with nice fresh grease.
Next I inspected the dampers, they were working well when I drove the car home after buying it so it was a case of checking for leaks and with none found I went about cleaning and painting them.
Finally I refurbished the brake calipers, the pistons were in good order but the outer dust seals were perished, so I bought a refurb kit and replaced all the seals, I have also replaced both the bleed nipples. I then gave them a coat of high temperature paint.
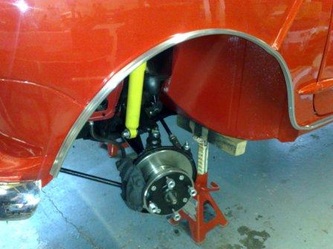
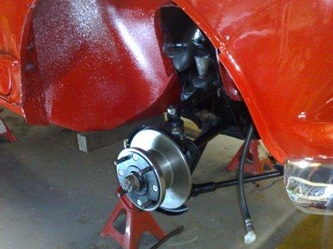
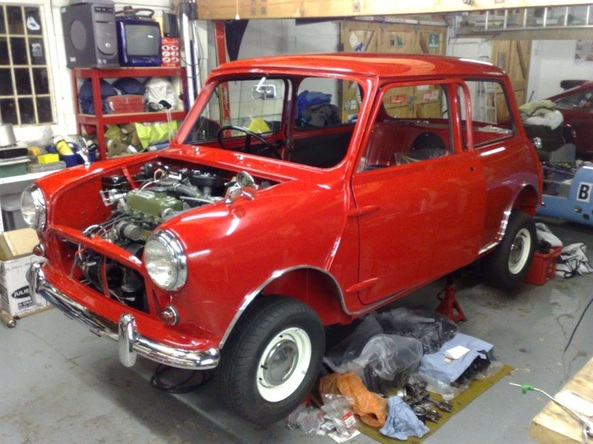
Once complete, all the components could be fitted to the car (drive shafts, hubs dampers and calipers). This is one of those satisfying jobs that really makes a difference to the look and feel of the car, with hubs waiting for wheels it suddenly feels more like a whole car than a shell.
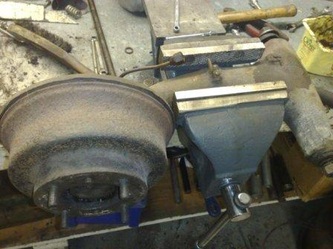
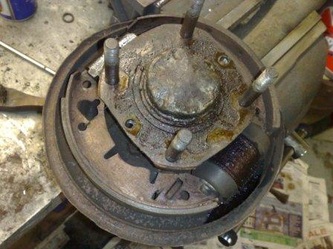
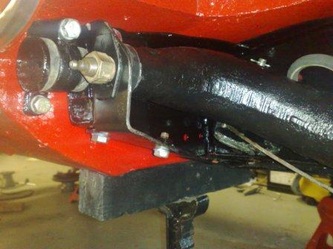
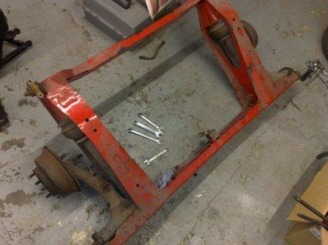
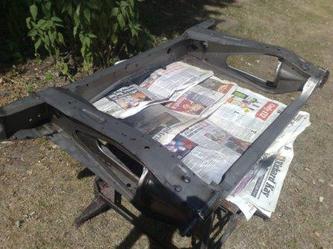
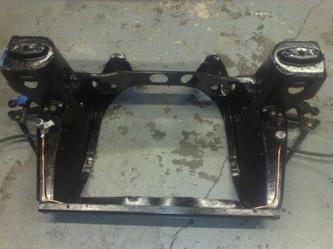
I then carried out the same operation on the rear radius arms and hubs (not essential for the engine start, but it's much easier to fit the handbrake cables before the exhaust. They are all jobs that need to be done anyway.
Unfortunately I have managed to corrupt the file of pictures showing the stripped parts and the rebuild, so below are the before and after shots.
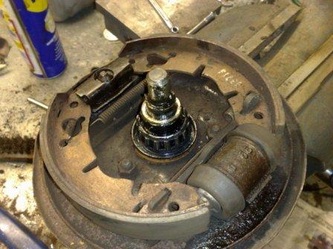
I replaced one wheel cylinder, the other was in very good condition, as were the brake shoes, I also replaced one bearing. The right hand hub nut thread was very stiff, so I have cleaned the thread on the stub axel and have ordered a new nut (it's worth noting that the hub nuts are handed, so the right one has a normal right hand thread, while the left has a left hand thread).
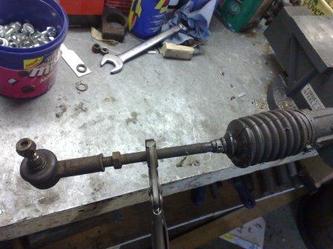
I also fitted two new pivot pin kits which rather frustratingly were supplied with very slightly undersize plain bearings. After much deliberation, the fix was to borrow a reamer from my friendly local engine re-manufacturer and carefully resize the bearings. They were only 0.2mm under size and once machined went together perfectly. I've fitted a number of pin kits in the past and this was the first time I have needed to machine them to fit.
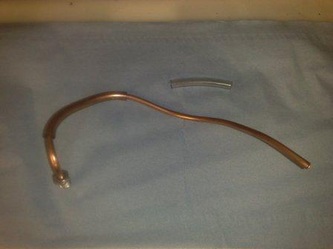
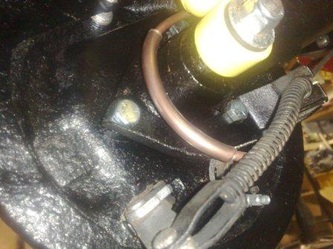
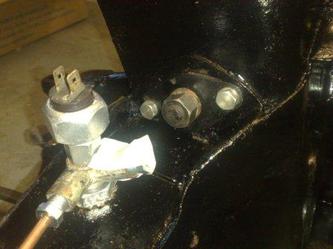
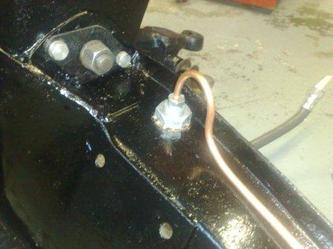
The last two pictures above show the new Copper brake lines. I have included a protection sleeve, which is a length of thick plastic screen wash tube, slid over the Copper line before the end fittings are made. This gives a little extra protection, although not original and not essential, it's a technique I was taught when preparing cars for gravel rallying and it's very easy to do, so I tend to included it when ever I fit Copper lines near to the wheels.
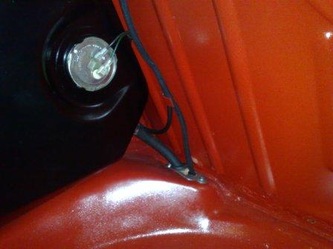
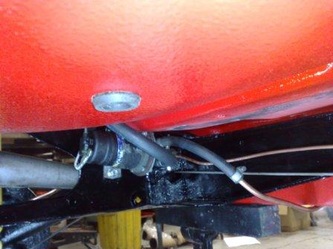
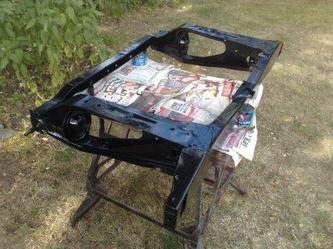
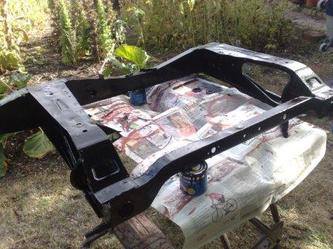
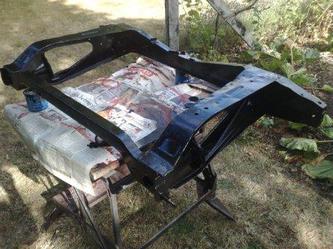
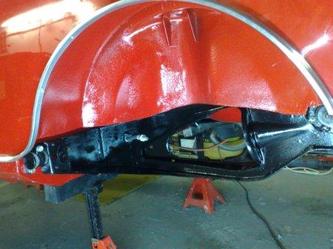
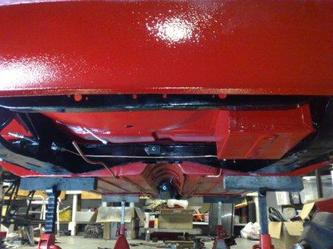
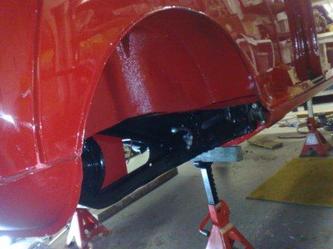
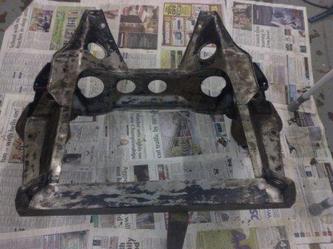
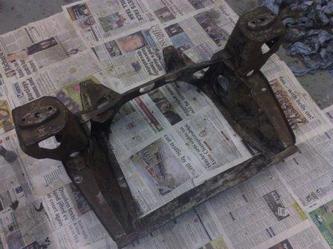
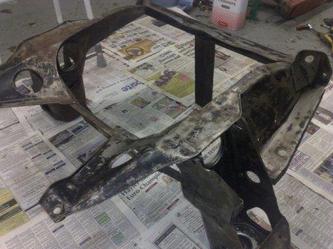
Next up I have fitted the fuel pump, being a Cooper this is a solid state electric pump fitted to the rear subframe (the non Cooper cars had mechanical pumps fitted to the back of the engine block that ran from an additional lobe on the Camshaft).
Next up I have fitted the fuel pump, being a Cooper this is a solid state electric pump fitted to the rear subframe (the non Cooper cars had mechanical pumps fitted to the back of the engine block that ran from an additional lobe on the Camshaft).
That's as far as I have got at the back of the car, there is just the exhaust left to fit back here before the engine can be run. However there is still more work to be done elsewhere before that can happen. My next port of call is the interior, where there is some wiring to be done.
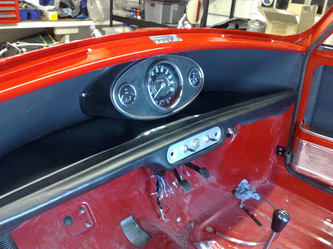
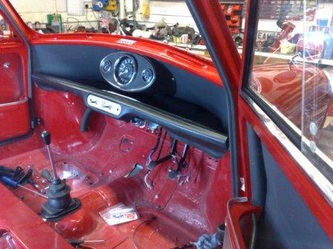
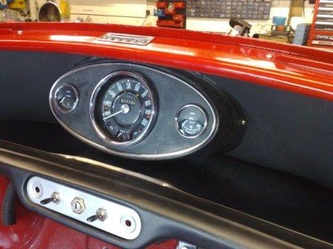
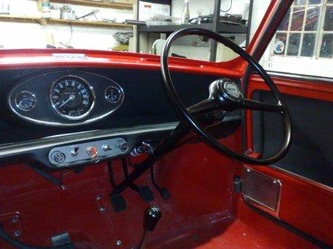
I had previously rested the binnacle in place to see how it looked. Now it's time to make the wiring connections and fit it properly, quite a fiddly job, but by no means impossible. I also fit the steering column so I can wire the column stalk multi-plug (for the indicators, high beam and horn).
I have managed to source an original steering wheel, although I'm still on the lookout for an "Austin" center, to replace the "Mini" one that came with it.
So with all this sorted out and fitted the interior is really taking shape
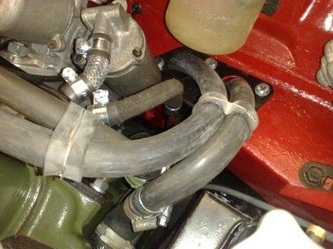
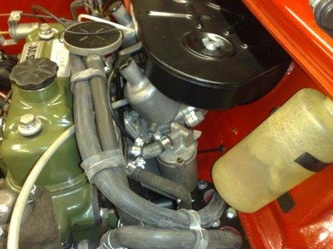
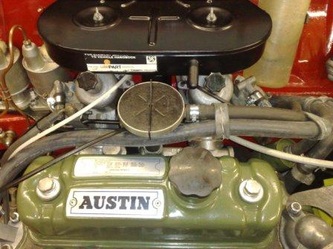
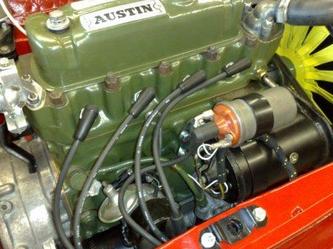
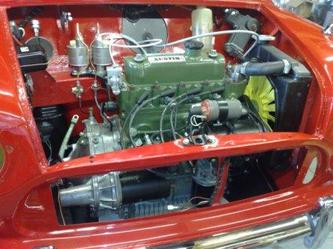
The last thing I have been up to is some plumbing and fitting out in the engine bay.
I have run the heater hoses through the bulkhead, fitted new choke and heater valve cables, a new throttle cable and routed the speedo cable. As mentioned before, I'm trying not to use plastic cable ties, so where necessary I have secured the hoses etc by using lock wire, protected with a strip of flexile rubber sheet (actually it's cut from a surplus inner tube).
I have run the heater hoses through the bulkhead, fitted new choke and heater valve cables, a new throttle cable and routed the speedo cable. As mentioned before, I'm trying not to use plastic cable ties, so where necessary I have secured the hoses etc by using lock wire, protected with a strip of flexile rubber sheet (actually it's cut from a surplus inner tube).
So all that's left now, before the engine can fire, is a little more wiring, the heater needs to be refurbished, to complete the cooling circuit and the exhaust needs to be fitted! exciting indeed!
Finally for today I have taken delivery of a set of brand new reverse rims and tyres, so I'll leave you with a picture of them balanced in place.
As always, until my next update, thanks for your time and good luck with your projects.
Finally for today I have taken delivery of a set of brand new reverse rims and tyres, so I'll leave you with a picture of them balanced in place.
As always, until my next update, thanks for your time and good luck with your projects.

 RSS Feed
