• Home
  • About Us
  • Projects
    • Grey Mini Project
    • Peugeot 205 GTI Restoration
    • 1969 Mini Cooper Project Description >
      • Blog for Mini Cooper Restoration
      • 1969 Mini Cooper Before Pictures
      • 1969 Mini Cooper During Pictures
      • 1969 Mini Cooper Finished Pictures
    • 1975 Mini Pick Up
  • News Blog
  • Contact
Born Again Cars

Front Subframe and Steering Rack Get Attention

7/23/2010

1 Comment

 
Now the body shell is back from the paint shop I'm getting excited about the prospect of starting the re-assembly process, however before I can get carriend away there is some more restoration required.

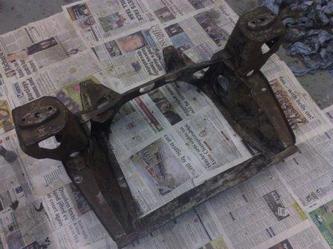
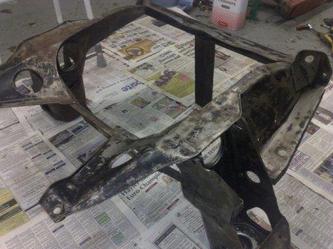
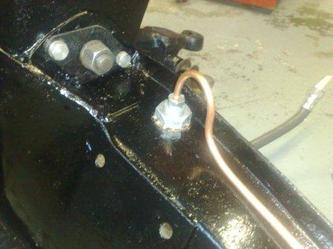
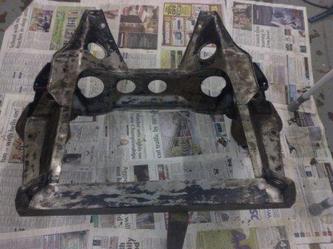
First up is the Front Subframe. Fortunately this is in remarkably good condition and will only need stripping, rust protecting and painting, here are some pictures of it all stripped down.
Picture
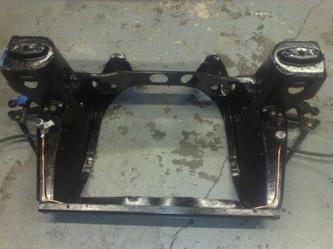
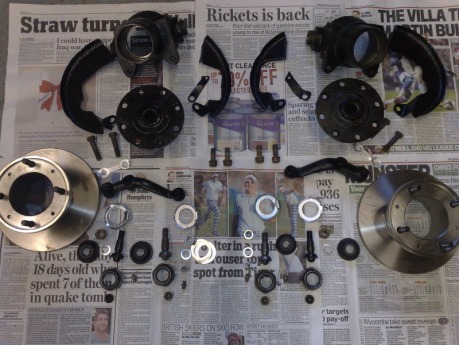
All the other components receive much the same treatment, and where necessary I have replaced parts with new components. In this layout picture you can see I have new ball joints and brake discs, I'll also fit new wheel bearings and rubber bushes as a mater of course. The hubs, drive flanges and back plates (once stripped and re-painted with tough engine enamel paint), are ready to be used again, hopefully they will last another 41 years!

Here's something that you might not know. It's fairly common knowledge that the early Mini Coopers and Cooper S cars were fitted with front discs, in place of the standard cars front drum brakes. What you might not know is that on the Mk1 and Mk1 two cars the Cooper discs were 7" diameter while those on the Cooper S were 7 1/2" parts.

From Mk3 all the Coopers (whether S or not) used the 7 1/2" set up. This means that the 7" parts are getting quite difficult to find and it's not just the discs that are unique, the calipers, brake pads and drive flanges are all matched to the 7" specification.

Once all the parts are ready I can fit the suspension and brake lines back into the subframe. I have left the hubs off for the moment because it's mich easier to handle the subframe assembly without them, so they will be fitted after the subframe is in the car.

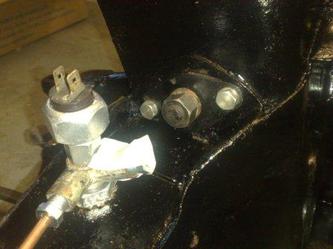
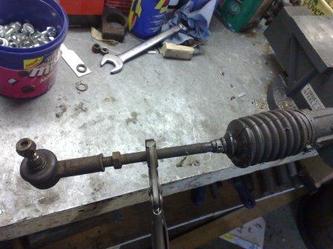
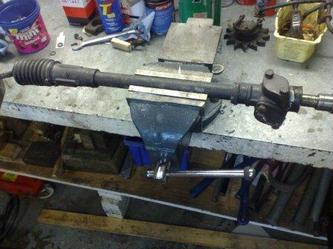
Next for attention is the steering rack, I follow much the same process as the subframe, but on the rack there are some measurements to make to ensure the right shims are fitted, and the running clearance is to specification once it's re-assembled.

Below are the "before" pictures, unfortunately the "during" and "after" pictures have been corrupted, so you'll have to wait to see just how nice and shiny I have managed to make it!

The next job I’m really looking forward to.... a chance to start fitting parts to the fresh body shell. 
1 Comment

Red Glorious Red

7/23/2010

0 Comments

 
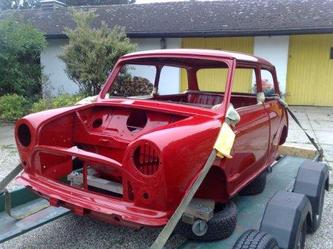
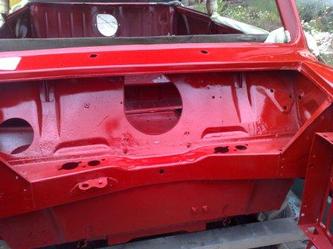
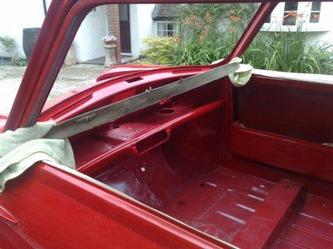
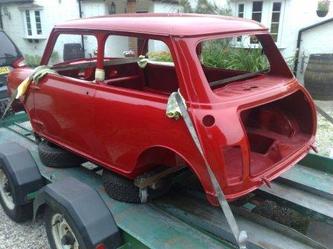
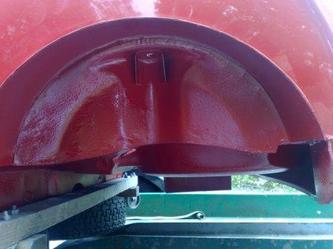
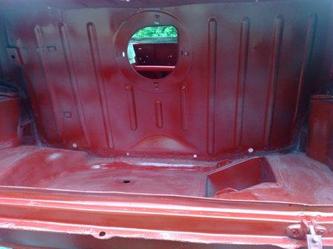
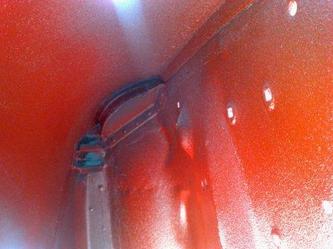
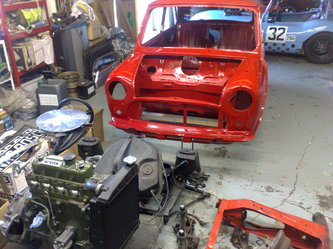
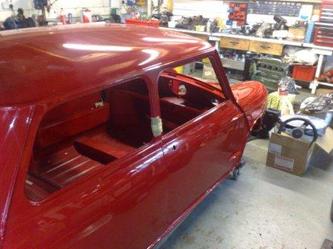
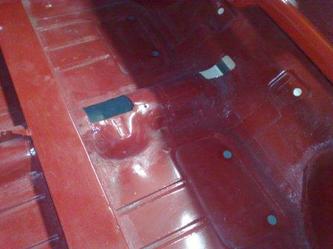
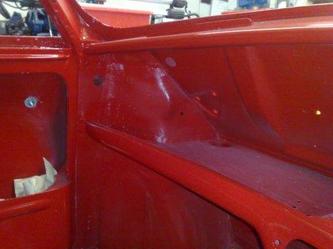
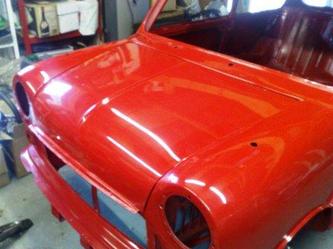
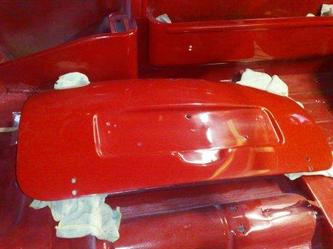
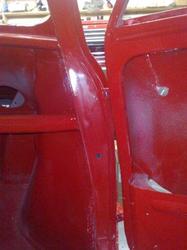
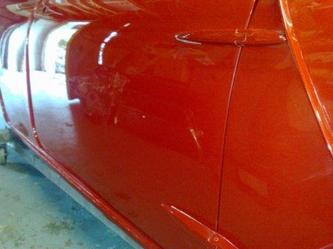
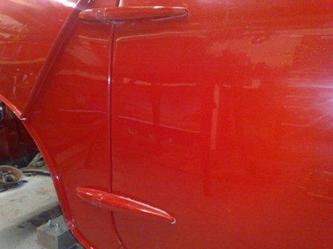
Here it is, the finished shell in all it's glory
0 Comments

Doors, Boot and a little bit more!

7/15/2010

0 Comments

 
Time is flying (I must be having too much fun!) which means it's been a while since my last blog and I have some catching up to do. I also have a very exciting development to reveal.....

Lets start with doors and boot, the easy one first, the Drivers Door......

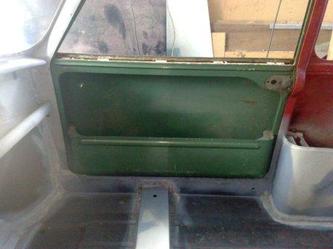
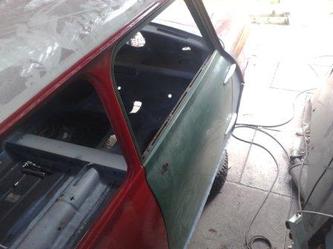
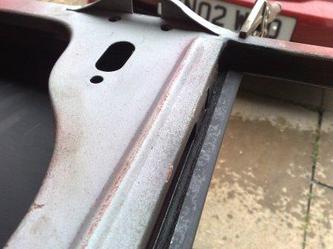
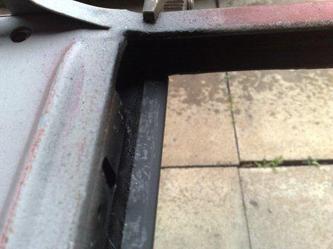
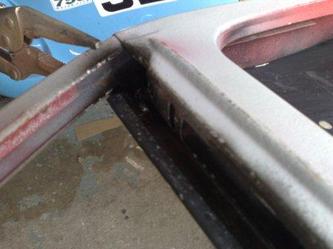
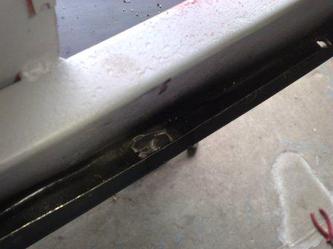
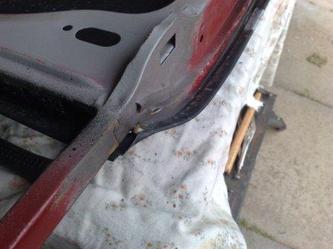
The original door was in a pretty sorry state, not only was it rotten in the usual places at the bottom, but it had also failed with a crack where the glass frame joins the body of the door. For this reason, and also because I had a very good drivers door "in stock" I decided not to repair the cars original door, but to simply replace it with the good one I had. I then spoilt myself some more with a set of brand new hinges and gaskets. The pictures below show the drivers door in place.
The passenger door was a different story, although not as bad as the driver's door, I didn't have any easy way out so a repair was in order. The rot had attacked both the frame and the skin at the bottom, very typical for mini doors, both early external hinge type and the later internal hinge ones, there are so many moisture traps, its easy to see why they are a weak link.

To make sure the repaired frame remained straight during the repair, I left the skin in place while I cut the rotten section out. I then formed a new part from sheet steel, and welded it back in place. using the original skin as a guide. 
Once the frame was solid I carefully removed the skin ready for the new one to be fitted.

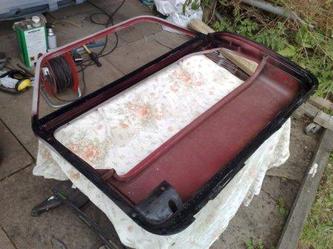
I know some people consider fitting door skins to be a bit of a black art, but there really is nothing to be scared of. With a bench covered in a protective layer of old carpet and some old fashioned patience, there is no reason your new skin won't be as good as the original.

I have to say though, I don't use a special folding tool to form the edge as these tend to mark the skin on the outside as they brace and leaver against the vulnerable surface. I use a flat panel hammer and a dolly wrapped in thick cloth and gaffer tape (effectively giving me a nearly solid 'dead-shot bag').

The first job however is to add a bead of fixing sealer. I used a product called "Stix-All" for the first time on this door and I have to say I was impressed. It’s a non shrinking sealer / adhesive recommended for bonding metal parts (as well as almost everything else!


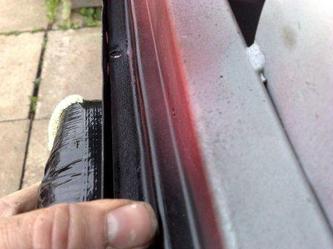
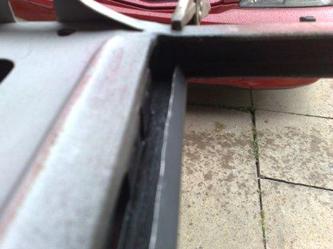
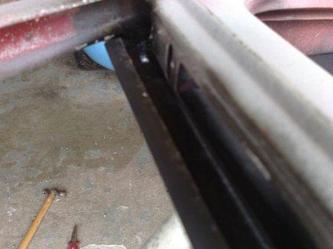
Now it's time to get the skin in the right place, for this I offer the frame up to the body, and hold the skin in place with some grips (with protected jaws). Once I'm sure the gaps round the door are even, I tack weld the skin to the frame at the front and rear.

Then the part that requires a little patience begins, folding over the edge of the skin to secure it in place. My recommendation here is to work round the whole door in small steps, bending the flange by about 10 to 20 degrees on each pass. The corners are the tricky bit, but with care they will fold down flat and hold the skin securely.

Once folded there are a couple more welds to make at the top near the glass frame, and that's about it. 
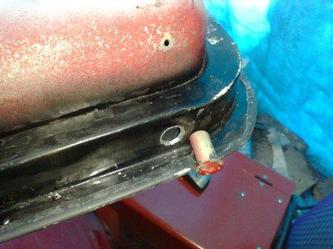
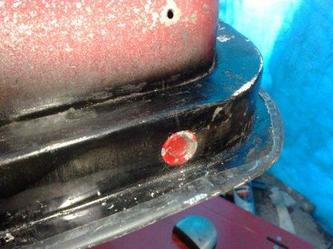
To finish off I fit the drain tubes in the base of the frame and attach the door to the shell.
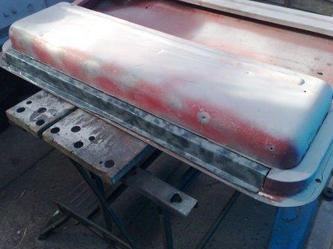
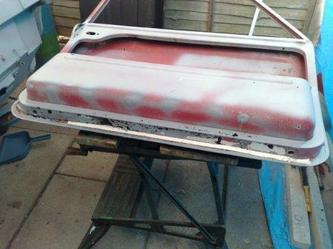
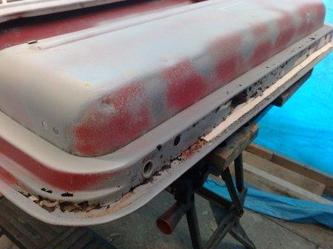
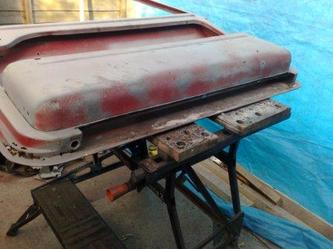
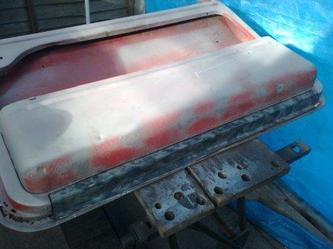
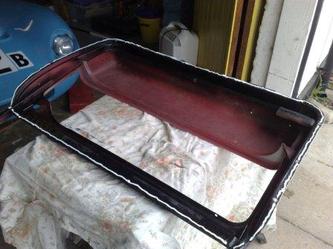
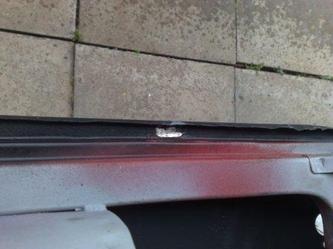
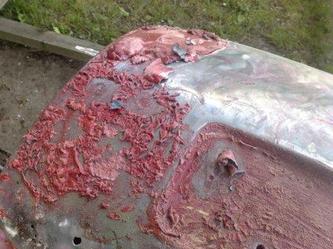
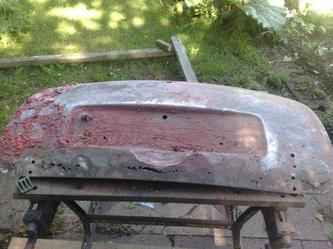
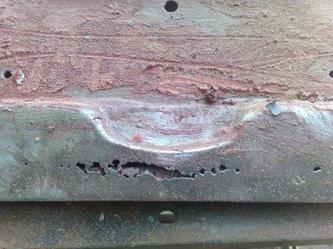
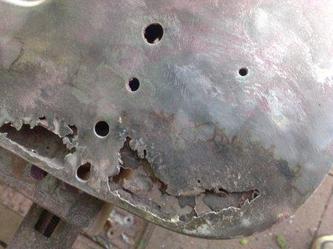
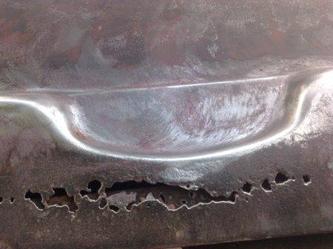
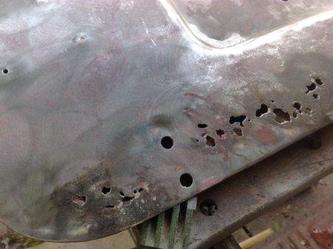
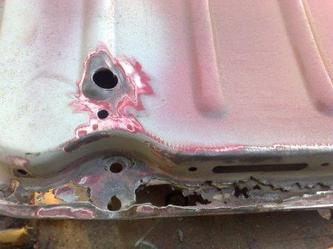
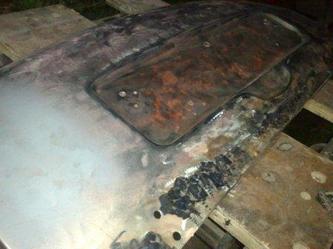
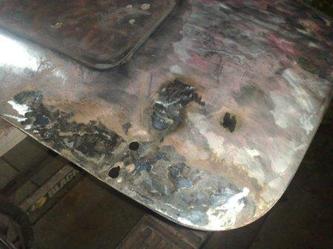
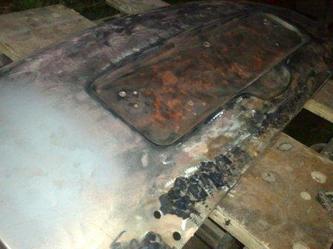
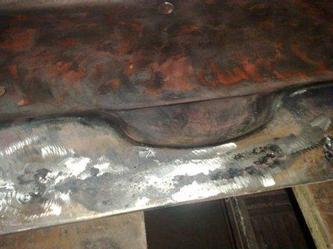
The final panel to receive attention is the boot lid. Being an early car the boot lid is a one piece part with a skin much the same as a door, and to go with it, there are much the same moisture traps. Evident here by the line of rot through the lower part of the outer skin along most of it's length.

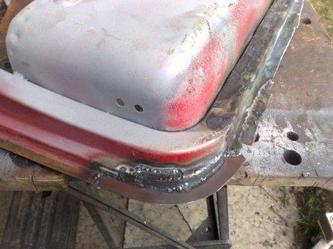
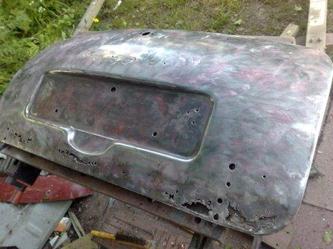
Once the paint is removed the full extent of the job is revealed. It's not bad enough to justify a new skin so I have made a repair in much the same way as the door frame. I first remove the rotten material then make small sections from steel sheet and weld them in place, before grinding back any excess to leave a finished surface ready for paint.
Picture
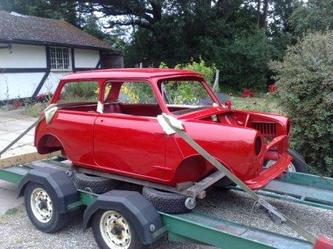
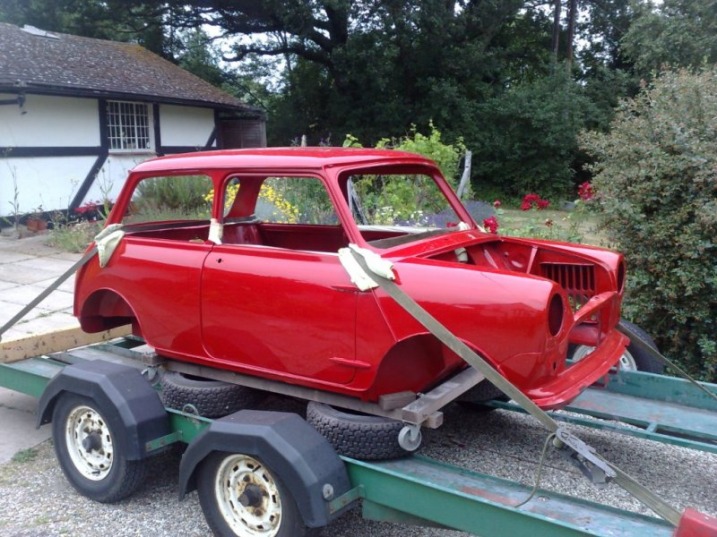
And there we have it, all finished and ready for paint. They say that you should know your limitations, and I know my limitations are reached when it comes to a good paint finish. So the shell is loaded onto the trailer and sent away to my friendly neighborhood paint shop.

I spent some time considering whether to keep the white roof or to go for the whole car in Tartan Red.


As mentioned at the start of this blog, there is a very exciting development to reveal, and in doing so, you can see my color scheme choice! My decision was made when the Heritage Certificate arrived for the car, declaring it was all Tartan Red when it left the factory in 1969.

Picture
0 Comments

    Author

    Rob Russell.
    Learn all about me, just click here

    Archives

    May 2012
    April 2011
    September 2010
    August 2010
    July 2010
    June 2010
    May 2010
    April 2010
    March 2010

    Categories

    All
    Body
    Engine
    Engine & Gearbox
    Interior
    Suspension
    The Beginning

    Click to follow the Blog  on Twitter

    RSS Feed


    Home

Powered by Create your own unique website with customizable templates.