Thanks for checking in on the blog, since my last update having installed the engine, I have had a week of holiday, but that doesn't mean there isn't plenty of Mini progress to update you with, far from it.
The first job after fitting the engine meant changing the order of my plan round, for a very good but rather unexpected reason. Originally I was thinking I would finish off everything in the engine bay before tackling the rear subframe and rear suspension. However I noticed when lifting the car back up to a higher setting on the axel stands that with the engine in place and virtually no weight in the back of the shell, the whole car wasn't actually all that stable, there was a small risk that it could end up toppling forwards! So I brought the rear subframe strip and re-build forwards, literally to balance out the assembly.
The first job after fitting the engine meant changing the order of my plan round, for a very good but rather unexpected reason. Originally I was thinking I would finish off everything in the engine bay before tackling the rear subframe and rear suspension. However I noticed when lifting the car back up to a higher setting on the axel stands that with the engine in place and virtually no weight in the back of the shell, the whole car wasn't actually all that stable, there was a small risk that it could end up toppling forwards! So I brought the rear subframe strip and re-build forwards, literally to balance out the assembly.
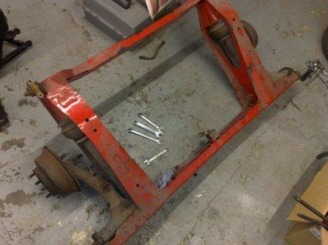
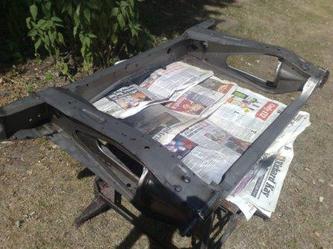
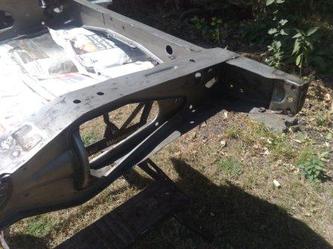
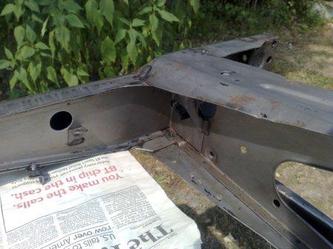
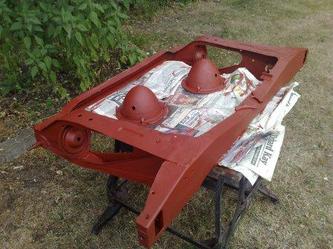
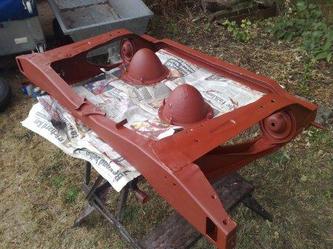
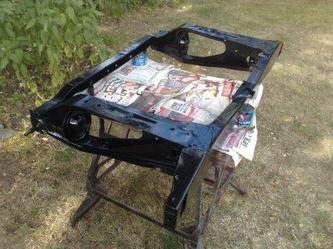
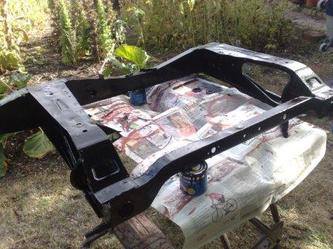
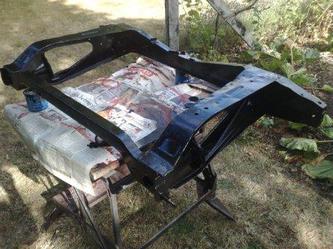
Having used the rear subframe for alignment duties during the shell welding I knew it was in pretty good condition under the rather badly applied red paint, but once stripped it became clear that this is a virtually new part, it really couldn't have been any better. So all I needed to do was make sure it stays that way for years to come. As with the front subframe I first applied a coat of red-oxide primer, and followed this with a number of coats of hard wearing engine enamel paint, you can see in the pictures below that the headlamp bowls are also getting the same treatment. On a hot summer day it was like working in an oven and the coats were dry almost before I had finished.
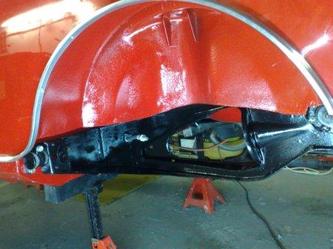
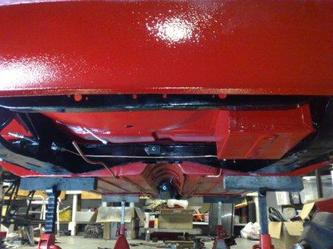
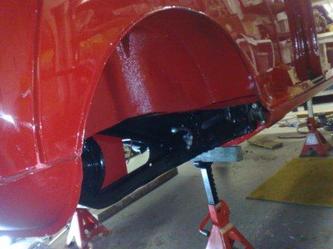
I then fitted the brake lines, the mounting brackets with new rubbers and the exhaust mounts before fitting it to the shell. Once in place the back of the car was nicely weighted down so I would be safe to continue my work at the front.
I then fitted the brake lines, the mounting brackets with new rubbers and the exhaust mounts before fitting it to the shell. Once in place the back of the car was nicely weighted down so I would be safe to continue my work at the front.
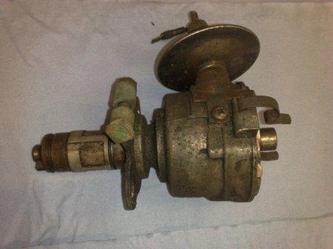
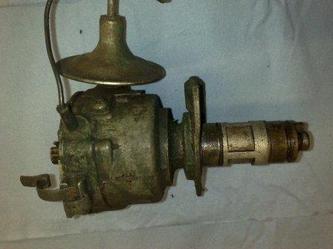
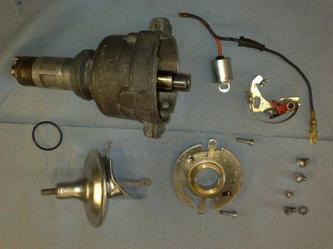
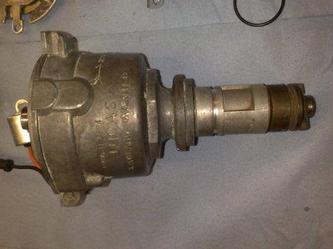
So, back to the engine bay. First up is a strip clean and rebuild of the distributor, it goes without saying that I have fitted a new set of points, a condenser a Rotor arm and a cap, the leads were new on the car when I bought it, otherwise I would have fitted a set of those as a matter of course too. It's also important to check that the vacuum actuator is working, the rubber diaphragm inside can perish, but fortunately this one is fine and just needs a clean and a coat of paint.
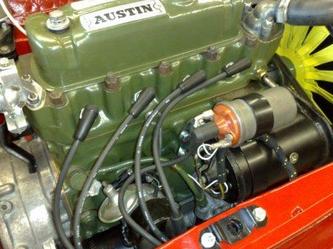
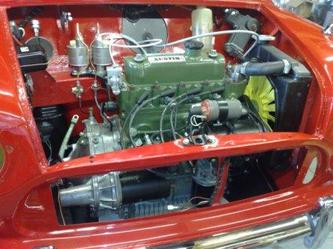
I then fit the Dynamo, as I have mentioned before the car was bought with an Alternator fitted, which was not the original specification for this period of car, so I have bought a new voltage regulator which is already fitted and this is a new dynamo. Then I have made a coil bracket to fit the coil in it's correct location above the Alternator, I did look but it proved impossible to find an original bracket, so mine is as close to original as I can get it, working from some pictures of old engines bays I found on the internet.
I then fit the Dynamo, as I have mentioned before the car was bought with an Alternator fitted, which was not the original specification for this period of car, so I have bought a new voltage regulator which is already fitted and this is a new dynamo. Then I have made a coil bracket to fit the coil in it's correct location above the Alternator, I did look but it proved impossible to find an original bracket, so mine is as close to original as I can get it, working from some pictures of old engines bays I found on the internet.
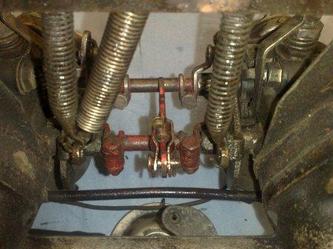
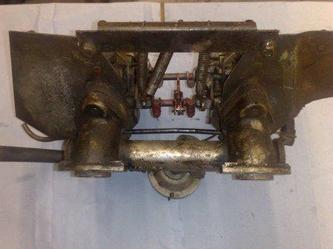
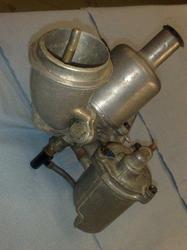
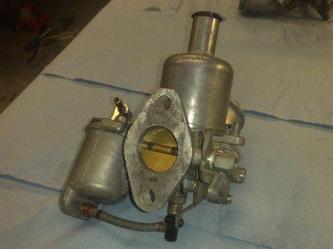
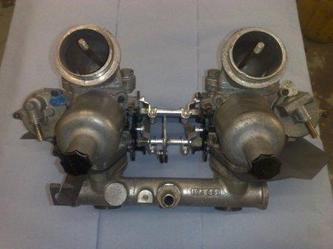
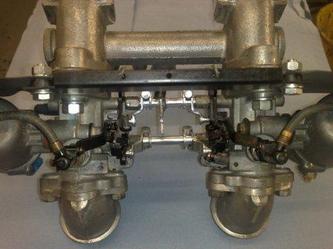
Next up is a big job, in fact it took about twice as long as I was anticipating, the Carburetor rebuild.
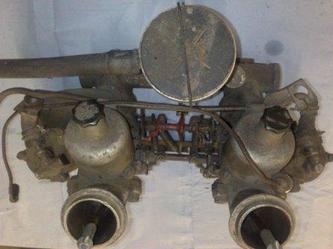
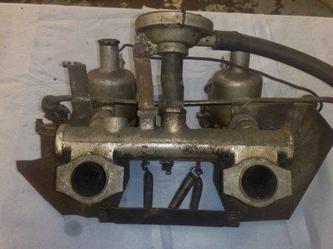
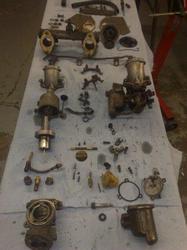
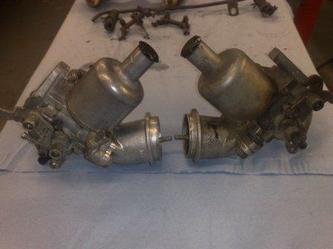
It only took longer than expected because I had forgotten just how many components there are in the carbs and they all need to be cleaned and made spotless. Plus of course, being a Mini Cooper there is a pair of them! So I had a happy couple of evenings in the degreasing tank (affectionately named the "Gunge Tank" by my daughter!).
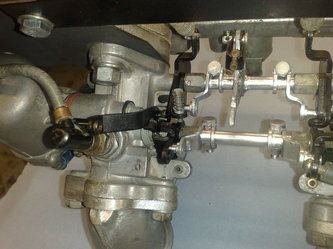
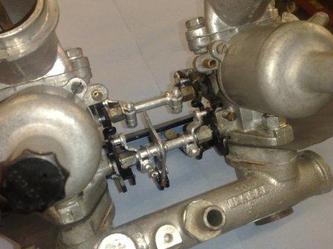
There are some parts that can wear on the SU Mini carbs, the needle and jet are examples. However it’s very difficult to measure, and almost impossible to see needle and jet wear, so I have rebuilt using the original parts and will wait to assess their condition when the engine is running. With a running engine it will be apparent if there is wear (to be honest it was running quite well when I bought it so I don't expect to have an issue). I did however find significant wear on one of the throttle plate spindles, so I sourced a replacement, which came in a kit with new throttle plate screws directly from SU. Its worth passing on that SU are still in business and still sell spare parts in kits for their original products, which for the spindle I needed, was the cheapest I found (SU is actually part of Burlen Fuel Systems now, but they can be found under SU on the web).
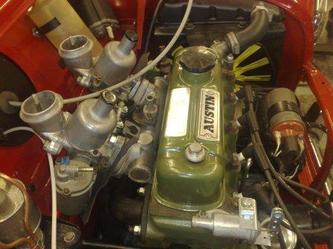
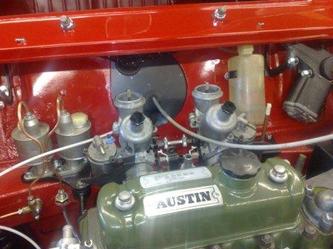
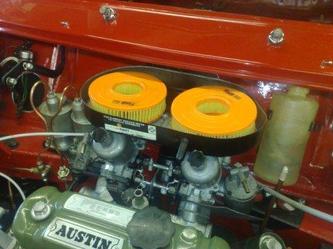
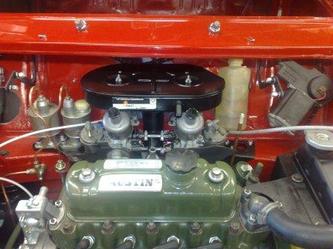
As you can see in the pictures above I tackled one Carburetor at a time, even having stripped and rebuilt numerous of these, it's still worth restoring them individually, initially this is a good idea because you always have a fully assembled part for reference, but the main reason I do it this way is to make sure I don't mix up the parts for one side into the other and vice versa. It's important to put the same components back together in the place they came from because they will have bedded in there, and you will get unwanted clearance and / or faster wear if you don't put them back into their original location. Once complete it's time to put them back onto the engine, which also secures the exhaust manifold into place. So it's all coming together. I have also rebuilt the drive-shafts and front hubs, but I'll take you through that in the next blog.
Thanks as always, for your time. Before I sign off I should let you know that the car is now advertised on E-bay. My plan is to have it finished by the end of September, so the advert will hopefully create some interest ahead of that. After all, the sooner it sells the sooner I can start the process of looking for the next project! (However for now, this one is getting very exciting!)
Thanks as always, for your time. Before I sign off I should let you know that the car is now advertised on E-bay. My plan is to have it finished by the end of September, so the advert will hopefully create some interest ahead of that. After all, the sooner it sells the sooner I can start the process of looking for the next project! (However for now, this one is getting very exciting!)

 RSS Feed
