Well it's been a long time since I last updated the Blog, but that's kind of the nature of a project like this, it can be put on the back burner when other things take over.
In fact the project has carried on, it's the blog updates that have suffered from the back burner treatment! So I plan to take you on a whistle stop tour of the last six months!
I'll split it up into bite size chunks of Engine (firing up and tuning etc) - Interior (fitting out the "soft furnishings") and Body - (the satisfaction of adding all the bright work and shiny bits etc).
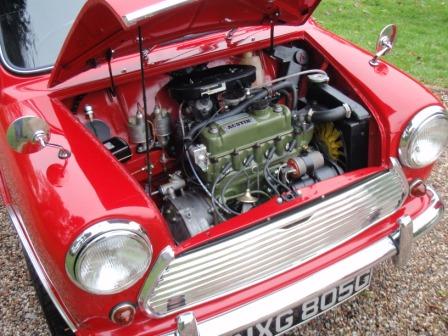
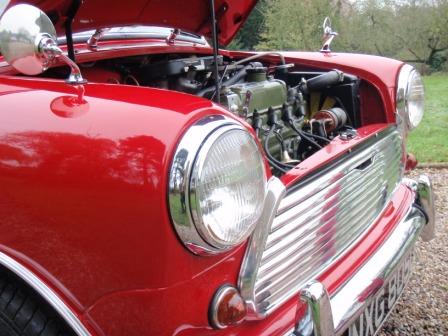
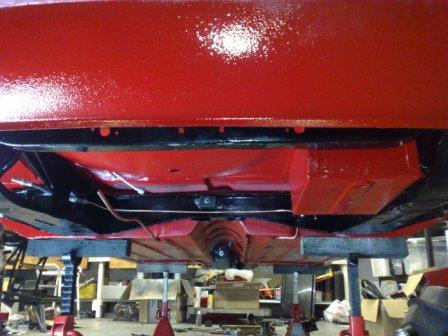
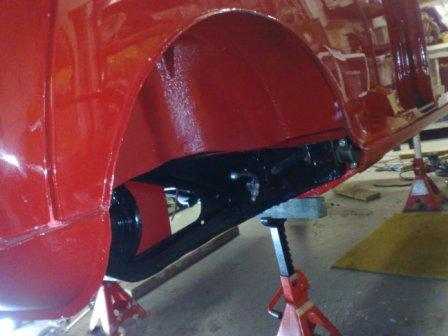
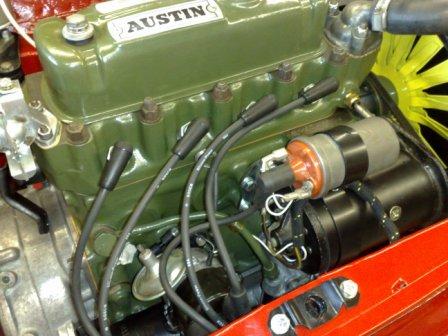
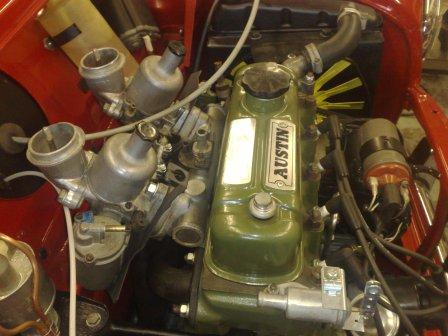
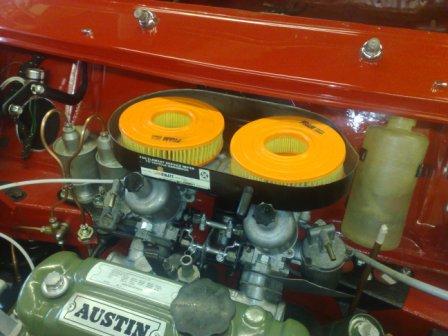
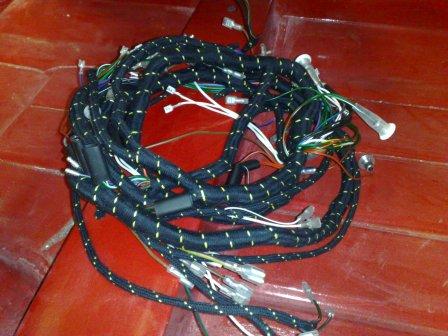
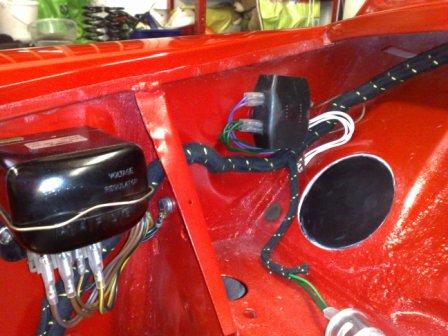
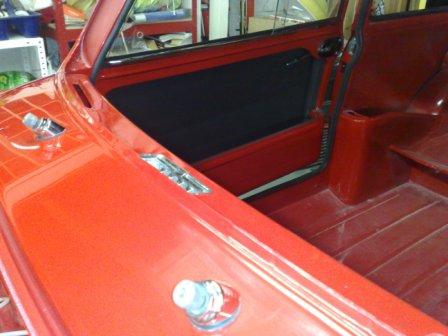
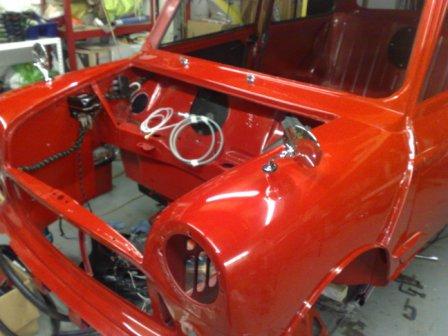
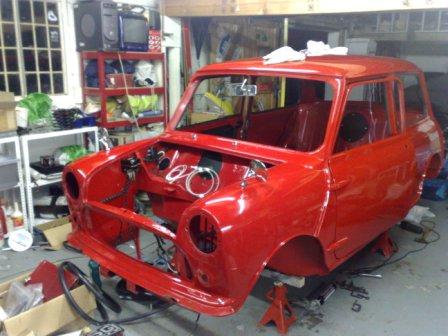
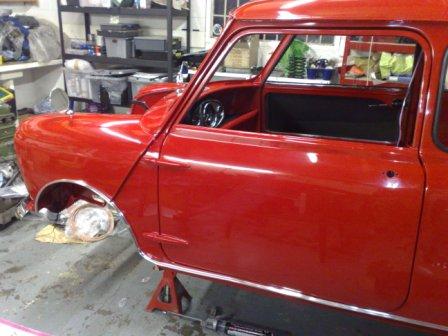
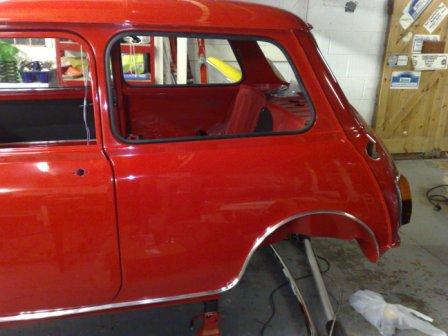
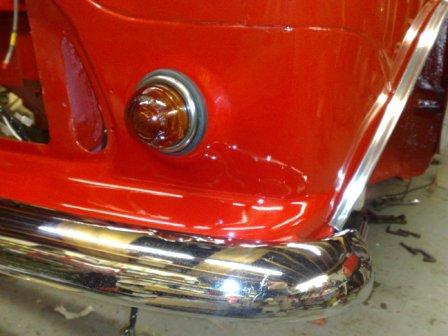
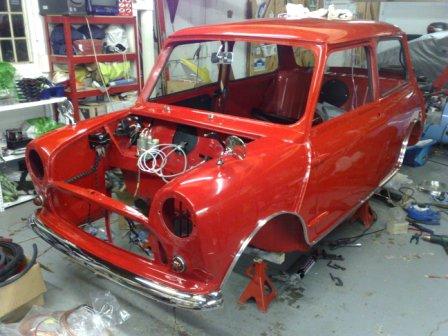
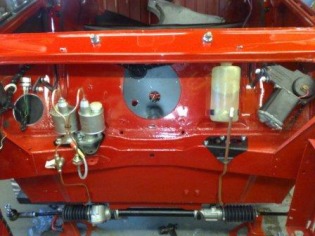
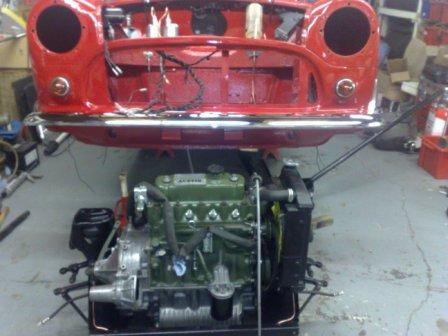
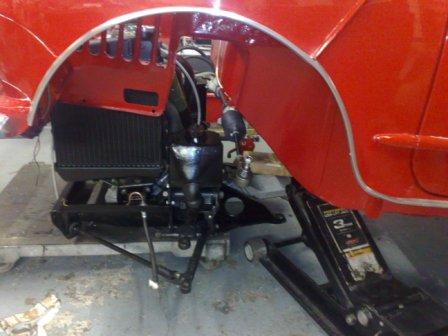
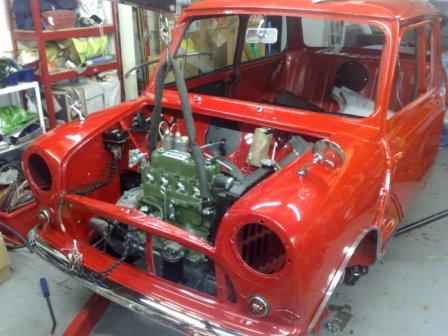
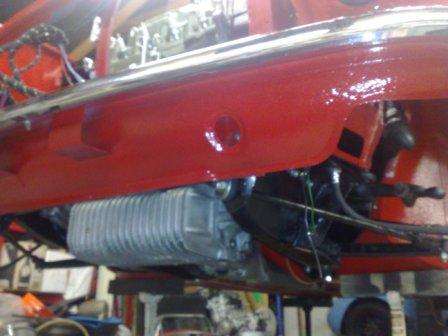
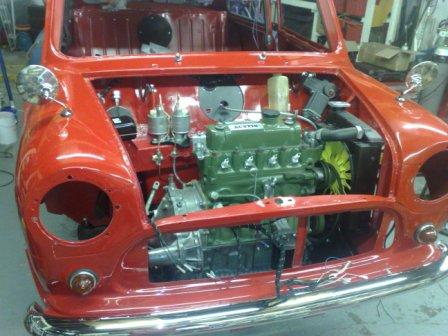
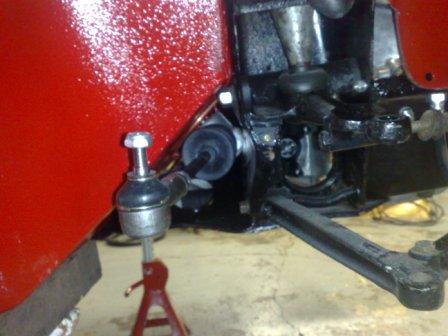
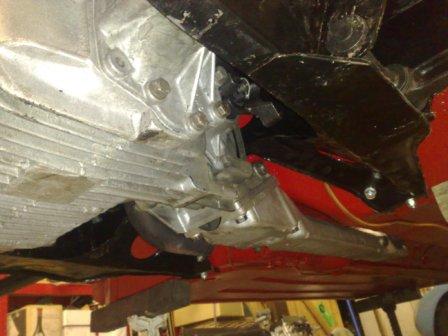
But first to get the ball rolling, here are a few of the latest pictures, showing the finished article in all it's restored glory...
In fact the project has carried on, it's the blog updates that have suffered from the back burner treatment! So I plan to take you on a whistle stop tour of the last six months!
I'll split it up into bite size chunks of Engine (firing up and tuning etc) - Interior (fitting out the "soft furnishings") and Body - (the satisfaction of adding all the bright work and shiny bits etc).
But first to get the ball rolling, here are a few of the latest pictures, showing the finished article in all it's restored glory...


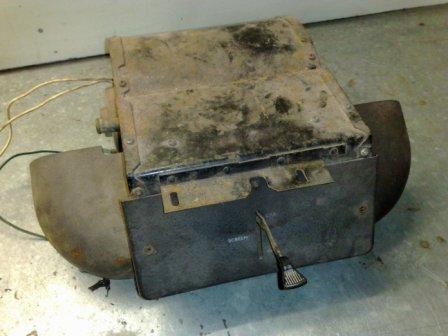
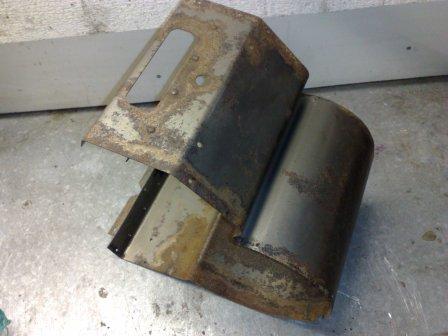
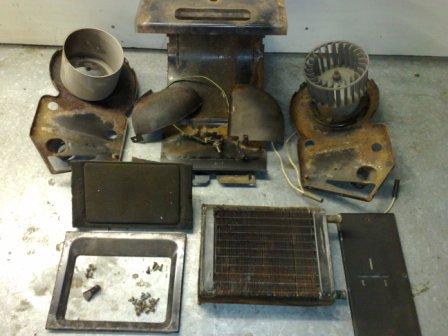
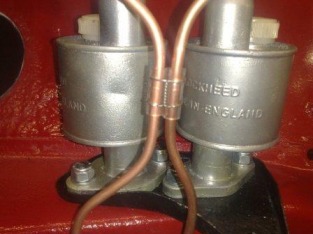
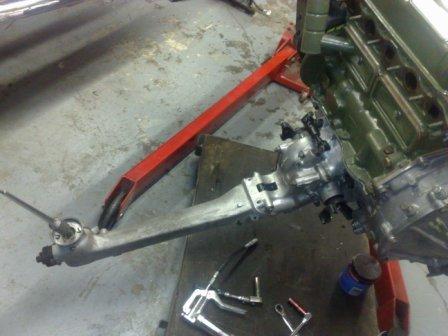
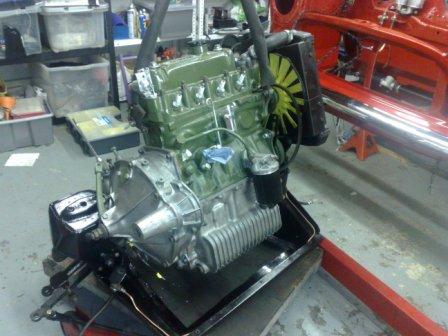
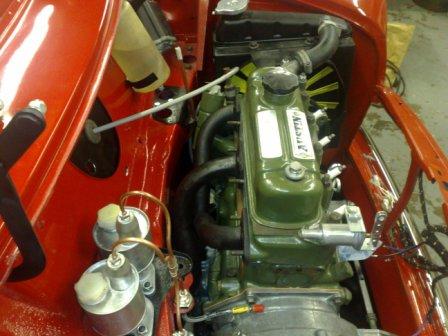
In the last Blog update the engine was just about ready to fire up, all that was left to do was a little plumbing, and that included the interior heater.
This was in a bit of a state, fortunately only cosmetic, so a strip scrub and paint of all the components was necessary. I also air pressure checked the matrix using an air line and a bucket of water to make sure there were no leaks or weeps.
Once the heater was fully restored the last of the cooling plumbing could be finished.
So the time had come to crank the engine and see if it would come to life!
The sequence for firing a fresh engine is quite critical. After filling with oil, I removed the spark plugs and spun the engine on the starter. Without the plugs there is no compression so the loads on the bearings, that are yet to be filled with pressurised oil, are as low as can be and the engine also spins a lot faster which gives the oil pump the best chance of sucking oil up from the sump
During the engine build I had packed the new oil pump with grease to make sure it would have the best suction possible, and sure enough after a little while the sound of the engine turning changed, and the oil pressure gauge flicked into life. Stag one complete.
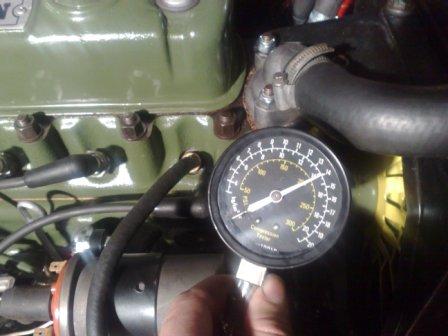
I then carried out a compression check on all four cylinders, This is partly to make sure everything is working properly, but it also gives a reference value for each cylinder should there be any issues later. They are all nice and high (as you would expect with a newly honed block and freshly lapped valves etc), and also very nice and even across the cylinders.
I then carried out a compression check on all four cylinders, This is partly to make sure everything is working properly, but it also gives a reference value for each cylinder should there be any issues later. They are all nice and high (as you would expect with a newly honed block and freshly lapped valves etc), and also very nice and even across the cylinders.


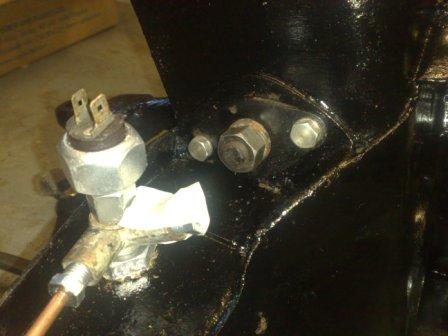
Stage three was to prime the fuel system, so the pump was connected, and at key-on that gave a satisfying click-click-click, until the pressure built up and the clicking slowed to a stop. A quick check all round for any leaks (fuel, coolant or oil) and we were ready for the big moment!
Sure enough, a couple of cranks was all it took for the engine to fire, all be it a little rough, but it was enough to get it warm and carry out an initial timing check.
Just as I was about to turn it off, there was a big hissing noise and some steam fom near the water pump! Not Good!
I turned it off and an investigation revealed that the small hose between the water pump and cylinder head has burst along it's seam! (it was of course brand new, so I was very dissapointed it had failed on it's first use!).
This would mean a Head-Off repair! A few explitlves, and about an hour and a half later the head was on the bench.
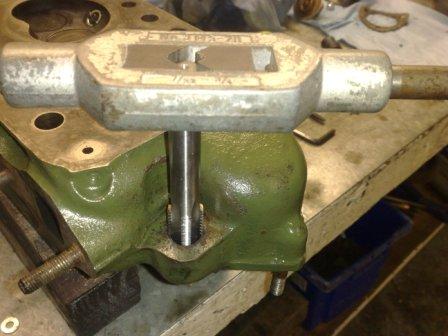
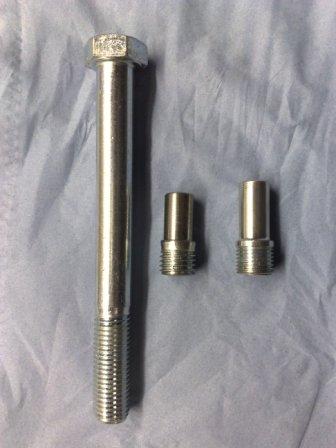

I had left the spigot alone when rebuilding the head because they are notoriously difficult to remove, but it appears the route cause of the failure was the slightly eroded spigot, being shorter than it should have been the clamp had pinched the hose on the sharp end of the spigot, initiating the split (so my fault after all)!
Just to be sure I bought a silicon hose to replace it, not exactly original, but much stronger than the standard rubber part, and hidden from view once in the engine bay.
I then went about the removal of the spigot. It was completely corroded in place, which meant it had to be drilled out and subsequently tapped to a larger than standard M16 thread. I made a new spigot on the lathe from an M16 bolt and secured it in place with thread sealant. Before re-fitting the head (using a fresh gasket of course).
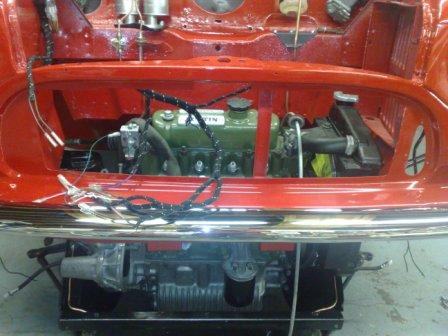
After following the same procedure again, the engine was back up an running once more.
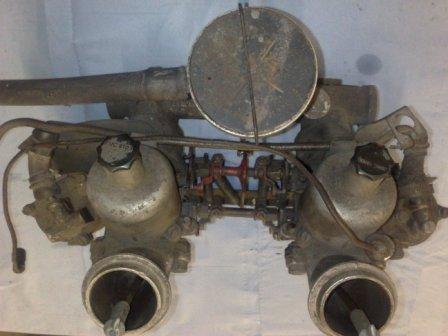
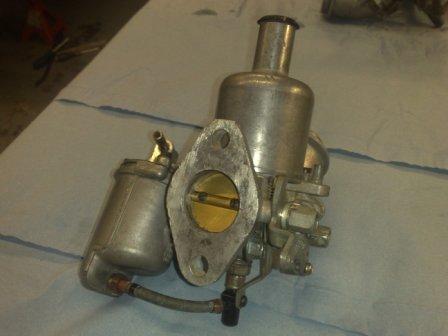
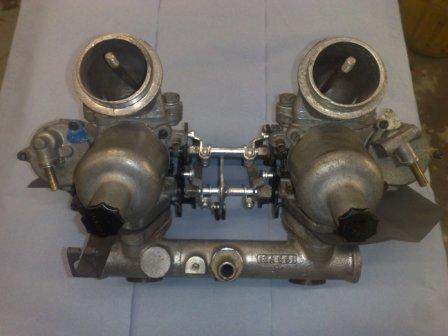
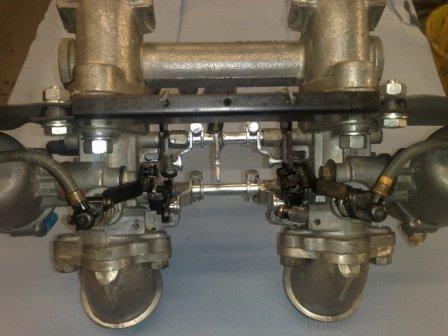
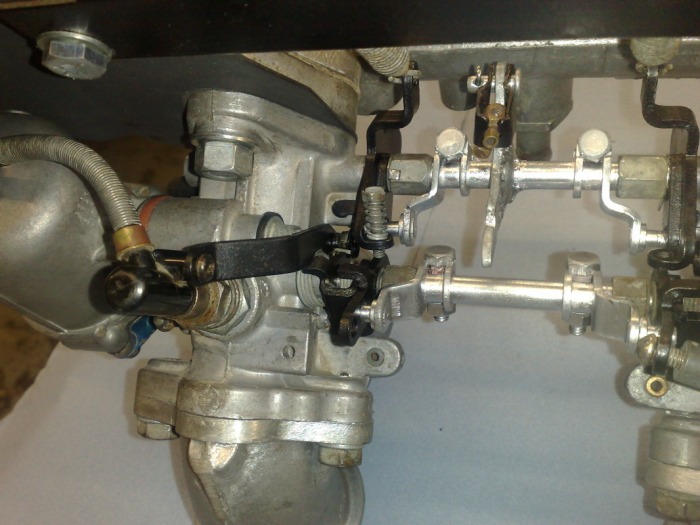
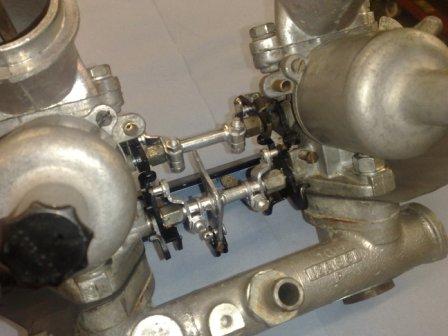
It took a fair amount of tuning and fiddling with the SU carbs (mixture, balance and engine speed), to finally see the car running smoothly.
I finished all the other jobs, which I will cover in my next updates, but to finish the engine section i should tell you about the first test drive. Unfortunately this wasn't as smooth as it could / should have been, the engine was very hesitant under load, missing quite badly on one or two cylinders.
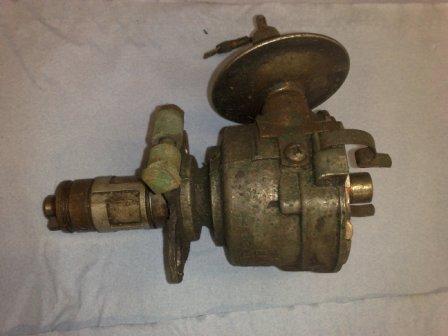
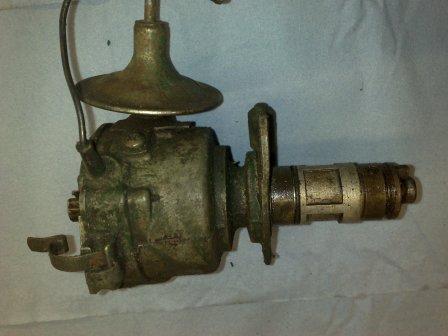
I first tried a different coil, which had no effect, then I swapped the HT leads, also no effect, I then fitted a new distributor, which frustratingly also did not fix the problem (although it did make the off-load running spot on, and is now the correct part for this age of Mini Cooper).
I finally decided to change the spark plugs (they were already new during the re-build), and that's what made the difference!
It appears that two of the new plugs were breaking down under load, not something that I have ever come across before, and they were a good brand too?
So finally I had the engine running as it should! Sweet through all speeds and loads, I have since traveled about 300 miles in the car to help bed in the bores and check for any little issues, but there has been nothing.
So that was the engine story, next I will update you with the interior build, thanks for reading!
Just to be sure I bought a silicon hose to replace it, not exactly original, but much stronger than the standard rubber part, and hidden from view once in the engine bay.
I then went about the removal of the spigot. It was completely corroded in place, which meant it had to be drilled out and subsequently tapped to a larger than standard M16 thread. I made a new spigot on the lathe from an M16 bolt and secured it in place with thread sealant. Before re-fitting the head (using a fresh gasket of course).
After following the same procedure again, the engine was back up an running once more.
It took a fair amount of tuning and fiddling with the SU carbs (mixture, balance and engine speed), to finally see the car running smoothly.
I finished all the other jobs, which I will cover in my next updates, but to finish the engine section i should tell you about the first test drive. Unfortunately this wasn't as smooth as it could / should have been, the engine was very hesitant under load, missing quite badly on one or two cylinders.
I first tried a different coil, which had no effect, then I swapped the HT leads, also no effect, I then fitted a new distributor, which frustratingly also did not fix the problem (although it did make the off-load running spot on, and is now the correct part for this age of Mini Cooper).
I finally decided to change the spark plugs (they were already new during the re-build), and that's what made the difference!
It appears that two of the new plugs were breaking down under load, not something that I have ever come across before, and they were a good brand too?
So finally I had the engine running as it should! Sweet through all speeds and loads, I have since traveled about 300 miles in the car to help bed in the bores and check for any little issues, but there has been nothing.
So that was the engine story, next I will update you with the interior build, thanks for reading!


 RSS Feed
