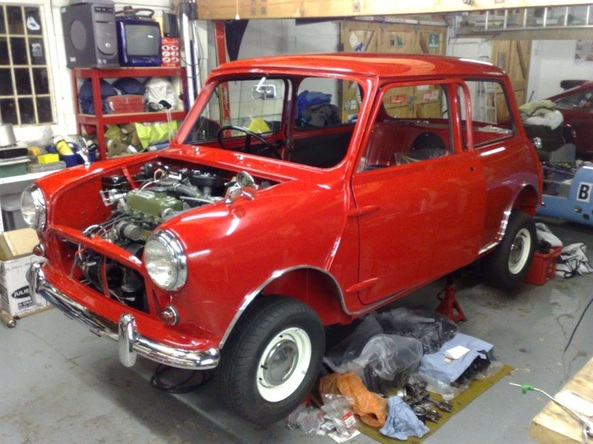
The last time I wrote about the interior the dashboard binnacle had just been wired and I had fitted the steering column, the next job was to fit the head lining. The original lining was badly torn and very tired so I sourced a new, original specification "Crinkle Effect" part. On the older cars Mk 1 and Mk 2, the head lining is attached to two frames that link in the middle on hooks, the later cars had a single piece lining on a wired frame.
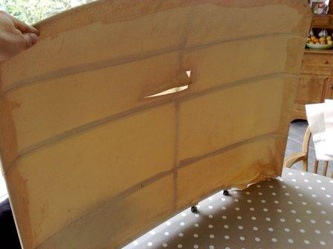
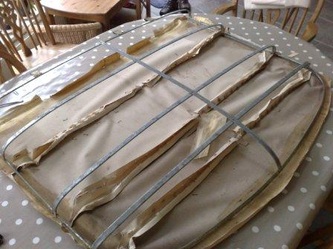
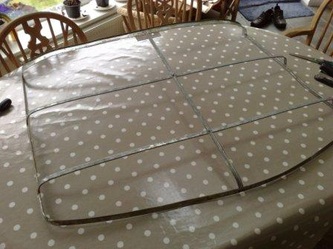
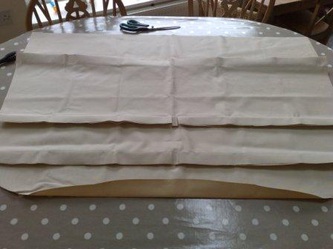
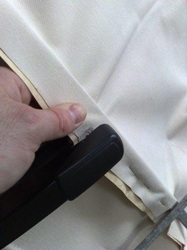
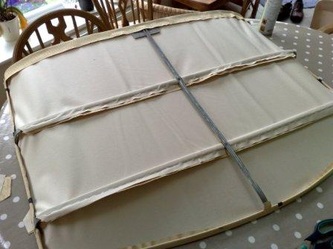
The first job was to strip the old fabric from the two frames and give them a clean. I then marked the center of the new lining and cut the retaining strips to clear the middle rib of the frame. I could then staple the retaining strips together to hold the lining to the frame, being careful to pull the fabric as tight as possible while fitting the staples.
The first job was to strip the old fabric from the two frames and give them a clean. I then marked the center of the new lining and cut the retaining strips to clear the middle rib of the frame. I could then staple the retaining strips together to hold the lining to the frame, being careful to pull the fabric as tight as possible while fitting the staples.
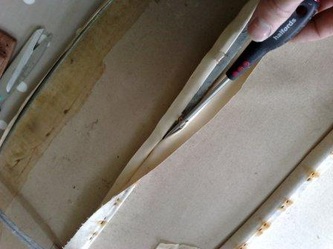
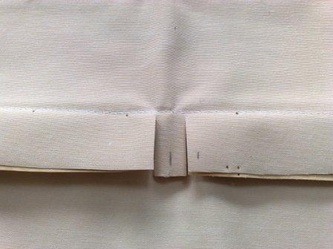
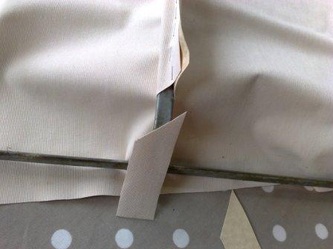
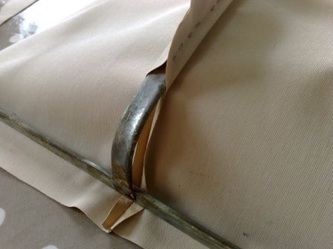
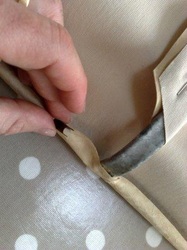
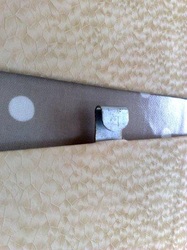
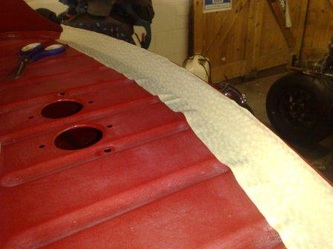
Next I removed a small section of the retaining strip near the edge, this allows the lining to pull up tight into the bends at the edge of the frame. The shape of the removed part is also shown in the first picture below.
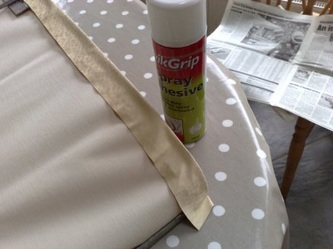
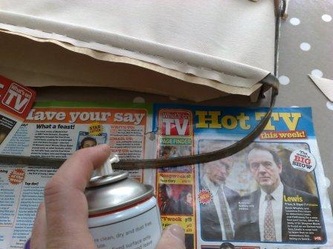
The edges and the front and rear require gluing with spray contact adhesive before being held in place with small clips, this is a fiddly operation as again it's important to pull the lining as tight as possible before fitting the clips, and it's also important not to get the glue on any of the visible surface.
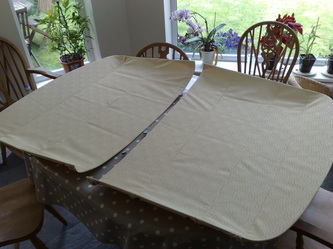
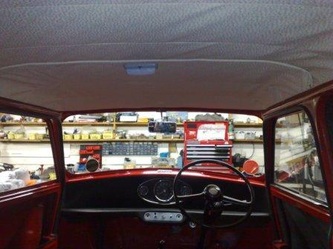
Once complete the second frame was re-covered in the same way and the finished part is refreshingly and bright and clean.
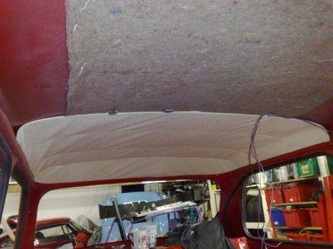
With the new fabric in place it was time to fit the lining to the car. This is really very straight forward, it is simply pushed into place and is held by the ridge at the top of the body work.
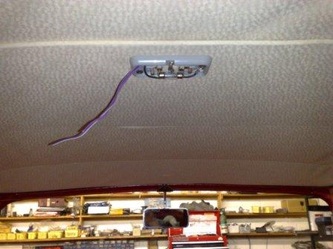
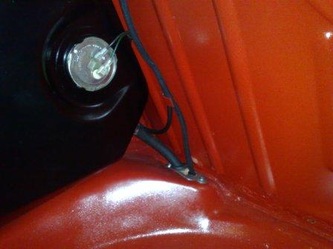
With the rear half in place the interior light could be fitted and wired and then the front section was pushed into place and linked to the rear using the hooks on the frame.
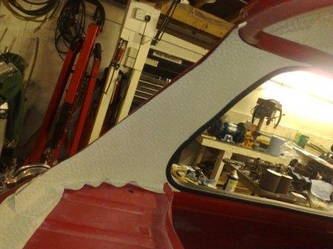
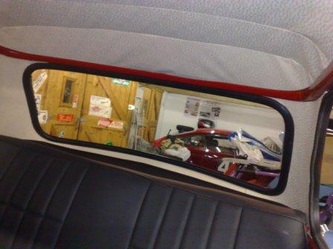
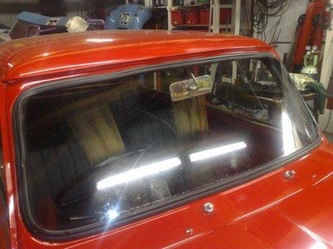
With the lining in place I could then fit the trim-work round the rear window, this is in the same material as the rest of the lining and came as part of the replacement kit, although this being Mk 2 with the larger rear screen the side parts did need a little modification, but the edges all fit under the window rubbers so this did not present a problem.
With all the trim in place round the rear screen, the next job was to fit the screen, which is the final piece in the puzzle to hold it all together.
I like to use the "string" method for fitting screen rubbers, I know there are various techniques, but this one has always worked for me, although I use a length of washing line rather than string (the plastic coating helps prevent damage and it's a lot stronger than string.
First I for the rubber to the glass, then I fit the line to the groove in the rubber that is going to fit to the body. I then place the assembly into the window aperture, and push it home along the lower edge. Up until this point it's all a bit of a balancing act, but once in this position it's all fairly stable and can be worked on carefully.
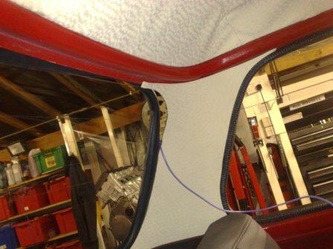
By pulling the line from inside the car, it forces the rubber seal into place, it can be quite hard work at the corners and does require a few pushes from either side to make sure the glass is heading in the right direction. The pictures below show the job in progress.
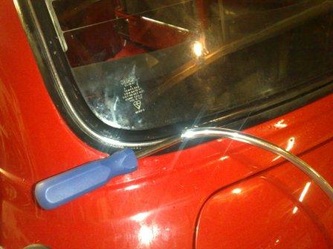
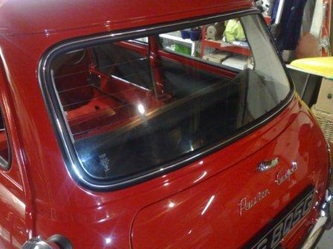
With the rubber and glass in place the final piece is the trim strip, this not only is the finishing touch for the eye, but it also expands the rubber to hold the screen tightly in place. The special tool is a must here, the first time I fitted a screen it took me about three hours and a whole lot of finger ache with a screw driver wrapped in cloth for protection. I then invested about £5 in the proper tool and it now takes about 10 minutes with no risk of damage!
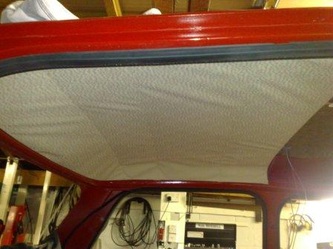
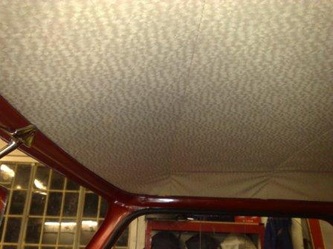
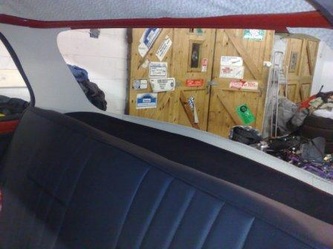
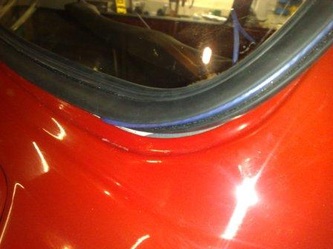
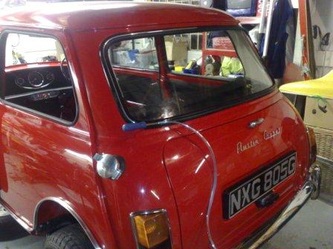
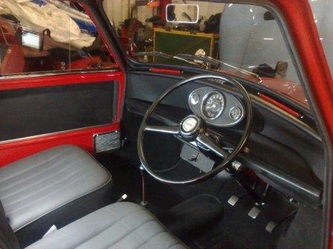
Once in place it's time for a cup of tea and a look at the finished job, from inside and outside!
Once in place it's time for a cup of tea and a look at the finished job, from inside and outside!
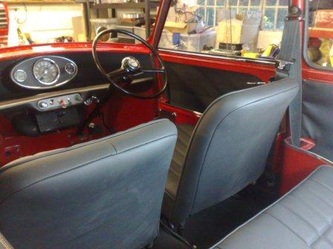
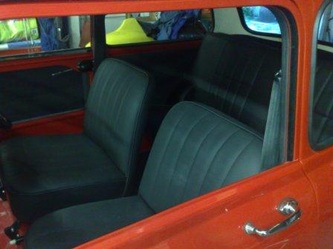
The next job is to fit the seats, and trim out the doors. The car came with freshly re-covered seats, so I don't have any work to do on them, and they are simple to fit.
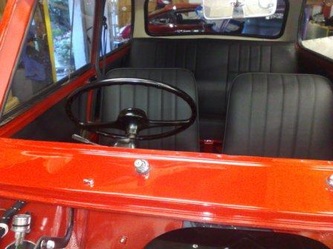
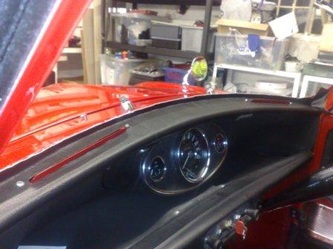
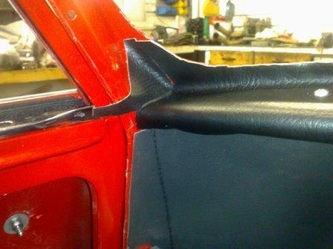
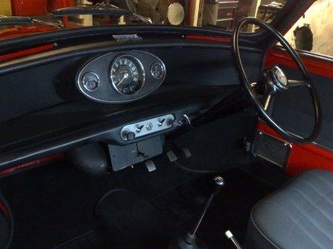
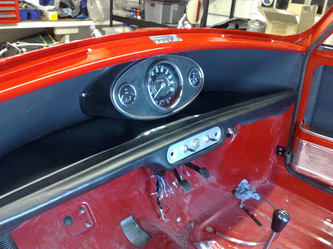
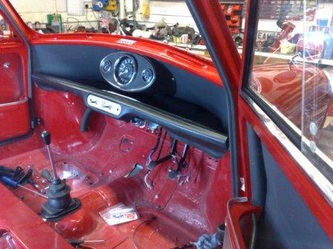
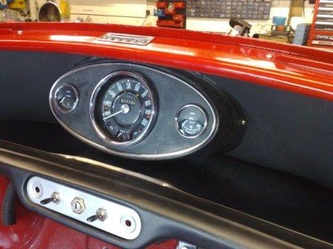
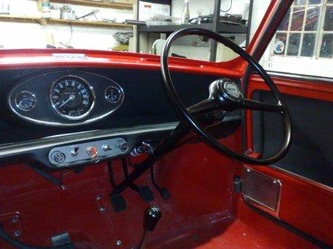
I now move onto the front screen, which means fitting the black vinyl trim on the interior, this was another Cooper feature, and would also have included black plastic surrounds for the screen vents (which I have yet to source).
The vinyl trim is glued in place with contact adhesive and then held by the screen rubber and small metal clips under the dash board.
The vinyl trim is glued in place with contact adhesive and then held by the screen rubber and small metal clips under the dash board.
The final operation to complete the interior is to fit the new carpet, this really sets it off and gives is a great "as new" feel.
 RSS Feed
