This is the good bit, the part I really enjoy, Reassembly.
It's started in ernest and I can start to see the fruits of my labour. All those hours in the cleaning tank, the endless wire brushing, the carefull painting of parts is finally paying off. It's also satifying fitting parts and knowing, for that little component, however small, the job is done (and its no longer occupying the space on the bench which it has called home for the last few months!)
It's started in ernest and I can start to see the fruits of my labour. All those hours in the cleaning tank, the endless wire brushing, the carefull painting of parts is finally paying off. It's also satifying fitting parts and knowing, for that little component, however small, the job is done (and its no longer occupying the space on the bench which it has called home for the last few months!)
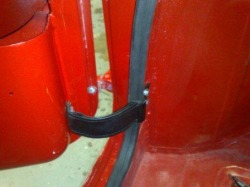
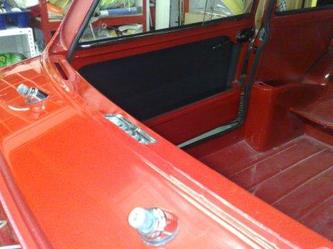
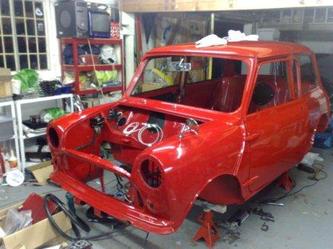
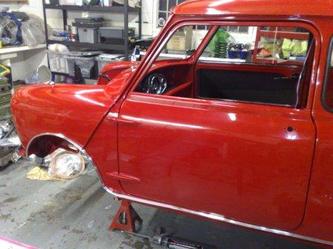
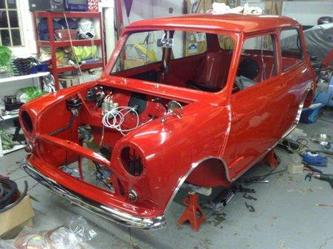
So to business. The first parts to be fitted to the new shell are the door straps, this is a protection measure to make sure the doors aren't opened too far, which could damage the painted hinges, I then fit the door seals, again to protect the fresh shiny paint.
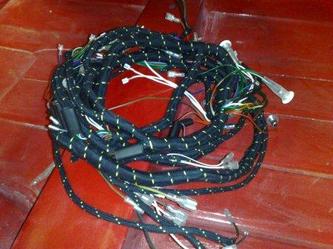
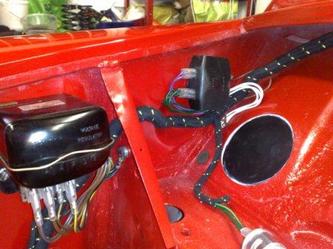
The first proper assembly job is to run the wiring loom through the shell. For this project I have spoilt myself and bought a brand new loom from Mini Spares. This is partly to save time, the old loom had been badly cut and shut to run an alternator instead of the correct dynamo, but it's also because there is nothing better than new wiring, it makes sure there are no niggling continuity issues, no corroded terminals, and no cracked or broken wires hidden deep inside, plus specifying a period fabric wrapped loom it's going to look fantastic as well.
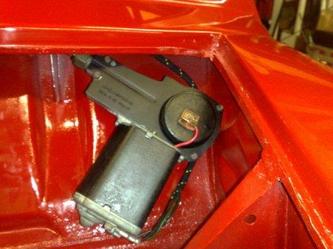
Because of the dodgy alternator, there was no voltage regulator in the car when I picked it up, so I have a shiny new one of those (and a dynamo to fit to the engine later). I also fit the fuse box, and because the wires are run with the wiper mechanism, I have stripped cleaned, painted, restored and fitted the wiper motor and mechanism too.
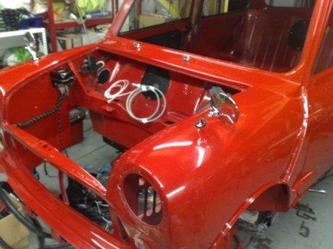
My enthusiasm also got the better of me and I have rested the dashboard in place to see how it looks, which explains the white tube in the pictures, it's the capillary tube for the oil pressure gauge, and I couldn't resist fitting the new wing mirrors too!
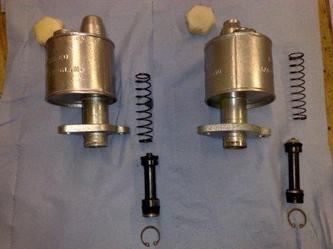
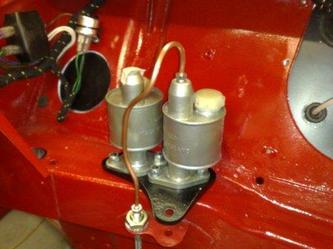
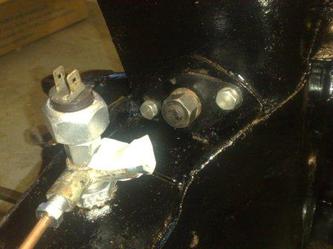
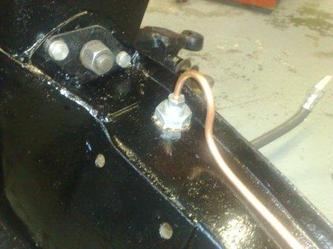
Now I'm motoring. The next major job is to restore the brake and clutch master cylinders, (including a seal kit for both). I'm very please that under the grime they are both in very good condition. Once fitted to the bulkhead, which includes fitting the peddle box inside, I run the copper brake and fuel lines all the way under the car. This is all heading in the direction of the engine fit, the brake and fuel lines both run behind the front subframe so need to be in place first.
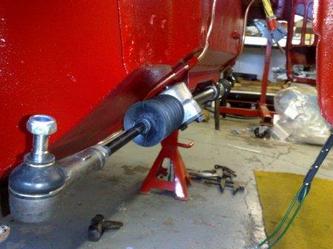
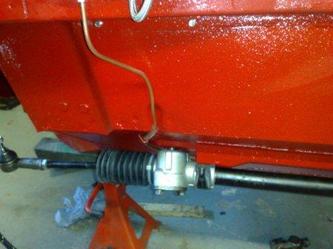
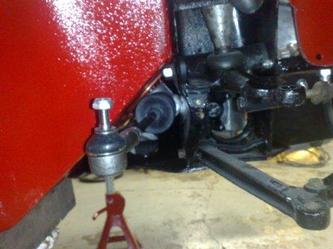
Another component that needs to be fitted before the engine and subframe is the steering rack, having already been restored this is very simple, but even if I say so myself, it looks great once in place.
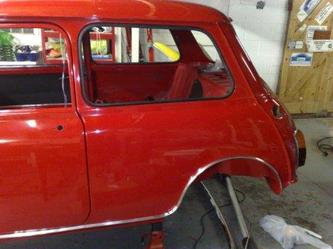
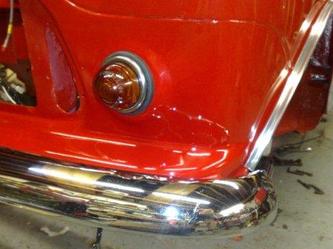
I also fit a few more chrome parts, and it's really starting to look like a mini again!
Another component that needs to be fitted before the engine and subframe is the steering rack, having already been restored this is very simple, but even if I say so myself, it looks great once in place.
I also fit a few more chrome parts, and it's really starting to look like a mini again!
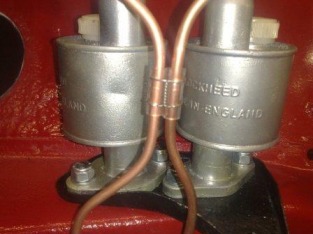
One thing I am very keen to do, is keep this car as original as possible / practical. To this end I have decided not to use cable ties where they can be seen.
A friend once said he simply couldn't go rallying without a bunch of cable ties and a roll of gaffer tape "what on earth did they do in the old days?".
The answer lies in clips and lock wire! So here on the brake and clutch tubes I have used two protective lengths of washer tube and some neat lockwire to stop the copper pipes tizzing. For sure it's a little more time consuming than a cable tie, but I hope you will agree, it's a much "more period" result?
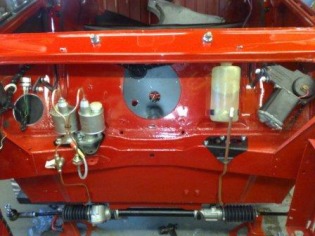
There are just a few more parts to fit to the bulkhead before I can get the engine ready for fitting. The washer bottle and hoses go in, as do the bonnet hinges, and there we are, ready to receive the front subframe and engine!
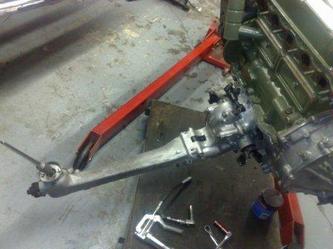
So now I have a little prep work to do away from the body. I need to fit the engine into the subframe, but even before that I have to fit the front brake lines. A job that can't easily be done once the engine is on place.
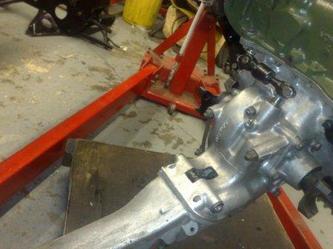
I then fit the gear change mechanism, being a Mk2 Cooper this is car has a "Remote" type change, the "Non-Cooper" of this age would have had the "magic wand" type gear leave, and the body shell still carries the hole for this type, but here it will get a blanking plate.
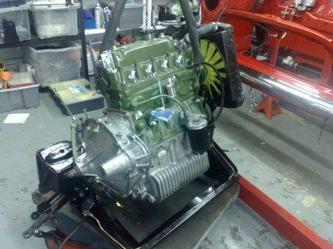
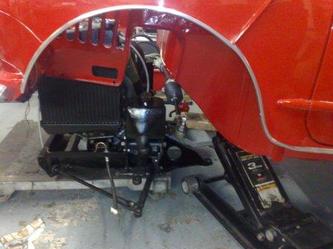
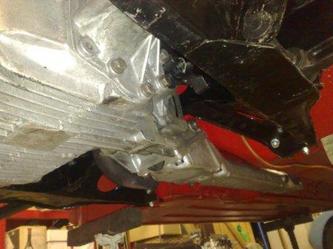
Now it's time to fit the engine into the subframe, a careful operation, and to be honest a little fiddly, especially fitting the left hand engine mount bolts with the radiator in place. Once complete the whole thing can be wheeled to the body.
And so to the final "decking" of the engine and subframe assembly.
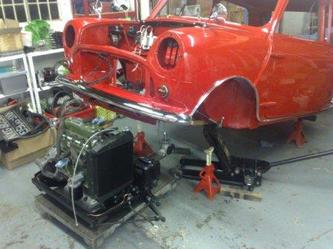
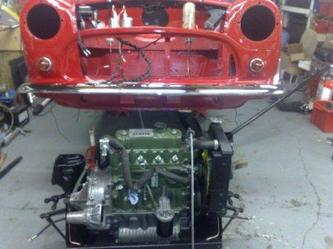
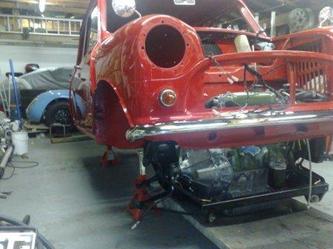
With the back of the car supported as low as possible on axel stands, I lift the front of the car high enough to roll the engine assembly under the front. I then carefully and slowly lower the body checking to make sure everything is clear and roughly in the right alignment.
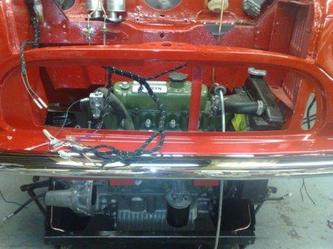
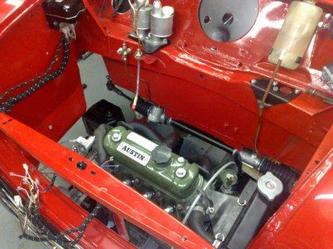
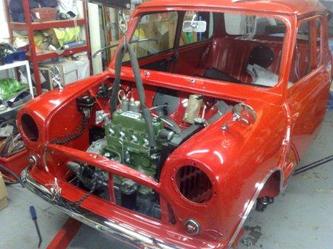
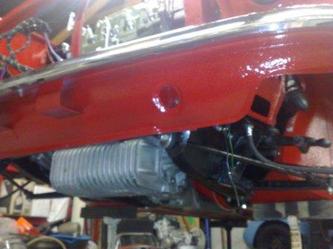
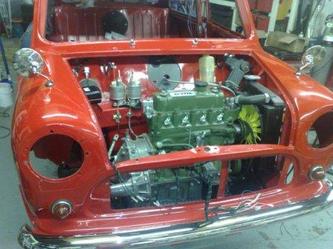
Once the body is lowered back onto the axel stands at the front (which have been set to the same height as the rear stands). I lift the engine and subframe the final few inches into place with a crane. The alignment at this point is critical, but it can be controlled by dropping a bar down through the body fixing points on the bulkhead into the top of the subframe suspension towers, thus giving an effective leaver to move the few millimeters when necessary.
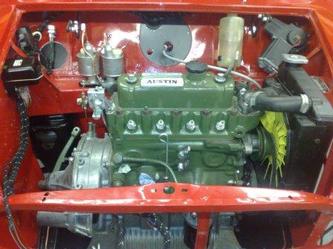
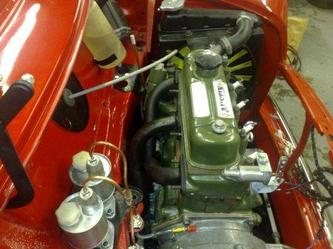
Then it's time to fit nuts and bolts to hold it all in place, before a well deserved cup of tea and a chance to take stock (and a few more pictures of the engine in it's rightful home).
That brings you up to date. Next up is the remaining engine bay fitting out (dynamo, distributor, carburetors, wiring etc etc). So until then, thanks for your interest and your time, and good luck with your projects, whatever they may be!
 RSS Feed
