It's been a little while since my last blog, but that doesn't mean that things have been standing still on the 1969 Mini Cooper restoration project, quite the contrary in fact, so let’s take up the story from where I last left off....
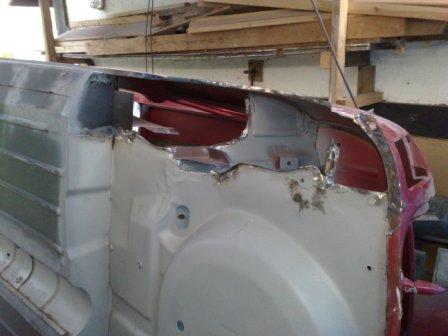
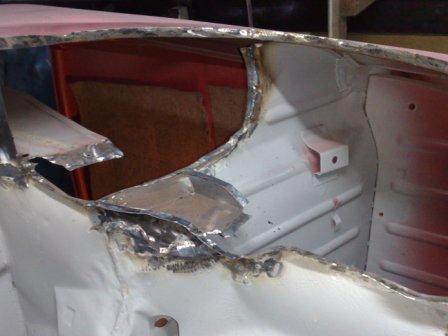
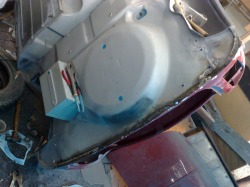
Having fitted the left hand floor, sill and subframe mounting panel, next up was the left rear wheel arch. Again the condition of this side of the car was slightly worse than the right, but fortunately once the rotten arch was carefully removed the extent of the rust penetrating into the surrounding panels was minimal. These pictures below show the arch during and after removal.
The during pictures show how it's best to carefully remove the metal around the original spot welds, leaving the return on the panel that is to stay in the car. This way the new panel can be fitted and welded in the same way as it would have been originally.
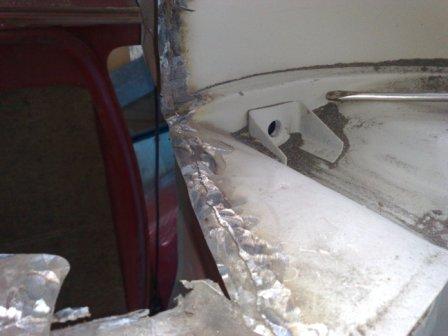
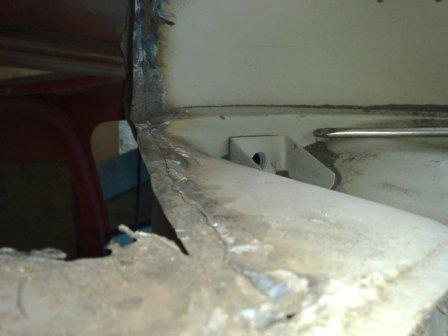
After the new arch was welded in place I removed the rear valance. This was a little extra job I added, it hardly needed replacement, but the corners were showing signs of rot and it was in fact a replacement part that had not been fitted particularly well so I decided to replace the whole thing. The new panel is not expensive and it's and easy part to fit. I want to not only replace the rusty bits but also fix any previous workmanship issues as I go through this project, so it made sense to make the effort.
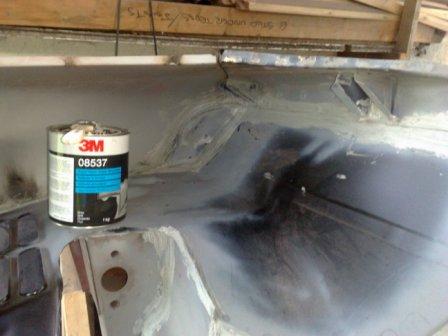
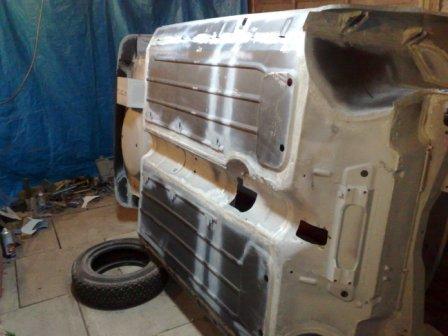
With the new valance in place the welding on the underside was complete. I then concentrated on the finishing touches before the car could be stood the right way up again. Finishing touches in this case being seem sealer. I have tried various seem sealers in the past and by far the best are the brush on types. It doesn't make sense to scrimp on the quality either, here I'm using a 3M product that my local trade car body material supplier recommended as the best. It certainly went on easily and was also easy to brush into a factory type finish.
With the new valance in place the welding on the underside was complete. I then concentrated on the finishing touches before the car could be stood the right way up again. Finishing touches in this case being seem sealer. I have tried various seem sealers in the past and by far the best are the brush on types. It doesn't make sense to scrimp on the quality either, here I'm using a 3M product that my local trade car body material supplier recommended as the best. It certainly went on easily and was also easy to brush into a factory type finish.

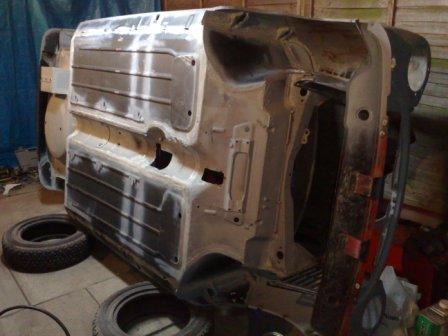
So the car could finally be stood back up the right way!
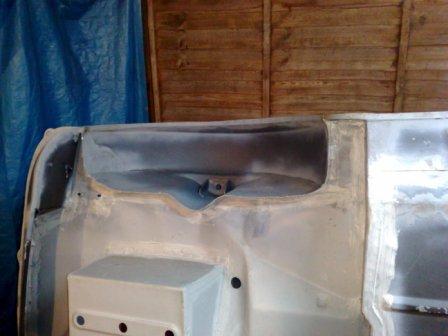
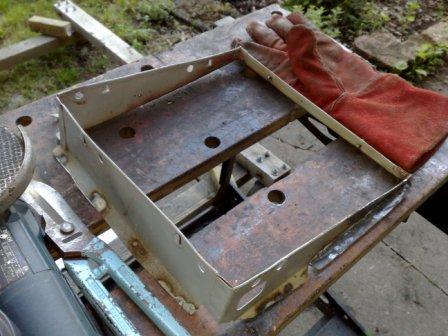
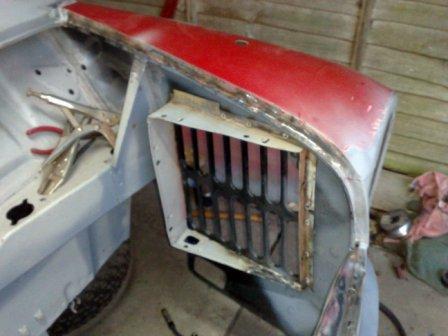
There were still a couple of jobs to do on the shell before I could move onto the closing panels (doors, boot and bonnet etc). One such job being the transplant of the radiator surround from the old inner wing to the new, as shown in the series of pictures below. (With just a small repair section being required in the lower section)
There were still a couple of jobs to do on the shell before I could move onto the closing panels (doors, boot and bonnet etc). One such job being the transplant of the radiator surround from the old inner wing to the new, as shown in the series of pictures below. (With just a small repair section being required in the lower section)
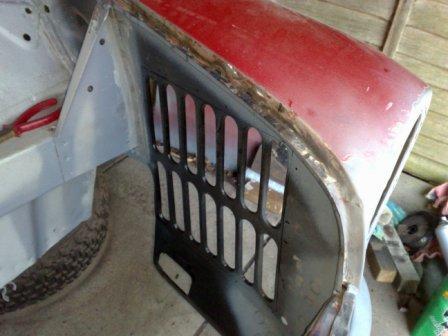

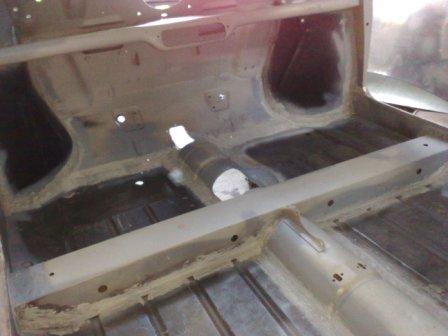
With the radiator surround in place the seems inside the car were sealed and the whole shell was given the once over for anything I had missed.
I could then finally declare the shell "Ready For Paint". Phew! If you have been following the blogs or if you read on down through them you will realise just what a milestone this is.
Having said that, it's not going anywhere until the doors boot and bonnet have been sorted out and that's what I will tell you about in my next blog, so until then........ happy restorations!

 RSS Feed
