The grinding and welding has been carrying on unabated over the Bank Holiday Weekend, sorry neighbors! (although the rain probably kept most of them safely indoors and behind double glazed windows!)
So what's been happening, well...... The front panels (two wings and front nose part) have been welded into place, using the front subframe as a jig and picking up the inner wings in various places. I also took some time to strip the paint completely from the front panel, this is probably me just being pedantic, but I think the build up of a number of paint layers over the years tends to dull, or blur if you will, the edges of the panels that are on show at the front of a Mini, round the head lights for example. By starting the paint process from bare metal the end result is much more "in focus" and of course original looking too.
Once this was complete and i was a nice shade of pink from the paint dust it was time to get on with replacing the sides of the floor pan. I'm fortunate because the exhaust tunnel arch has virtually no rust evident, so I can leave that structure in place and also the cross member that the seats fix to is in a simila condition. So just like with the front panels, if I tackle one side of the floor at a time the body remains ridged and there is no chance of distortion.
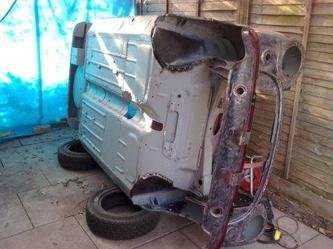
To get good access I have rolled the body onto one side, carefully resting it on some old tyres at the strong points in front and behind the door and at each end of the roof. I can now clearly see the right floor panel that's going to get the attention first.
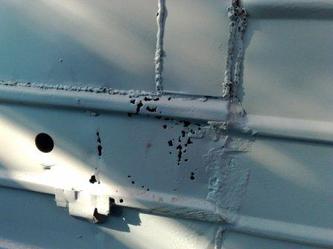
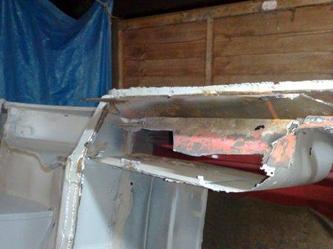
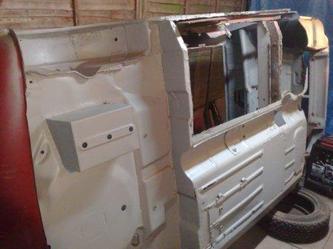
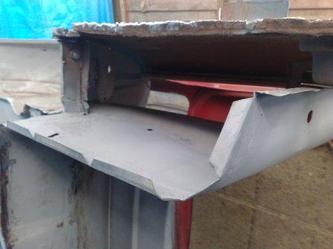
Once safe on it's side it's time for the "Flintstone" conversion! I carefully cut out the floor to open up large holes infront of and behind the cross member. Then I go round the whole panel in detail and grind back to the solid parts of the upper panels. Unfortunately the rot has taken the return sections of the pocket next to the rear seats and a small section of the cross member. These will need to be templated and made as fitted sections that I can weld in place. However on the whole the rot is restricted to the floor. The first picture shows the same story that I have found elsewhere, in the back section there is evidence of at least three layers of sill that have been fitted over each other during the years. At least it shows the car has been used and enjoyed I suppose.
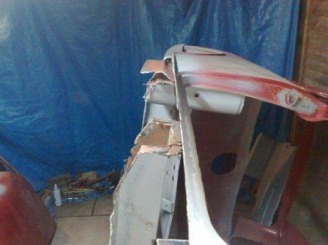
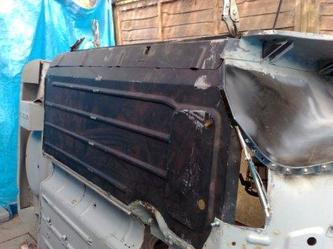
You can see in this picture that with the cross member still providing support the sill remains nice and straight.
Now that the old panel is out, I can trial fit the new part. Being a Mk 2 Mini it still has the bulge in the floor where the floor mounted starter button sat in the Mk 1version (a feature to look out for if you are checking a Mk1 or Mk2 for authenticity). So I have to modify the new panel slightly to fit round this bulge and also cut it exactly to size at the joint along the exhaust tunnel. I do this by clamping it in place, then I paint along the joint with primer to give me a line that I can carefully cut along. When it's all done it can finally be placed into the completely correct position.
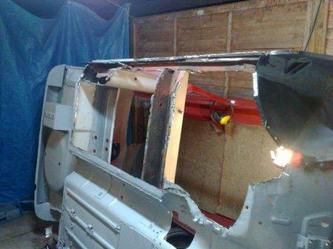
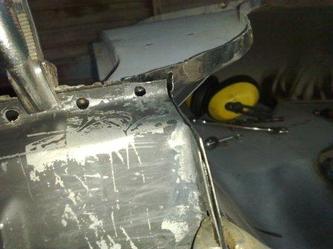
When in place I can go about making the templates for the missing parts of the luggage box and cross member. I do this in cardboard first and then transfer the shape to a piece of the correct gauge steel sheet. It's thin enough to cut roughly with snips and then file into the final "fitted" shape. Then I remove the floor to allow me to weld them into place.
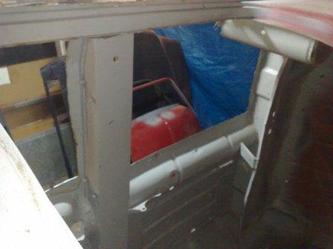
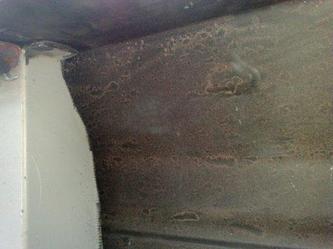
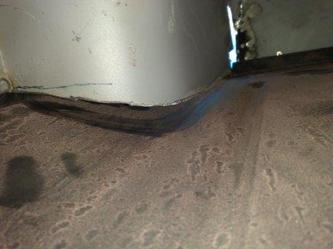
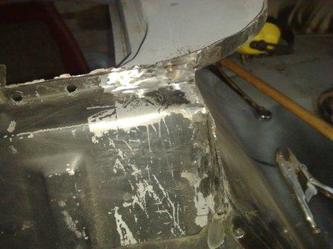
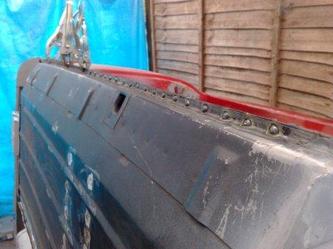
The third picture below shows the gap to be filled at the bottom of the luggage box. The fourth picture shows my panel (with the correct returns) welded into position.
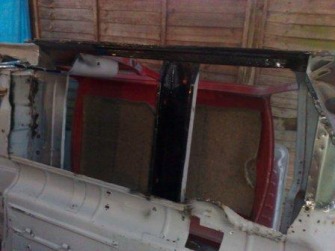
The cutting and prep work is nearly complete, all that remains before the floor is fitted is to give the areas that will not be seen again a good coat of rust protection, and then the final fit can begin.
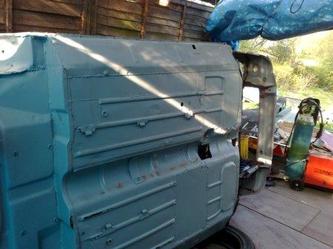
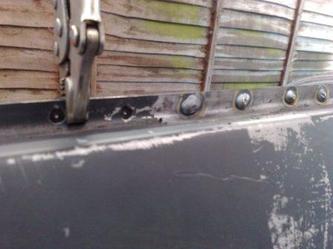
I clamp everything in place and start the welding at the front outside edge of the floor pan. This is a critical point to get right, it's where the inner wing, the floor, the bulkhead and the sill all come together, so plenty of alignment checking is needed to make sure it's all clamped in the right place (shown in the first picture below), prior to 'sparking up' the welder. The second picture shows this area complete. I then carefully work round the rest of the panel.
I clamp everything in place and start the welding at the front outside edge of the floor pan. This is a critical point to get right, it's where the inner wing, the floor, the bulkhead and the sill all come together, so plenty of alignment checking is needed to make sure it's all clamped in the right place (shown in the first picture below), prior to 'sparking up' the welder. The second picture shows this area complete. I then carefully work round the rest of the panel.
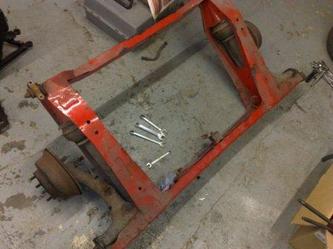
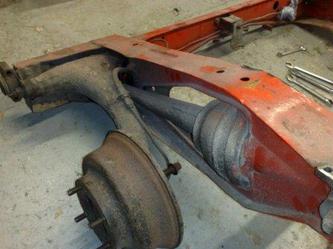
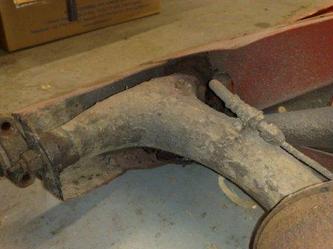
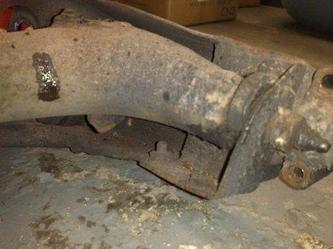
Next up will be a repair section for the rear subframe, front fixing (a notorious Mini rot spot, as mud and grime tend to collect here between the subframe and the body). But before I can do that, I strip the radius arms out of the rear subframe, to make it a little lighter to handle. It's going to be used as a jig to make sure I get the fixings in the right place (just like I used the front Subframe earlier). It feels good to use a spanner again, I've been attached to the welder and grinder for long enough!
So that pretty much brings you up to date. I have to say, I can't wait to get to the point where it can go for painting. This part of the whole restoration process is quite intense, because the consequences of getting something wrong are quite high, but at the same time it's also very repetitive, not to mention noisy and dirty work. This tends to lead to a very high intake of cups of tea to keep the concentration and motivation up!
Thanks for reading, please check again soon for the next installment!
 RSS Feed
