Ok, so, to carry on from where I left off on the last post, the front panel and front wings were removed and I had pretty much cut out all the bad bits from the right-hand inner wing.
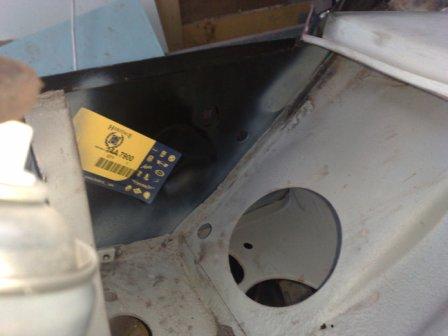
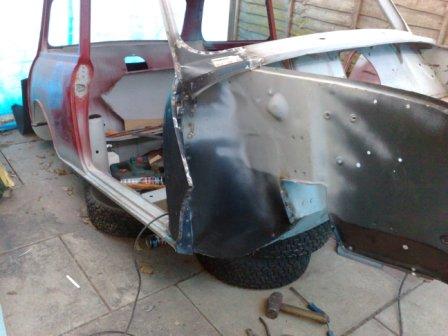
The next job is to put the new inner wing in place and check it for a good fit. As you will see in the subsequent pictures, it's a very good fit indeed. Which is my tip for the day, with big, complicated panels I’ve found it's a false economy to buy anything other than Heritage Ltd parts. This is because they use the original BMC drawings to produce their stamping tools, so the parts are as close to the originals as you are going to get. For small or mainly flat panels you are fine to go with the cheaper brands, but the last thing you want if you're into a major restoration, is to have to take extra time to make the new parts fit.
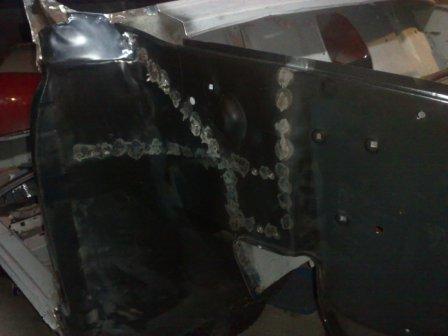
So once clamped in place it's time to mark out where the spot welds need to go. The method I use is to spray round the edges of the joints with primer. Then when removed this provides a nice 'map' of where to drill for the welds. (as shown in these two pictures)
The next job is to put the new inner wing in place and check it for a good fit. As you will see in the subsequent pictures, it's a very good fit indeed. Which is my tip for the day, with big, complicated panels I’ve found it's a false economy to buy anything other than Heritage Ltd parts. This is because they use the original BMC drawings to produce their stamping tools, so the parts are as close to the originals as you are going to get. For small or mainly flat panels you are fine to go with the cheaper brands, but the last thing you want if you're into a major restoration, is to have to take extra time to make the new parts fit.
So once clamped in place it's time to mark out where the spot welds need to go. The method I use is to spray round the edges of the joints with primer. Then when removed this provides a nice 'map' of where to drill for the welds. (as shown in these two pictures)
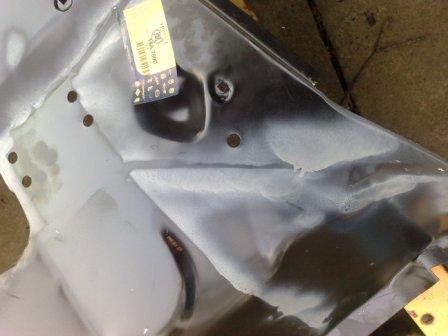
My spot welds are also called puddle welds, this is where you drill a hole in the panel of one side of the joint and when clamped in place fill the hole with weld making sure you get good weld penetration into the panel below that hasn't been drilled. This gives the same effect as the original spot welds, but they are actually significantly stronger (because they are larger) so fewer are required. For extra strength you can also stitch weld along the edge of the panels (also known as seam welding) but this is only required in particularly structural areas or if the car is to be used in some kind of competition. For this road car restoration I’m trying to keep as original as possible so I’ll only use seam welding in places where it was used on the original car.
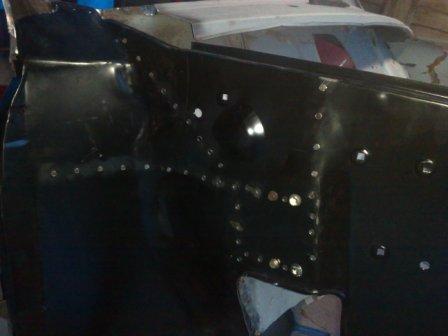
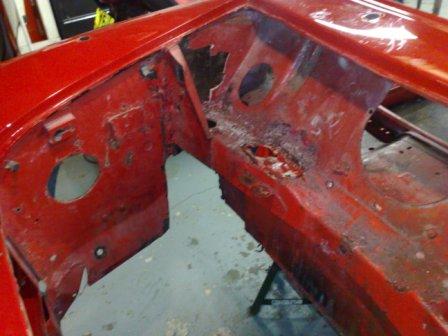
Ok, so here are some step by step pictures showing the various stages for fitting and welding in place the new right front inner wing…..
1. Drilled 2. Welded (shown from the outside) 3. Welded (shown from the inside) 4. Ground (ready for primer)
Ok, so here are some step by step pictures showing the various stages for fitting and welding in place the new right front inner wing…..
1. Drilled 2. Welded (shown from the outside) 3. Welded (shown from the inside) 4. Ground (ready for primer)

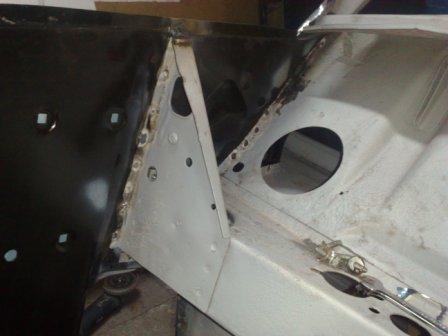
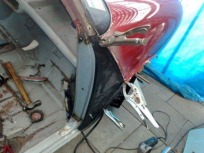
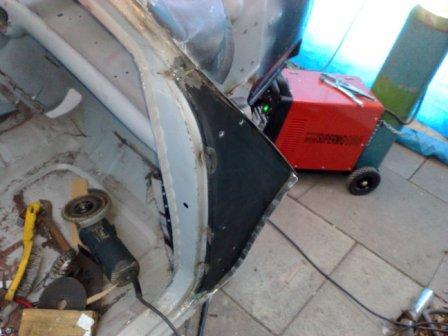
Next up is to get the inner A panel into place, this is a critical part as it has a number of alignment jobs to do. It places the door hinges as well as fixing the position of the back edge of the front wing.
I hold everything into place using Grips and Clamps and even lift the door into place to check the closure gaps and hinge hole alignment, before finally making the first weld. Once held on with a few small welds the clamps can be removed and the alignment checked again. Once I’m convinced all is ok, it’s time to make it permanent by adding the rest of the welds.
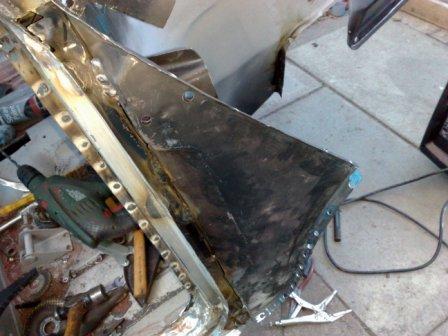
Note in the next picture the use of seam welds by the hinges, as already mentioned seam welds are used in more structural areas, and this is one of them. It has to take the weight of the door when it’s open so the extra strength should stop any movement at the base of the hinges.
Note I’ve also drilled the flange ready for the outer A-Panel.
I hold everything into place using Grips and Clamps and even lift the door into place to check the closure gaps and hinge hole alignment, before finally making the first weld. Once held on with a few small welds the clamps can be removed and the alignment checked again. Once I’m convinced all is ok, it’s time to make it permanent by adding the rest of the welds.
Note in the next picture the use of seam welds by the hinges, as already mentioned seam welds are used in more structural areas, and this is one of them. It has to take the weight of the door when it’s open so the extra strength should stop any movement at the base of the hinges.
Note I’ve also drilled the flange ready for the outer A-Panel.
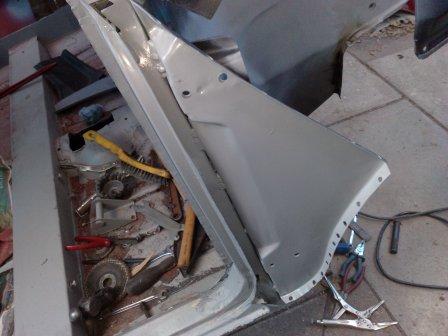
Before fitting the outer A-Panel I give all the areas that will be hidden a generous coating of corrosion protection (including the inside of the outer panel). Then it’s time to fit the outer panel and the right hand front piece of work is pretty much complete….. Phew!
A nice change from where it was before!

 RSS Feed
