Here's another update, a fairly quick one this time, to show you the new left rear wheel arch and subframe mounting. Which means the left hand side is virtually finished! Wow, it does feel like a long haul, but once the shell is flipped over and I'm into the right hand side I hope I will be able to see the end of the grinding and welding tunnel!
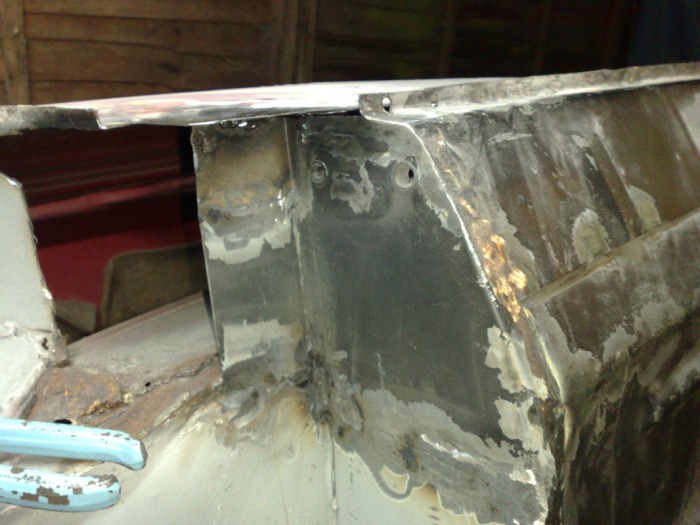
Here are some pictures showing the new subframe mount. I used the subframe it self to align the fixing holes but unfortunately my camera had a freaky day and I have lost the shots of that operation. So if you can stand the suspense, I'll have to record the process when I fit the simila panel on the other side.
Here are some pictures showing the new subframe mount. I used the subframe it self to align the fixing holes but unfortunately my camera had a freaky day and I have lost the shots of that operation. So if you can stand the suspense, I'll have to record the process when I fit the simila panel on the other side.

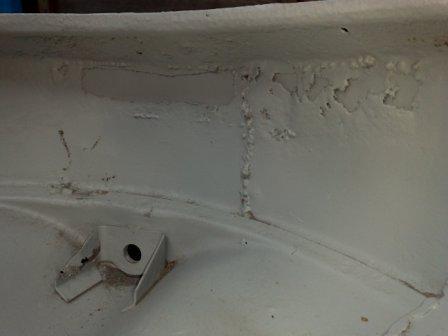
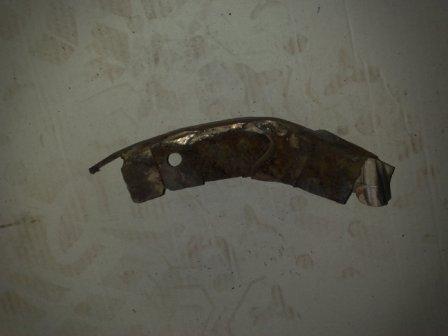
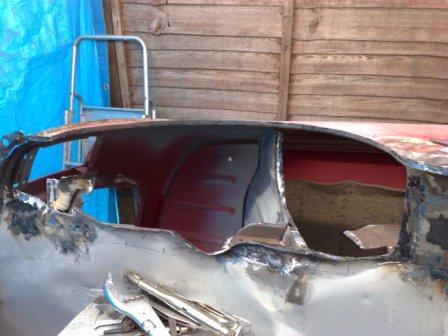
Next up is the rear wheel arch, as you can see it was in a pretty dire state. As with the rest of the car it had been patched, but the rot was on display for all to see. Why it had not been cut out before the patches were fitted I can't work out? Not to worry though, it will all be replaced, rot, patches and all!
These are a few "Before" pic's.
These are a few "Before" pic's.


The removing process is not particularly straight forward when it comes to Mini rear arches, mainly because they 'key' into so many of the surrounding parts, the rear 3/4 panel, boot floor, seat back, subframe mount panel, rear seat pan, the 'companion bin' and also a couple of strengthening gussets that run the load from the rear subframe mount up into the arch.
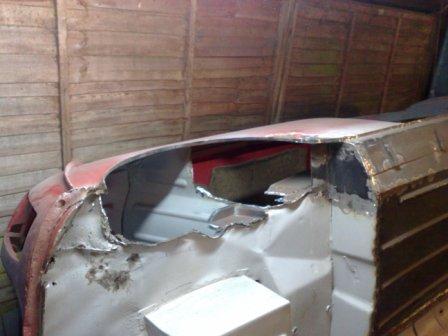
So care is the order of the day when the grinder is "at large". The pic's below show what I have ended up with....
So care is the order of the day when the grinder is "at large". The pic's below show what I have ended up with....


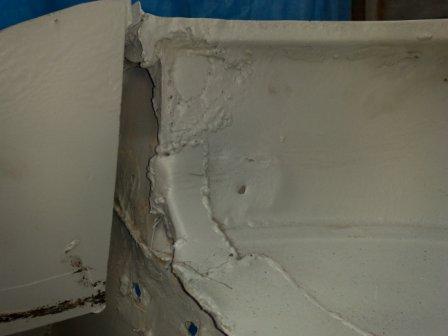
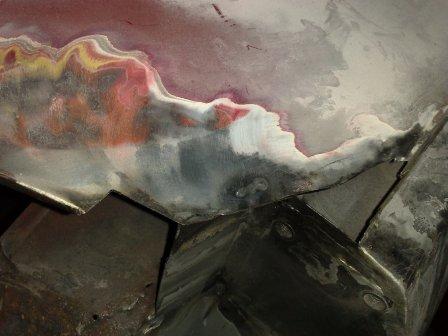
During the removal of the rear arch it became apparent that the bottom corner of the 3/4 panel was in a rather sorry state. That's actually an understatement, the truth is it had been well and truly bodged! Using some bent bits of metal (shown in the first picture below) which were basically held in with body filler.
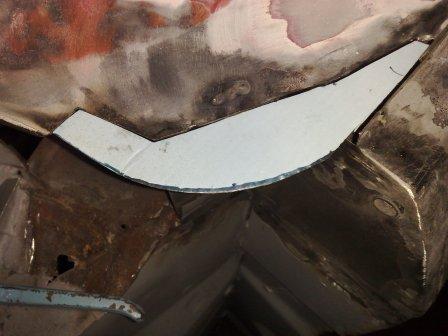
So I broke the filler out and stripped back the rusty metal until I was back on solid ground again. It was then a case of making up a template in cardboard, transferring this into metal and welding it in place.
Because this section has a return on it (which the side trim fits to) I then cut a strip of sheet metal and welded it into position. To produce the infill piece with the return as one single piece would have been pretty much impossible without making a tool to use in a press. However with good welding my method is just as sound but it took far less time.
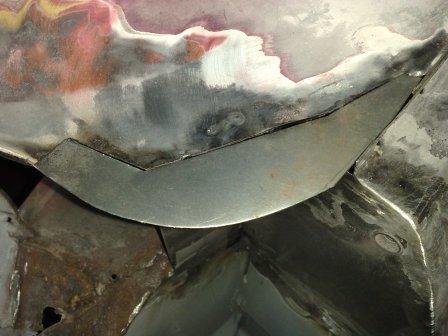


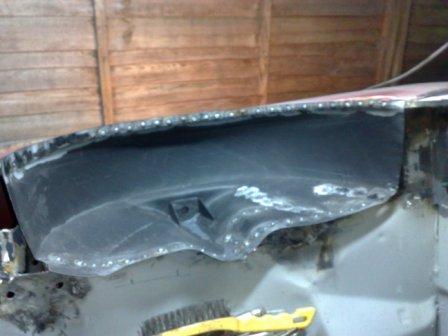
I then had some making good to do, to make sure all those panels that key into the rear arch were in pristine condition. This meant a few more infill panels and some more repairs to return sections. The shell, ready to receive the wheel arch is shown in the first two pics below, while the second two show the arch being fitted. Note the holes for the spot welds (or puddle welds). The ones on the inside edge of the arch pick up the seat back and strength gussets.
And there you have it! the right side is pretty much complete - just a little work on the rear corner and valance before i can flip the shell over and start the flooring process over again. Hopefully I will be well into that for the next blog update.
And there you have it! the right side is pretty much complete - just a little work on the rear corner and valance before i can flip the shell over and start the flooring process over again. Hopefully I will be well into that for the next blog update.


 RSS Feed
