After my last Blog post, my motivation was up, the chance to finish the right side of the car was definitely in sight.
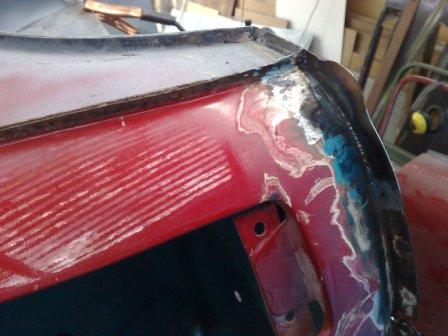
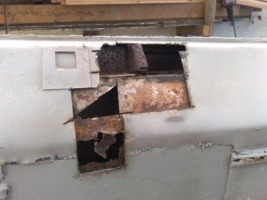
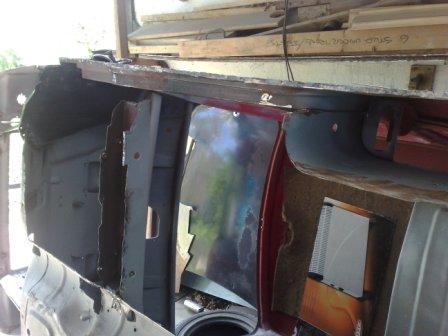
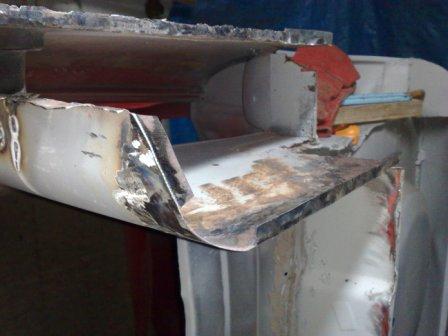
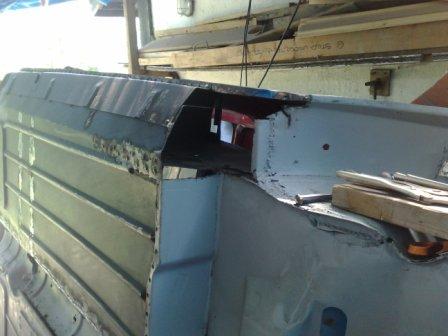
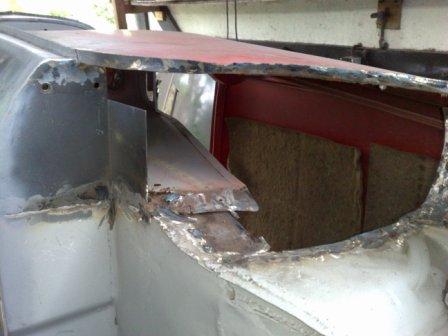
The final area that needed to be sorted out was the corner of the boot floor and with it the corner of the body and rear valance mounting return. As you can see in the pictures this all went well and the corner was pretty quickly solid and sound.
The final area that needed to be sorted out was the corner of the boot floor and with it the corner of the body and rear valance mounting return. As you can see in the pictures this all went well and the corner was pretty quickly solid and sound.

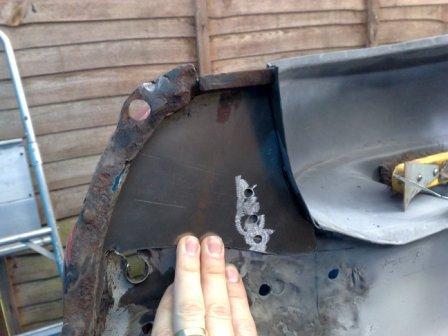

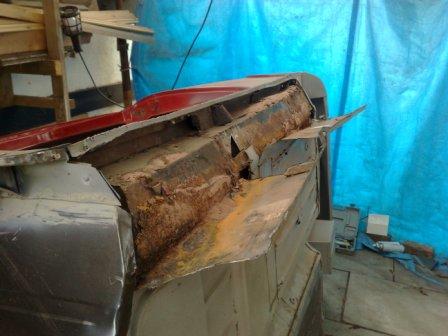
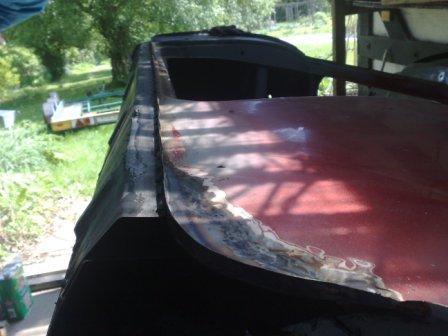
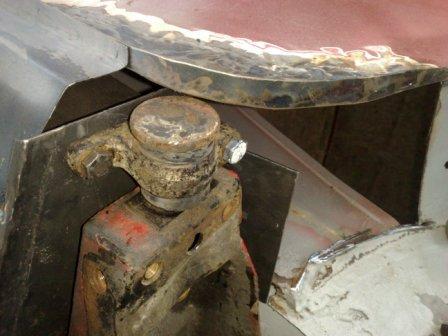
So it was time to roll the shell over and start work on the left side. But as I was getting ready I realised that all the dirt, grinding grit, dust and remaining shot blasting sand had been falling and gathering on the lower side (the left). Not a problem to clean up where I could see it, but there was also a whole load that was trapped in the cross member, which I didn't want to stay there as the shell rotated. So I cut a hole through the sill and let it all out. There was a fair quantity in there so I'm glad I did. The picture here shows the hole and also the blocked up jacking point in the sill (not much use to anyone!).
Then finally, after a good clean up of the rest of the car and my work space it was time to roll the shell over.
Then finally, after a good clean up of the rest of the car and my work space it was time to roll the shell over.


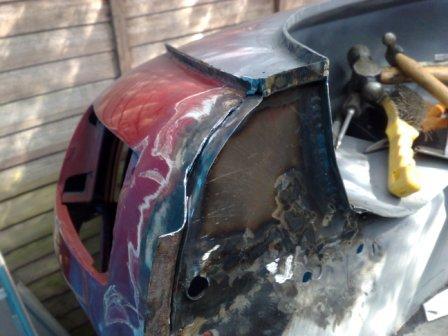
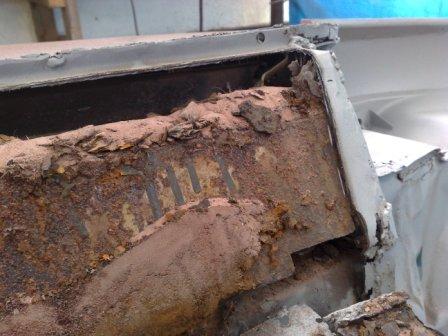
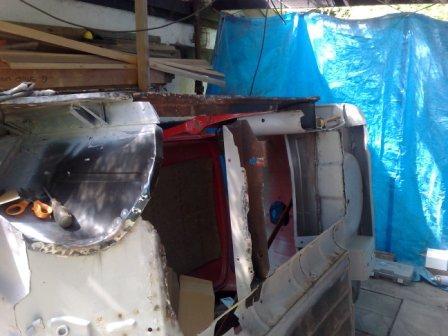
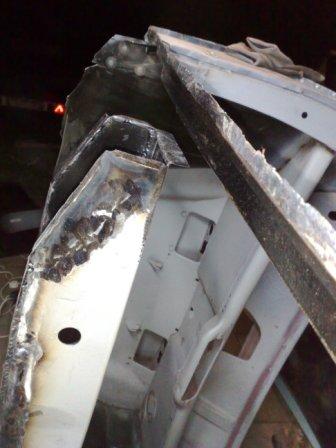
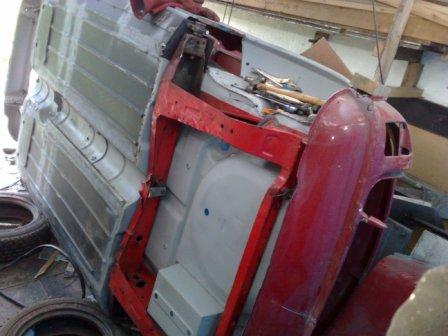
As you can see the condition of this side is very similar to that of the other, the rot is evident across the whole floor pan and has also started the "nibble" into the parts above the floor. The cross-member and the companion box are if anything slightly worse on this side. Which means slightly larger fitted repair sections will need to be made.
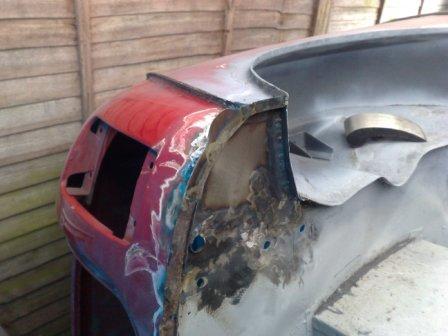
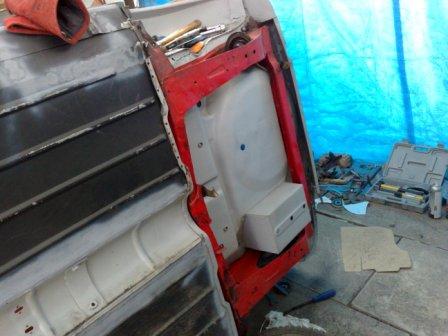
The next shots show the removal of the sill and floor pan. The first two pictures illustrate just how much of the shot blasting sand has found its way into the inner parts of the body through the rust holes. So my tip of the day would have to be "Don't use shot blasting to strip your car unless you are going to open every cavity during the restoration process". The last thing you want is to be carrying 10kg of sand round for the rest of the car's life!
The next shots show the removal of the sill and floor pan. The first two pictures illustrate just how much of the shot blasting sand has found its way into the inner parts of the body through the rust holes. So my tip of the day would have to be "Don't use shot blasting to strip your car unless you are going to open every cavity during the restoration process". The last thing you want is to be carrying 10kg of sand round for the rest of the car's life!
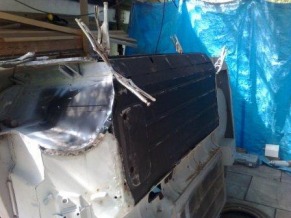
With the old floor and sill removed I can then start the process of trial fitting the new panel. As with the other side I'm using a Heritage half floor and 4" sill panel assembly. These come with the Jacking point and the piece of the cross member that sits inside the sill (to reinforce the jacking point), already fitted. The 4" sills are what would have been fitted to this, a Mk2 Mini, originally.
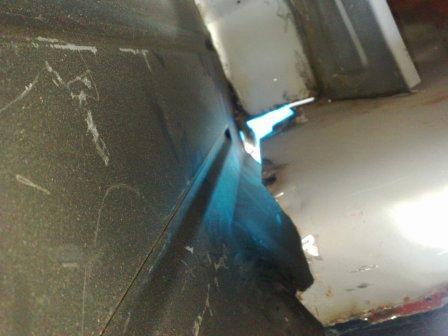
Once in place I can then make the templates for the sections of cross-member and companion box that I have had to cut away. These I then transfer into metal sheet and carefully file to a final fit, before they are welded in place. To finish the job I grind the weld back so the repair is invisible.
Once in place I can then make the templates for the sections of cross-member and companion box that I have had to cut away. These I then transfer into metal sheet and carefully file to a final fit, before they are welded in place. To finish the job I grind the weld back so the repair is invisible.

Then, once all the areas that won't be seen again are given a good coating of rust protection it's time to weld the floor into place. As always before and during the welding process I'm careful to check the alignments and dimensions to make sure that there is no heat deformation and that all the critical points are in the correct position.
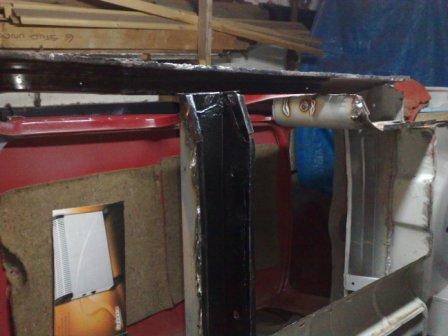

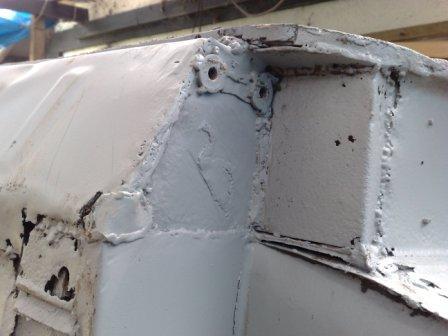
Next it's time to fit the Subframe mounting panel. As you would imagine the alignment of this is absolutely critical. If it's wrong, the Subframe will not sit straight in the car and the result will be a Mini that looks like a crab when it drives along the road.
So to get this right, I use the rear subframe as a jig, which picks up on the three mounting locations that remain on the body. With the subframe secured tightly to these (I have fitted new rubber bushes to ensure a tight fit), There is only one place the fixing panel can go. Which is interesting because it needs a little modification to allow it to fit in this position. So I take a number of measurements to make sure I'm doing the right thing before I'm convinced the panel is the part that needs to be modified (it's only a matter of bending along a slightly different line).
Then after another check it's ready to be welded in place. (Always remember, just like your Dad told you, if you measure twice, then measure again, you'll only have to cut (or in the case weld) it once!)
And that brings me up-to-date! If you're reading this for the first time please find me on Facebook or Twitter (Rob Russell) and you will receive notification when I add more to the Blog. Which will be very shortly I hope - after all my motivation is still high, driven by the good progress being made, so I can't slow down now!
 RSS Feed
