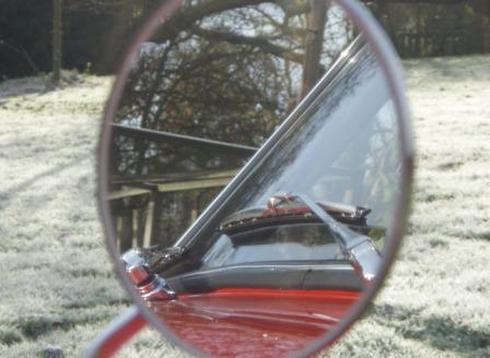
So here I am, at the end of the project to restore the 1969 998cc Mini Cooper. It's taken rather longer than predicted, but that's down to other commitment on my behalf rather than too many un-expected findings on the car.
In summary, the level of body shell re-construction was pretty major, and was the largest part of the work load. The Engine, Gearbox, Suspension and Interior were all pretty straight forward (apart from that brand new but faulty spark plug that sent me on a wild goose chase through the ignition system for a while!)
There remain just couple of bits left to take you through, to make this a full and complete story! Reading back through the pages I have realised I did not cover the fitting of the boot seal, not the most exciting part, but worth a mention none the less, because it's a fiddly job and I don't know of anywhere on the internet that has pictures showing the orientation of the little clips. So here are a couple of shots to fill that gap!
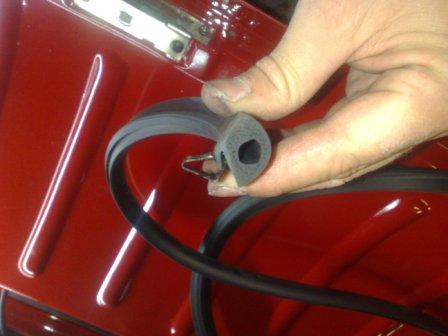
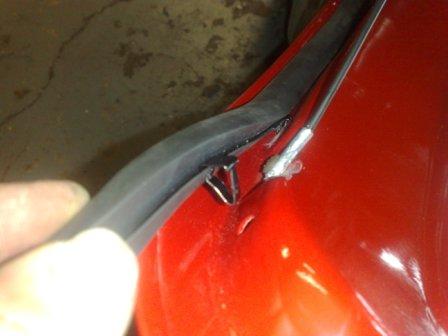
The new seal also resulted in the boot being very tight to shut. However with compression over time this has improved a lot.
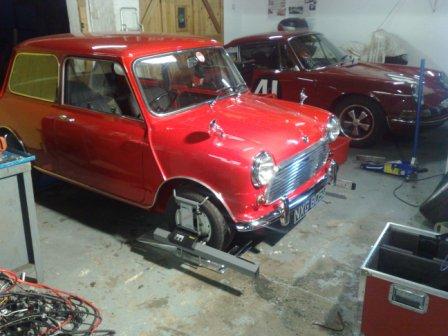
The last job to do before going out on the road was to fully set up the wheel alignment, on a Mini this is pretty straight forward. Only front tracking adjustment is readily available, however, after such a comprehensive restoration I always check all the parameters to make sure they are within the manufacturer specifications.
In this case everything was spot on (a testament to the careful body restoration), however if adjustment would have been required there are various ways to compensate by adjusting the brackets that hold the suspension to the sub-frames. Below are the pictures of the car with the laser alignment equipment attached (not very "period" but it's the best equipment for accurate alignment).


And that pretty much sums it all up! If you have any questions or would like to ask for any advice etc please do get in touch. The car is now up for sale, so again, please do get in touch if you're interested. There will be an E-Bay classified advert posted tomorrow.
I have some more High-Resolution pictures to upload very soon, I will update the blog when they are available.
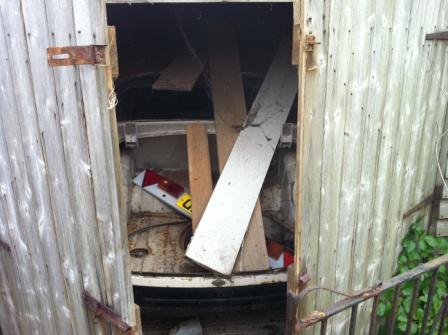
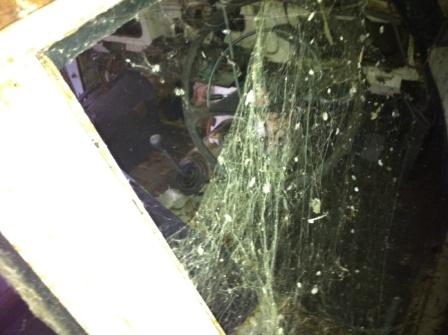
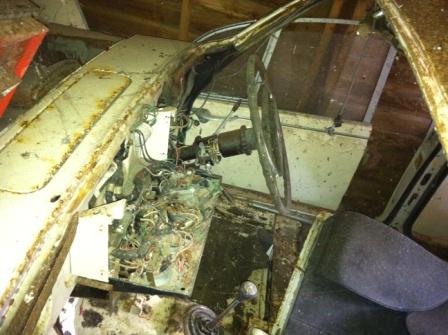
I have now turned my thoughts to the next project. There is a Golf Gearbox rebuild for a friend that I am already working on (I have pic's and will share them on here). But the next car-sized job I'm lining up is perhaps a little daunting, and definitely a "big one"! See if you can recognise it from the cryptic shots below. I have only taken a look so far, if all goes to plan, I hope to pick it up in a month or so. Then I can reveal all the details!
As always, thanks for reading.
Rob.
I have some more High-Resolution pictures to upload very soon, I will update the blog when they are available.
I have now turned my thoughts to the next project. There is a Golf Gearbox rebuild for a friend that I am already working on (I have pic's and will share them on here). But the next car-sized job I'm lining up is perhaps a little daunting, and definitely a "big one"! See if you can recognise it from the cryptic shots below. I have only taken a look so far, if all goes to plan, I hope to pick it up in a month or so. Then I can reveal all the details!
As always, thanks for reading.
Rob.

 RSS Feed
