Well once again it's been way too long since my last update and for that I must apologise. However I'm still determined to share the progress that I have made on the 205 GTI restoration. There have been a few interesting additional projects that I have been working on as well, but I will come to those once this story is told!
In the last entry, the engine work was completed and I had just started fitting out the nice shiny new engine bay.
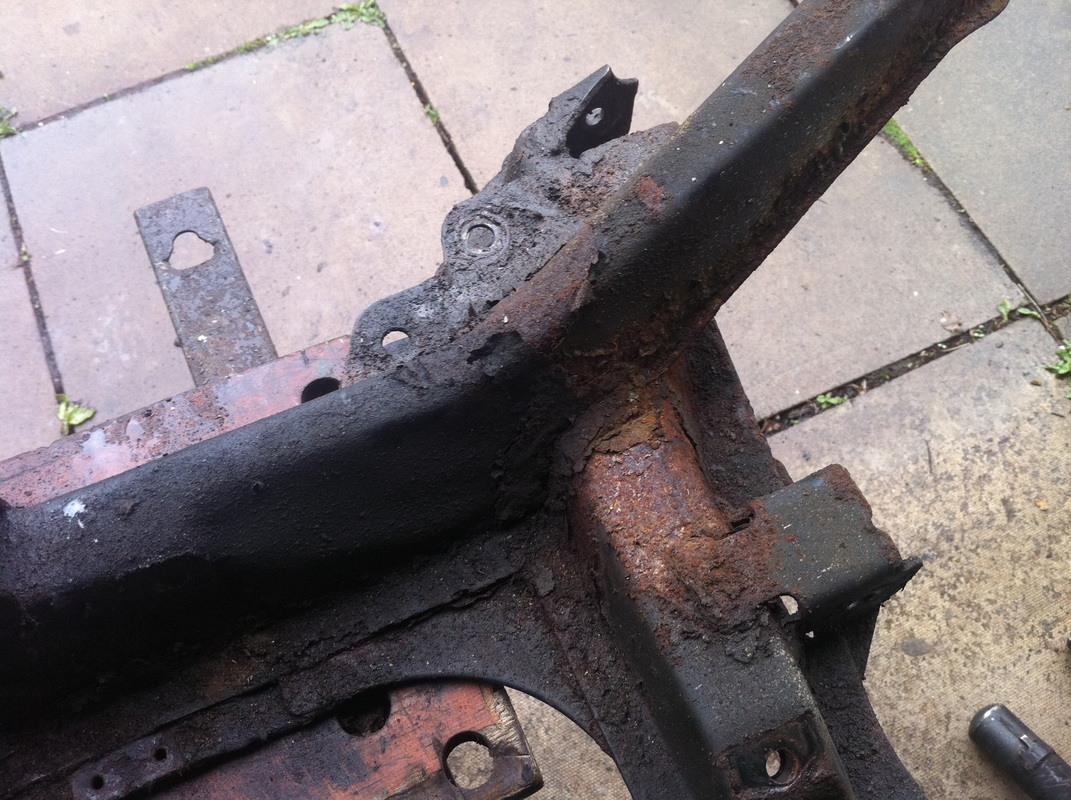
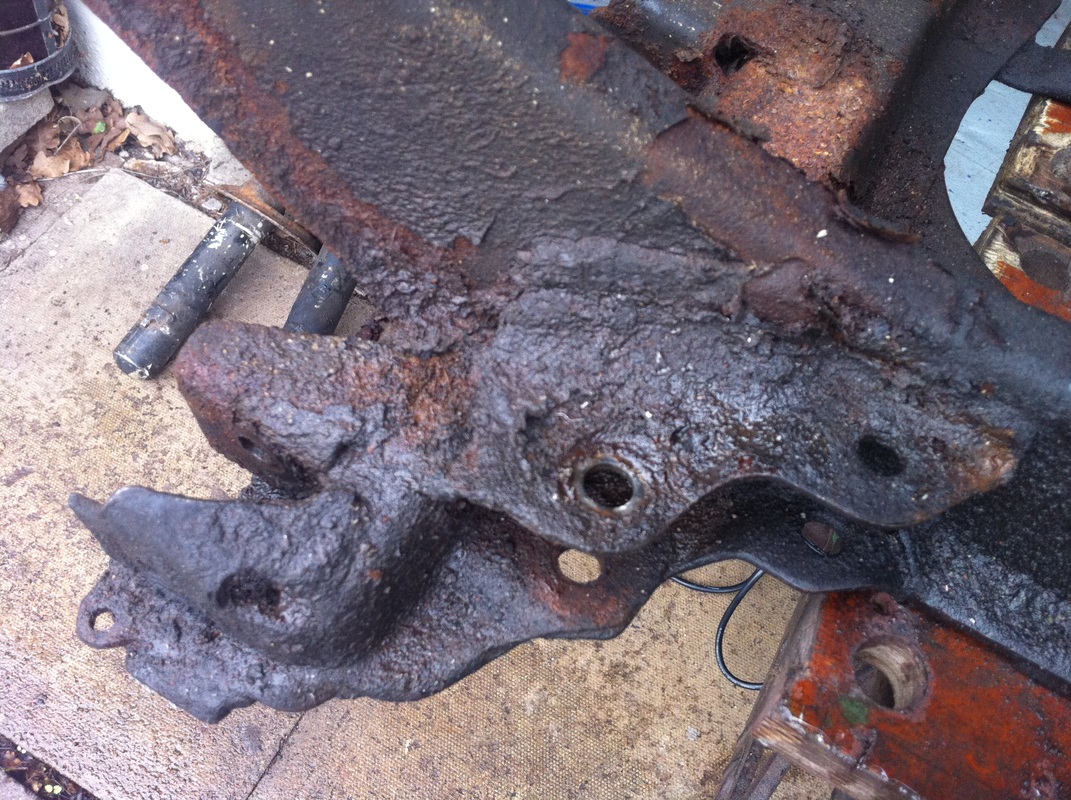
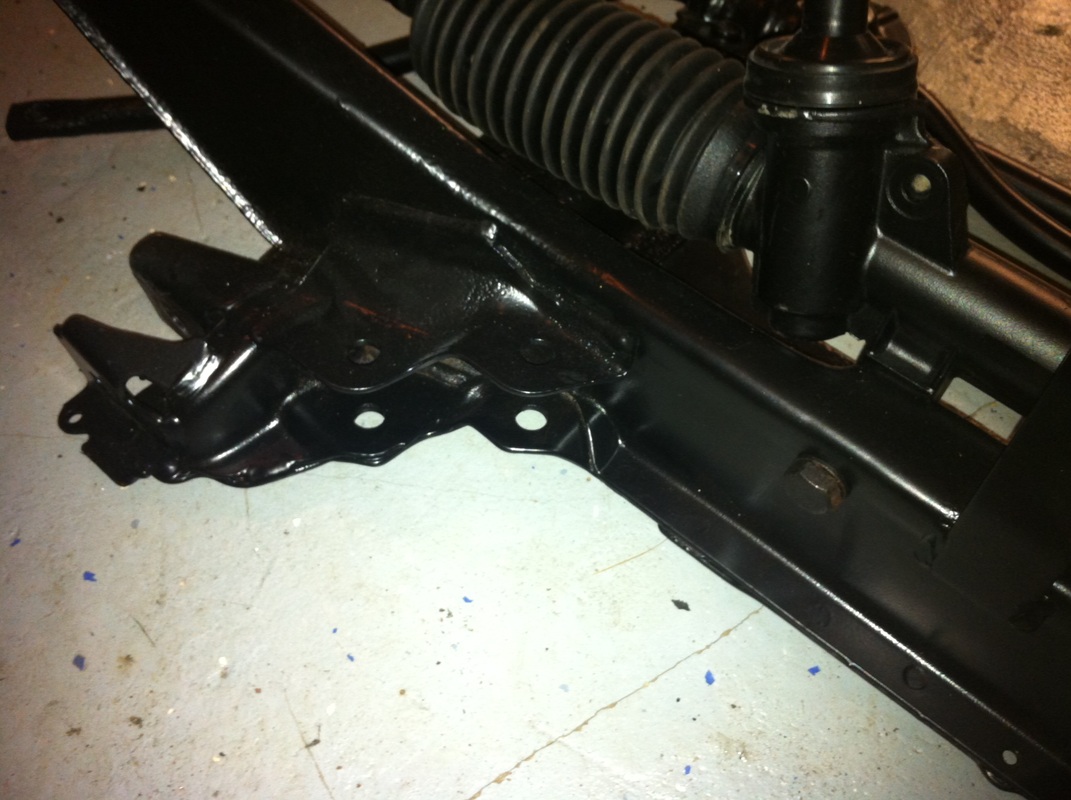
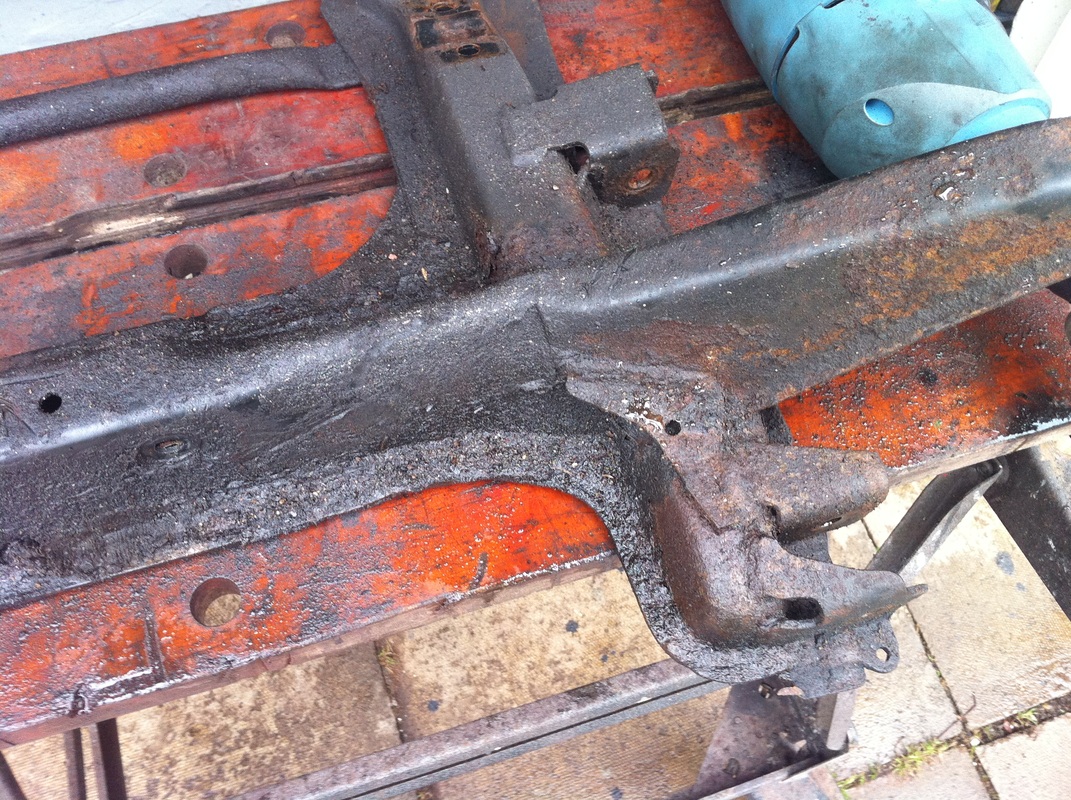
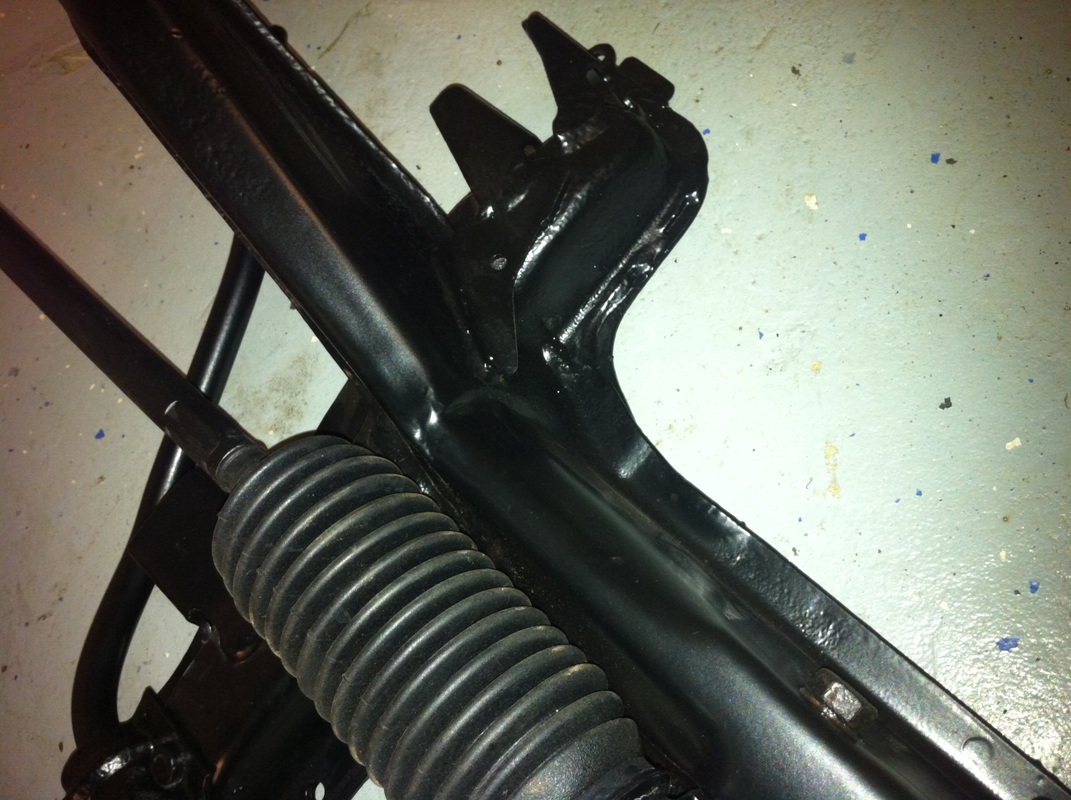
One of the bigger sub-assemblies to receive the shot blasting and powder coating treatment was the subframe, this mounts the lower suspension arms, the steering rack and also holds the "bell crank" of the gear linkage. Fortunately the oily dirt and grime had done a great job of preventing any serious structural corrosion, but it was certainly in need of a little TLC!
In the last entry, the engine work was completed and I had just started fitting out the nice shiny new engine bay.
One of the bigger sub-assemblies to receive the shot blasting and powder coating treatment was the subframe, this mounts the lower suspension arms, the steering rack and also holds the "bell crank" of the gear linkage. Fortunately the oily dirt and grime had done a great job of preventing any serious structural corrosion, but it was certainly in need of a little TLC!
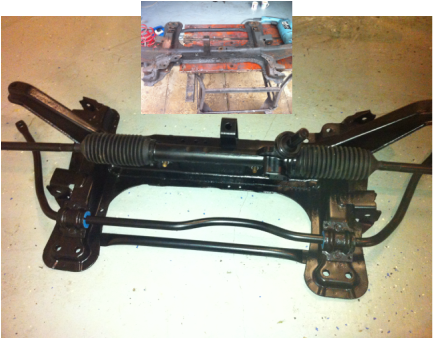
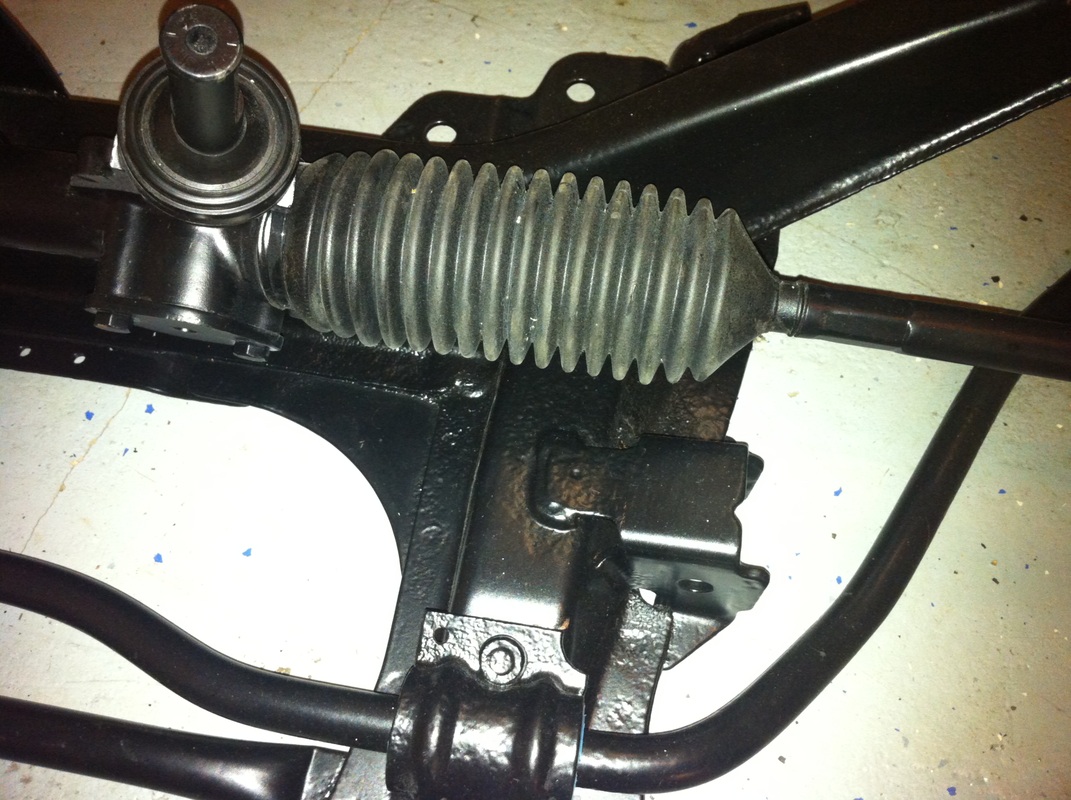
The Steering Rack I ended up replacing with a newly reconditioned part.
Once I stripped the original one down it was clear there was some fairly serious wear. There was a lot of play in the bushes, as well as the inner tie-rod joints and both gaiters were split. I looked into the price of replacement parts, to do my own job of reconditioning, but in the end the most economical solution was simply to buy an already reconditioned unit from GSF (German Swedish and French) and return the old unit as an exchange.
Below are a few "before" and "after" pictures of the subframe work.
(Click on the images to enlarge and read some more comments)
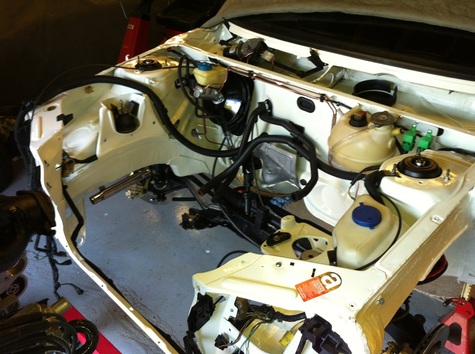
With the subframe restored, the under hood fitting out can continue.
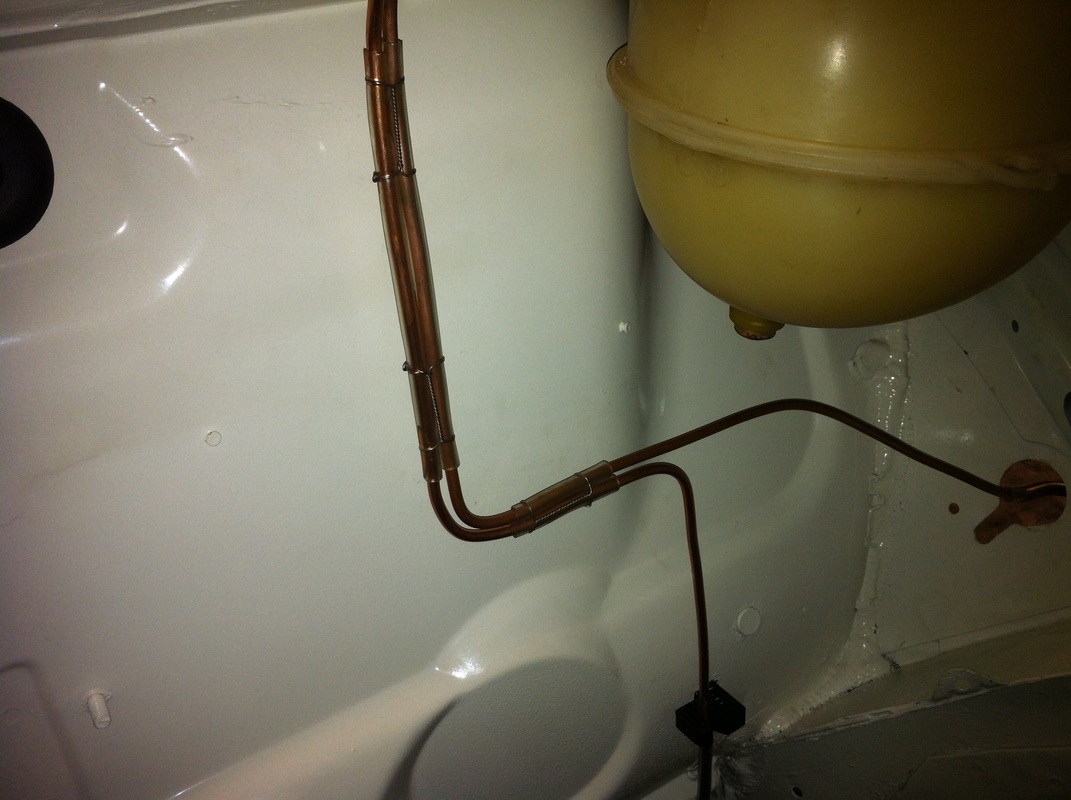
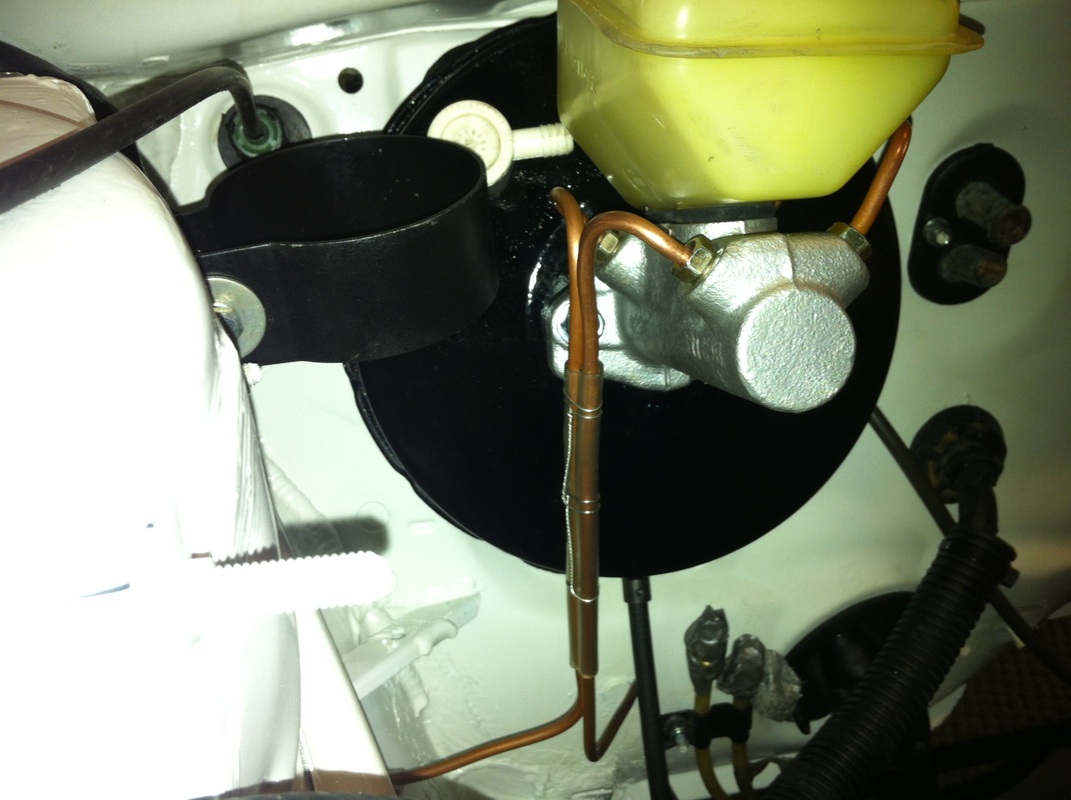
I have made up new brake lines, they follow the original routing but I have chosen to use copper pipe, instead of the original electroplated steel "Bundy Tube", this is partly because the copper is easier to work with, but also because it doesn't corrode, so will be a "fit and forget" solution.
I have made up new brake lines, they follow the original routing but I have chosen to use copper pipe, instead of the original electroplated steel "Bundy Tube", this is partly because the copper is easier to work with, but also because it doesn't corrode, so will be a "fit and forget" solution.

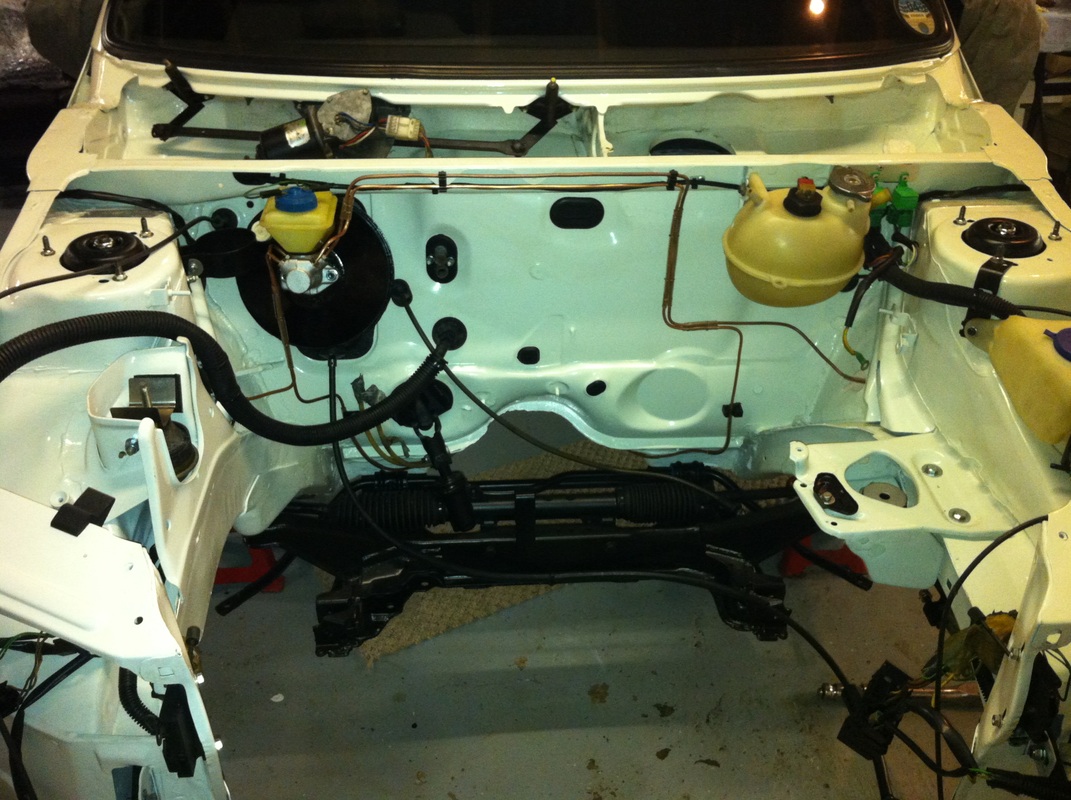
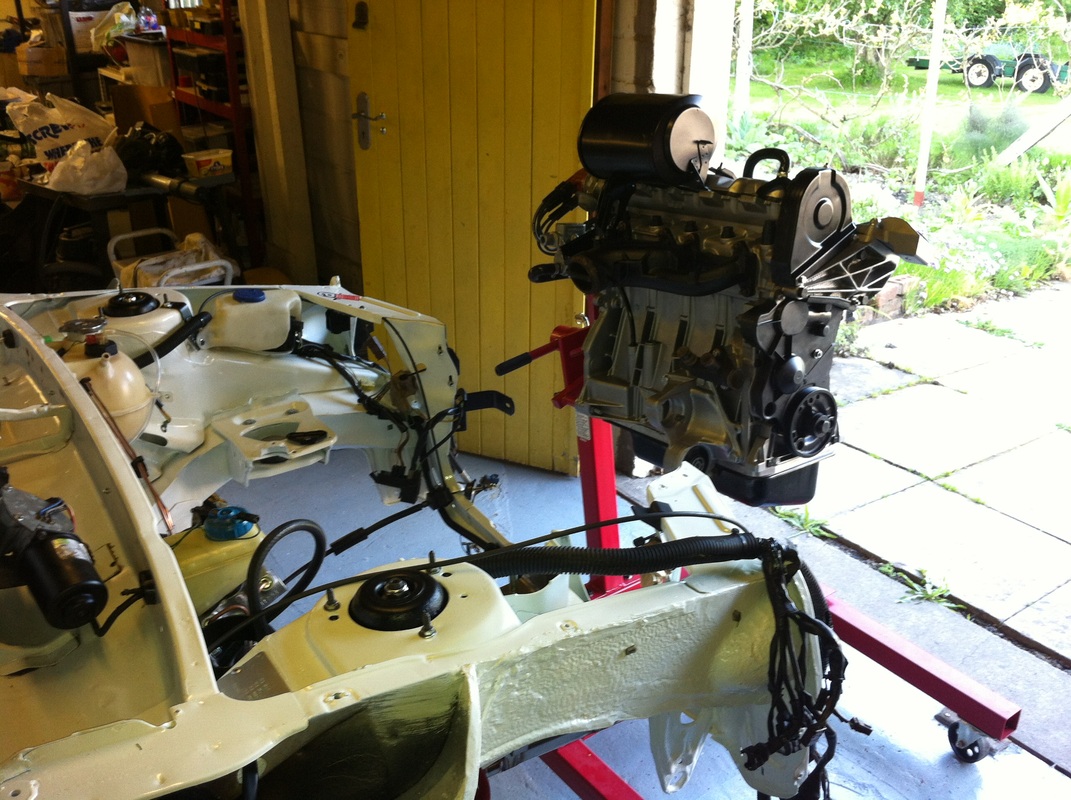
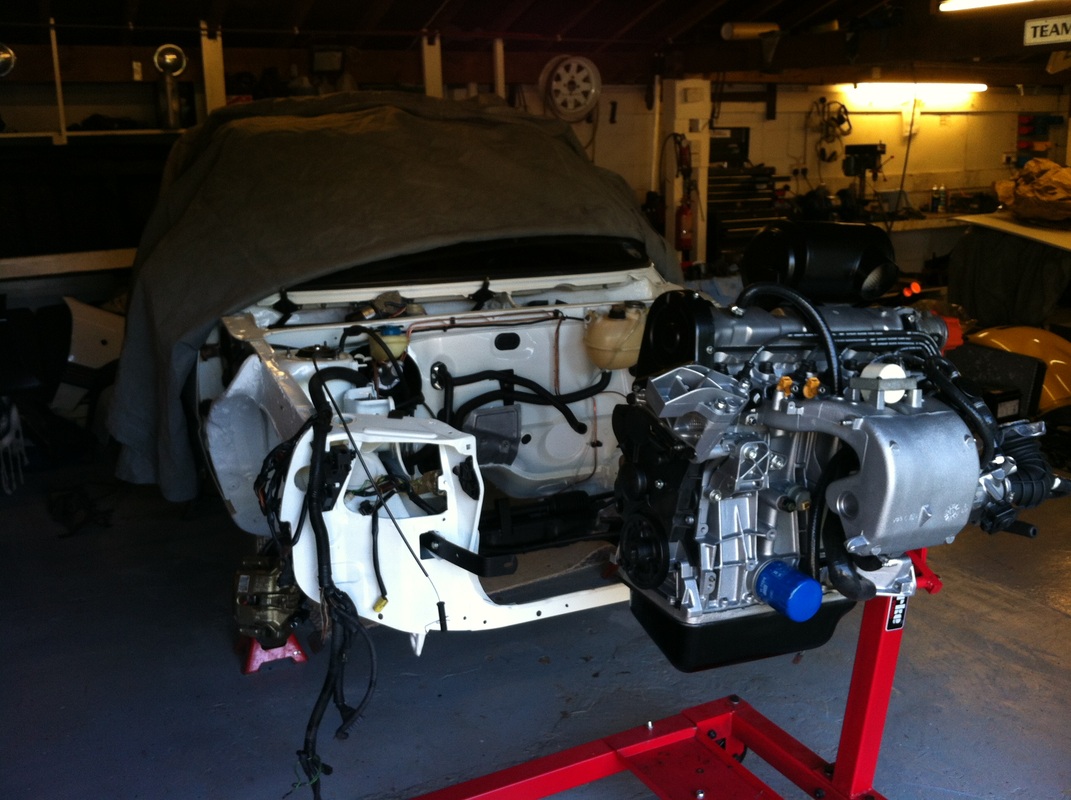
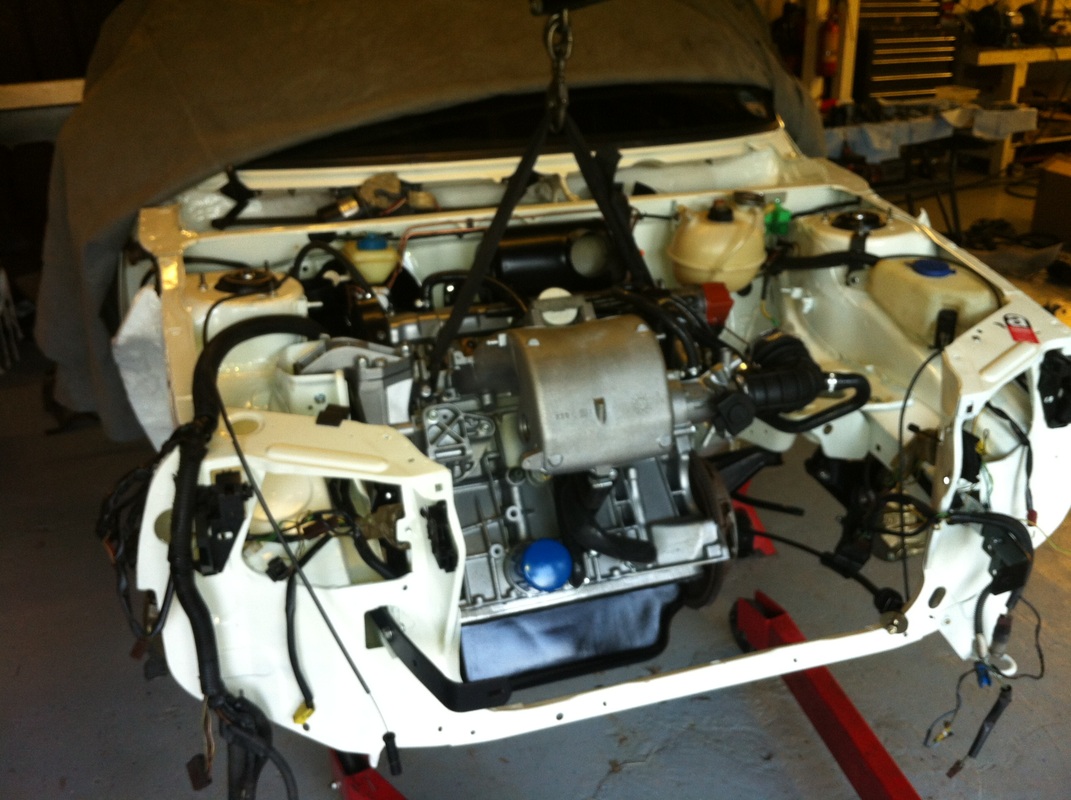
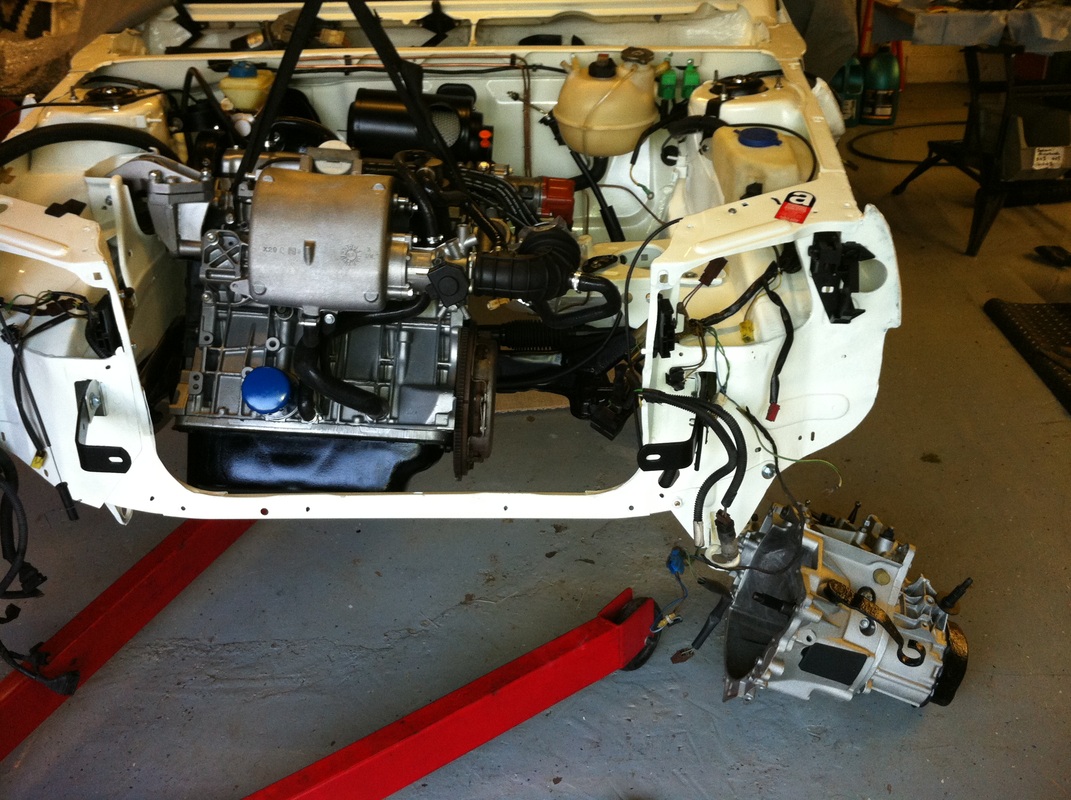
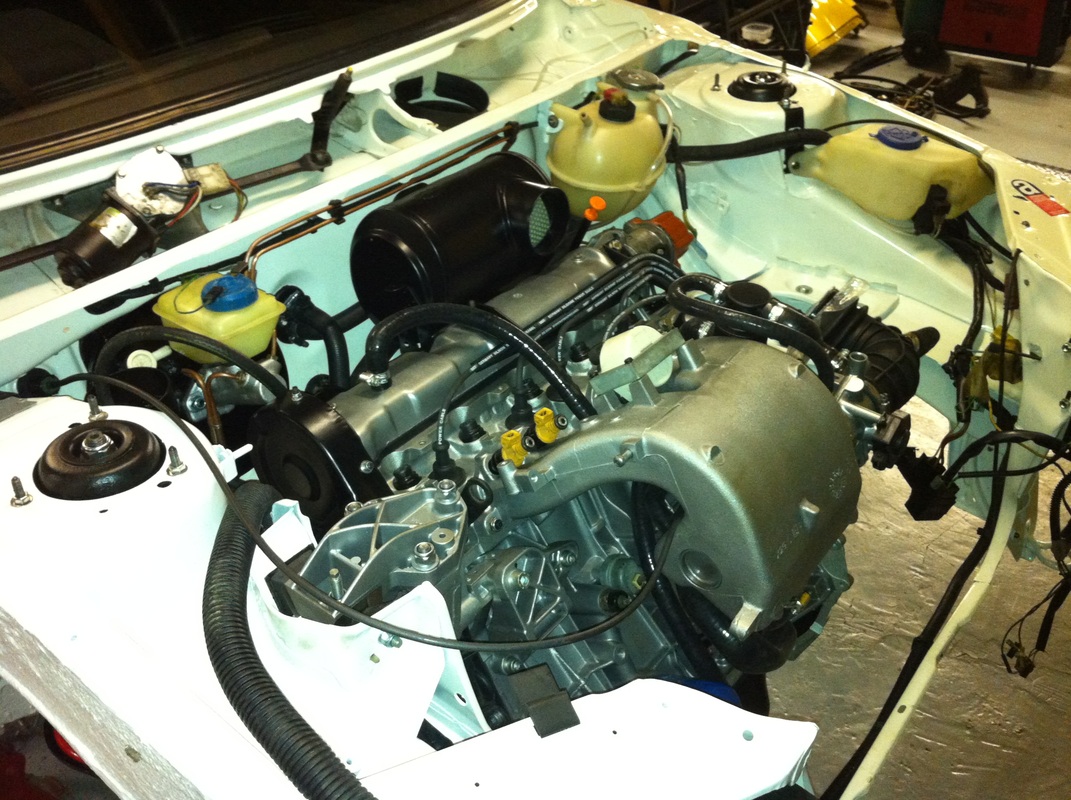
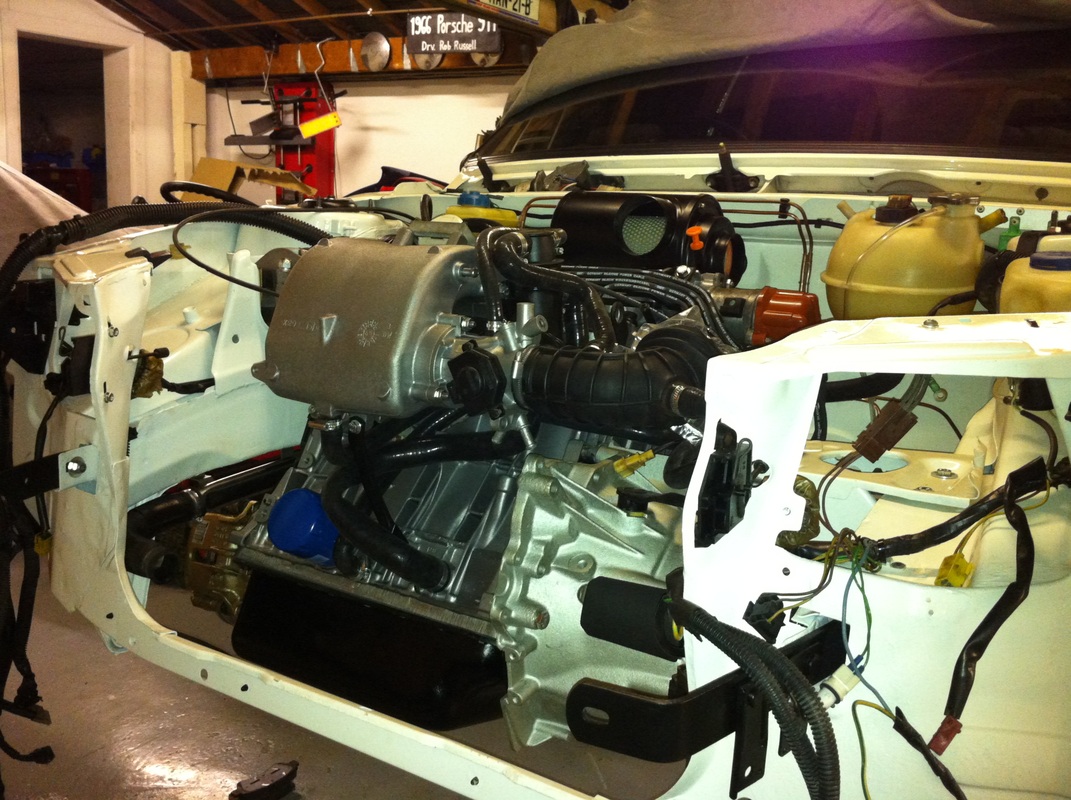
So here we are, ready for the Engine installation!
(note the just about original Asbestos warning sticker)
I chose to fit the engine first from above, and then the gearbox from below, it is possible to fit both together from below without the subframe in place, which is probably how it was done in the factory, but I chose my method to give me the maximum amount of manoeuvring room, and thus the best chance of ftting without damaging the new shiny paint!
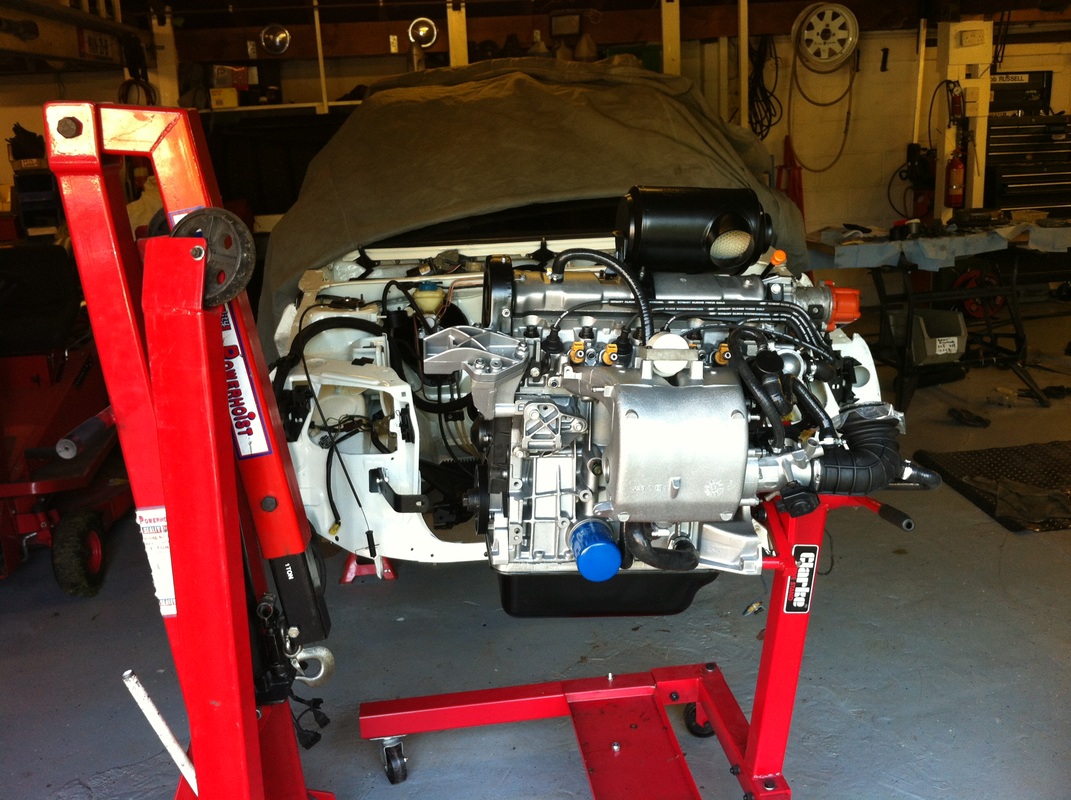
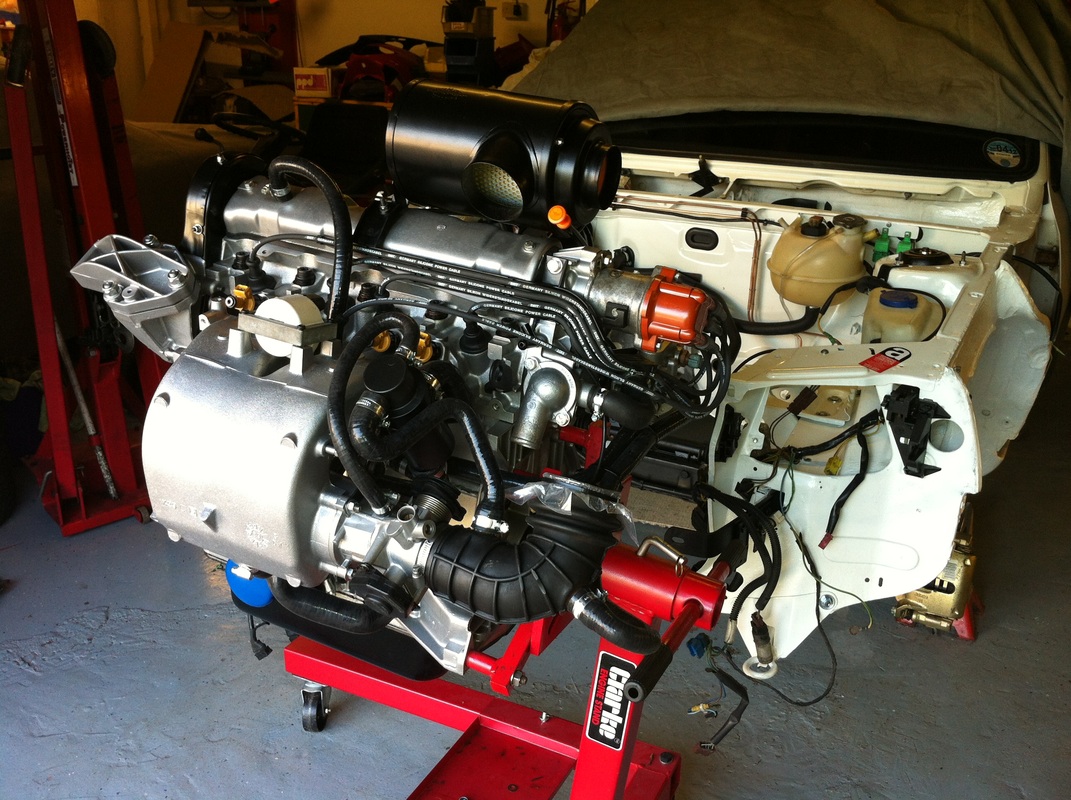

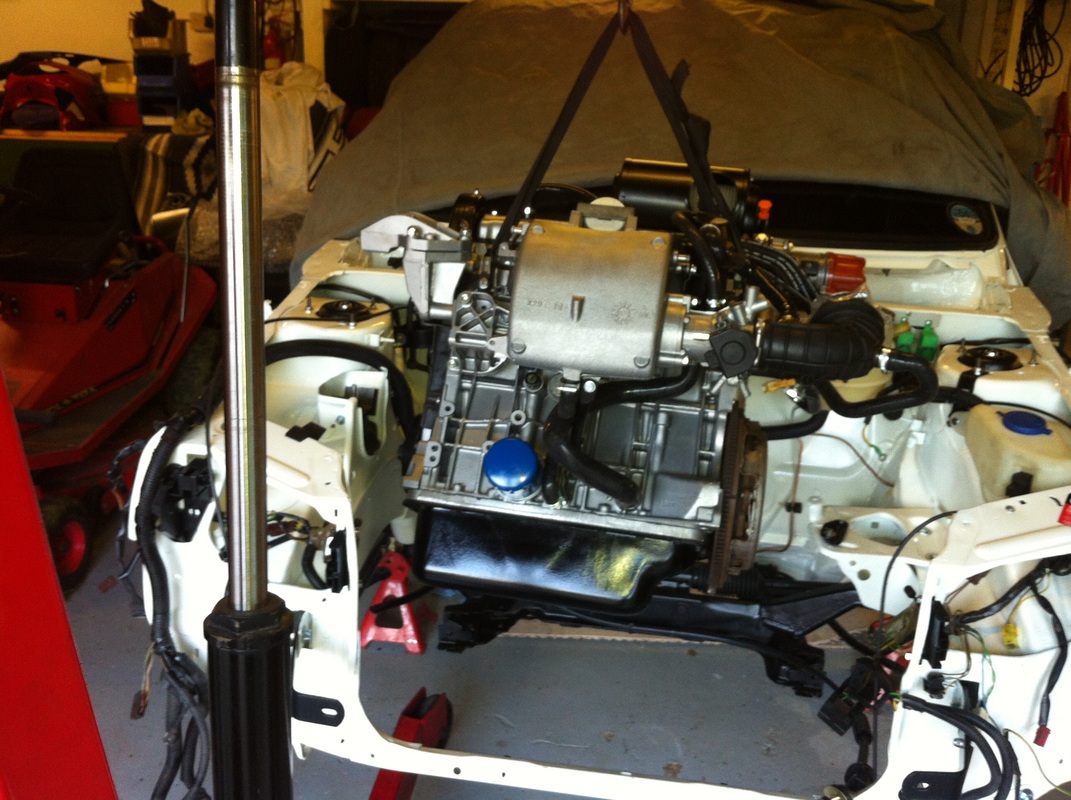
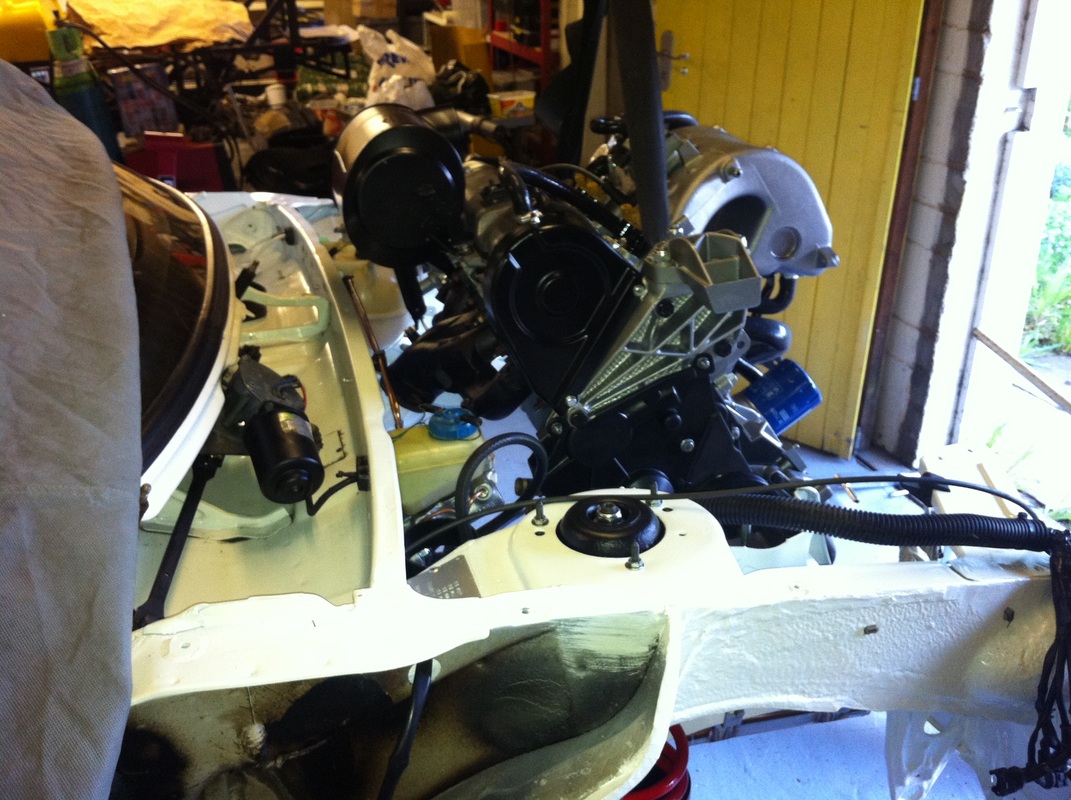
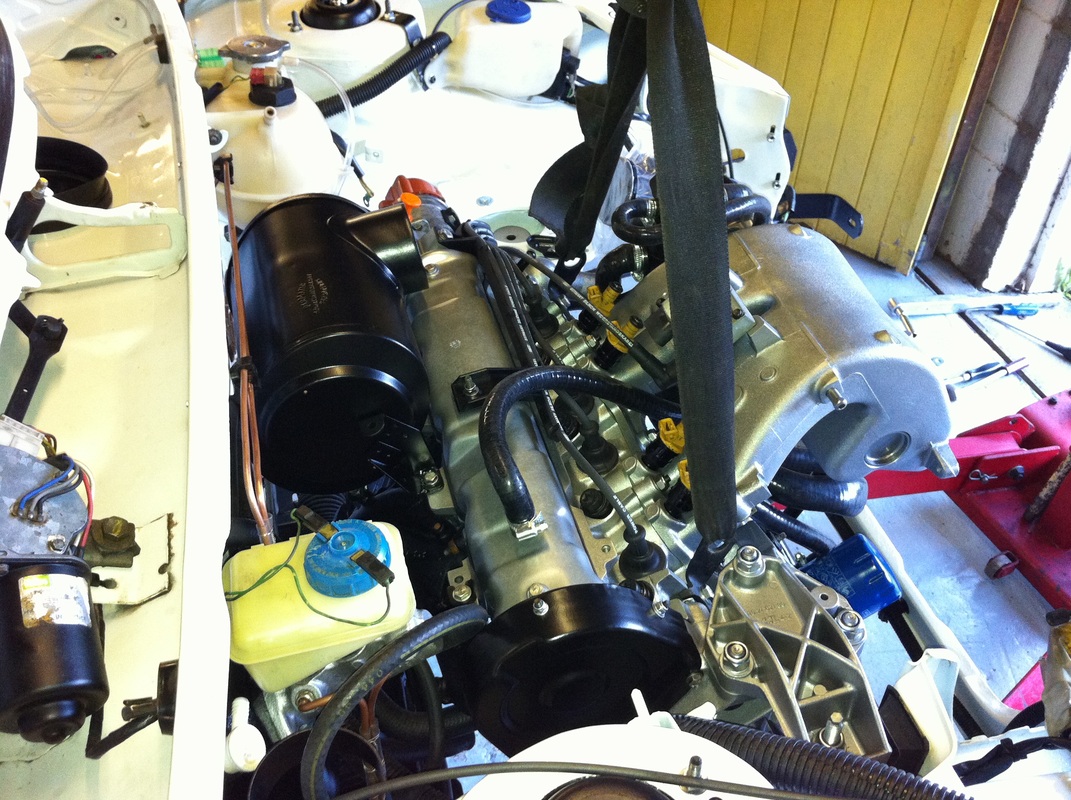
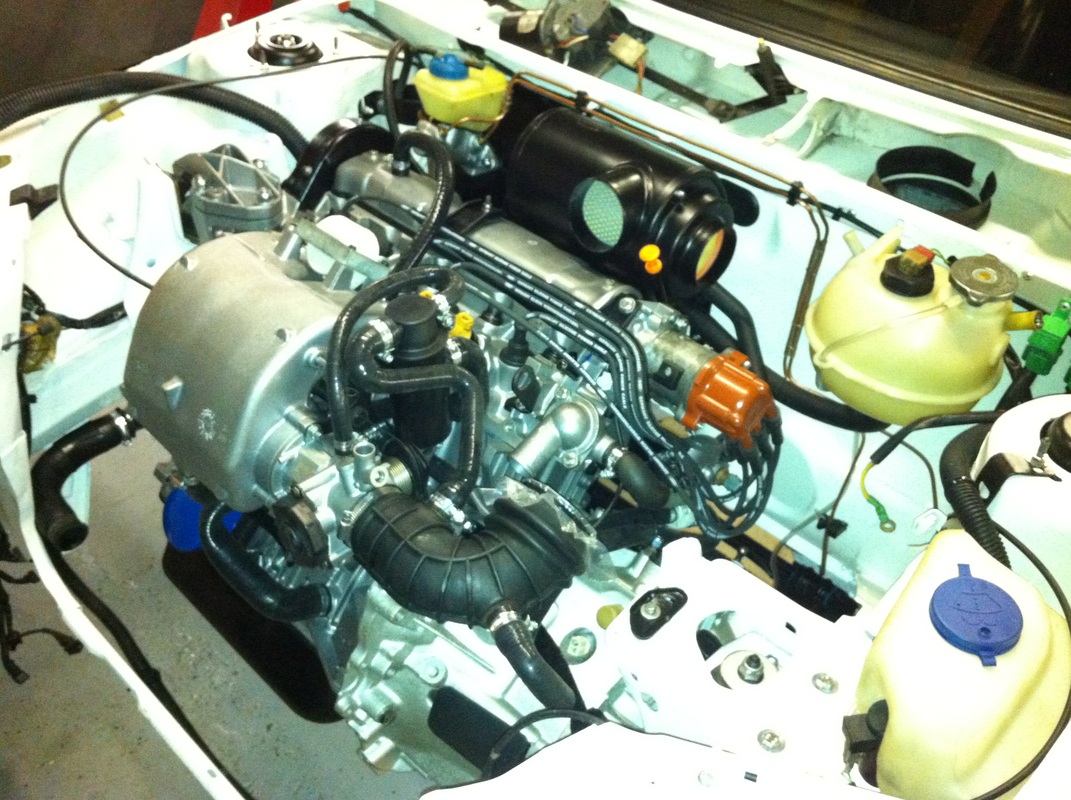

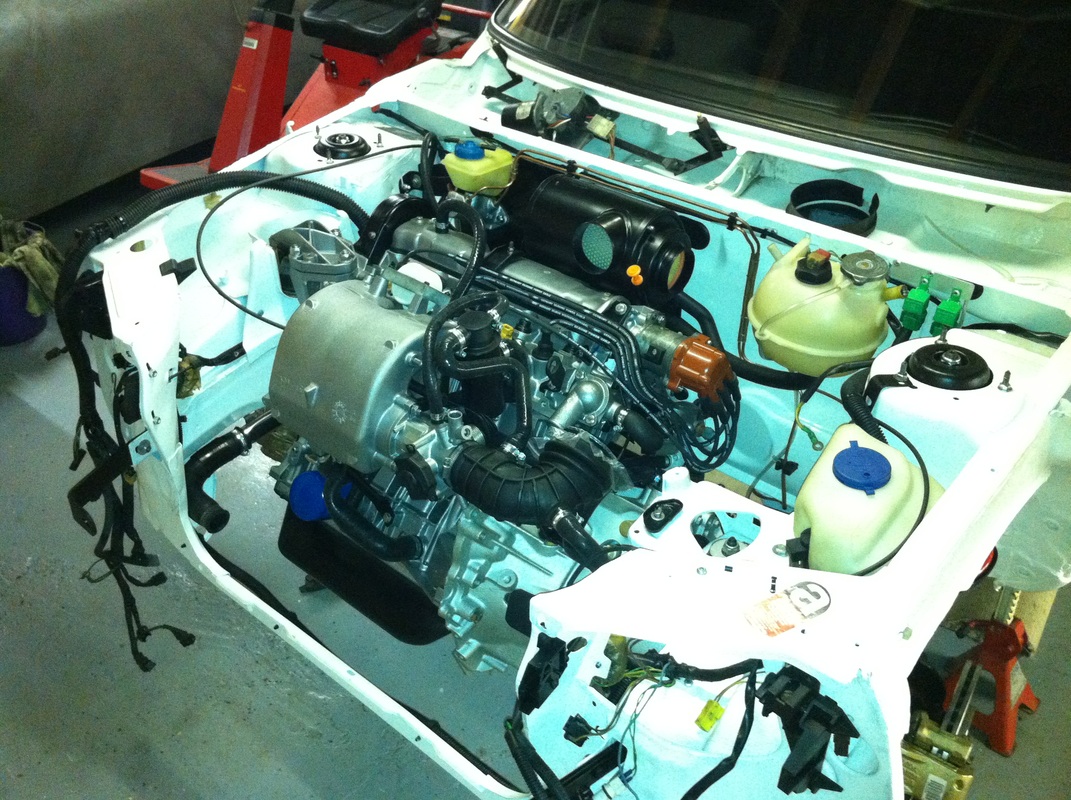

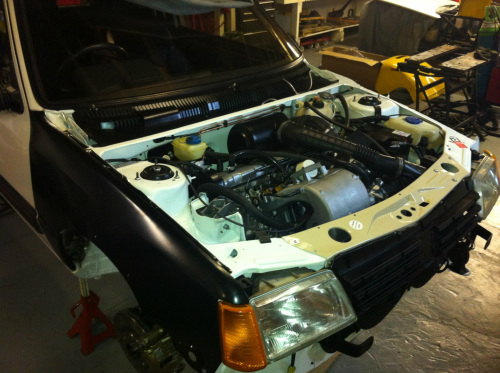
With the engine in place, the wiring can be routed around it, this is not completely straightforward as the main bulk of the loom runs under the intake manifold, through the gap left by it's scroll shape, but with careful handling it can be fiddled through and connected up. Then the rest of the engine bay can be fitted out. The big bits being the cooling pack and then the remaining air intake hoses. I have also fitted the front struts, so the newly refurbished drive shafts can be assembled.
I have bought new Bosch dampers and Eibach springs, choosing a virtually original specification described as a "road rally" set up - the original springs and dampers are as far as I am aware no longer available. I wanted to avoid cheap pattern replacement parts, so I hope this will be a good compromise between originality, durability and comfortable on road body control - we'll see, I'm very much looking forward to finding out!
I have bought new Bosch dampers and Eibach springs, choosing a virtually original specification described as a "road rally" set up - the original springs and dampers are as far as I am aware no longer available. I wanted to avoid cheap pattern replacement parts, so I hope this will be a good compromise between originality, durability and comfortable on road body control - we'll see, I'm very much looking forward to finding out!
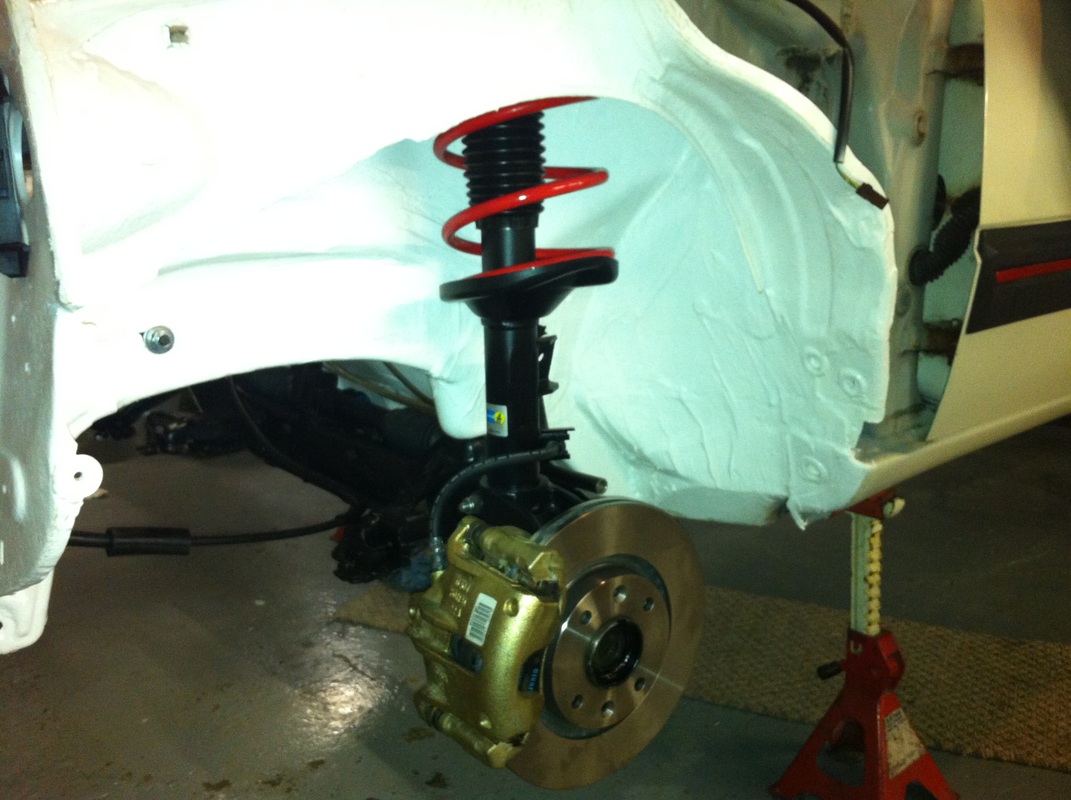


The keen eyed among you might also have noticed that the front breaks aren't quite standard. I was lucky enough to have a pair of brand new 206 front callipers "in stock" from a previous rally car project, so I have chosen to fit those. They will still fit perfectly inside the 15" standard Speedline wheels, although they are slightly larger than the standard brakes. Plus it means I avoid the job of refurbishing the original calipers (but the original parts will be kept just in case there is a need to return the car to completely standard in the future).
The next job is a dry fit of the new front wings, just to make sure they are correct, before sending them away for paint. (They are the second set to arrive as the first were damaged in the post - very frustrating but such is life!)
Then, with breath held and fingers crossed it's time to fill the engine with fluids and turn the key!
I'm delighted to report that after carefully spinning over with no plugs fitted to raise the oil pressure and following a final check for any forgotten parts, the
Then, with breath held and fingers crossed it's time to fill the engine with fluids and turn the key!
I'm delighted to report that after carefully spinning over with no plugs fitted to raise the oil pressure and following a final check for any forgotten parts, the
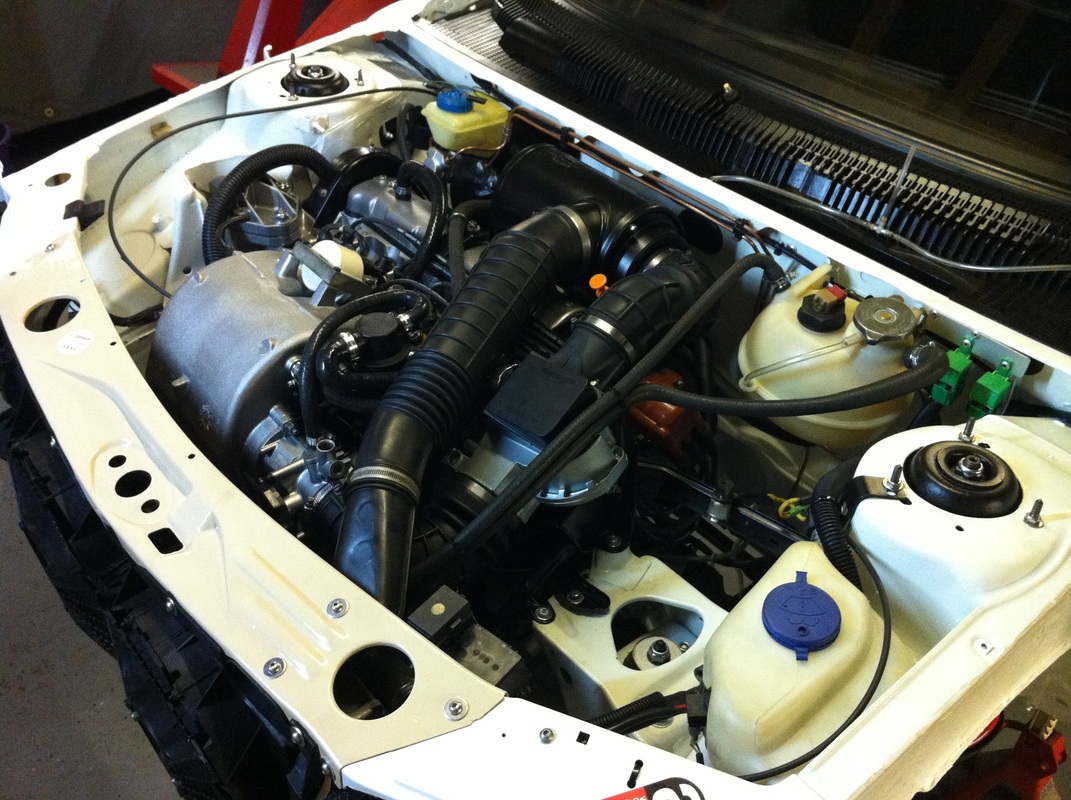
engine jumped into life straight away and settled to a wonderful smooth idle - phew!
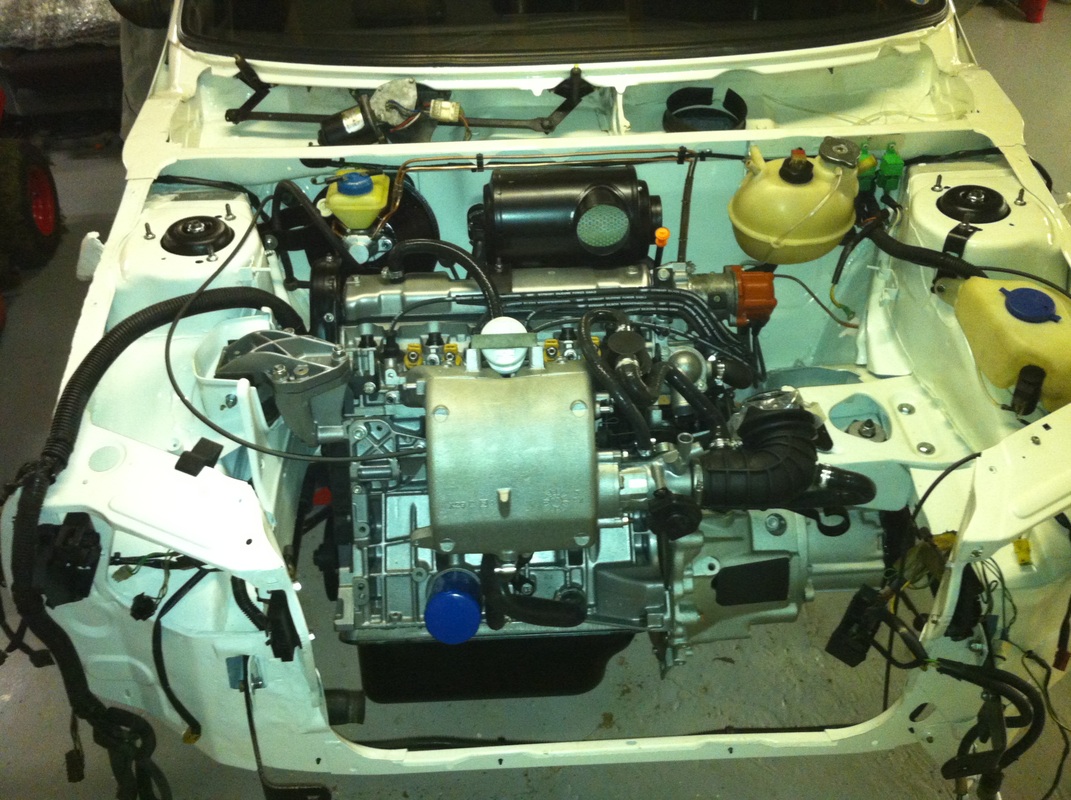
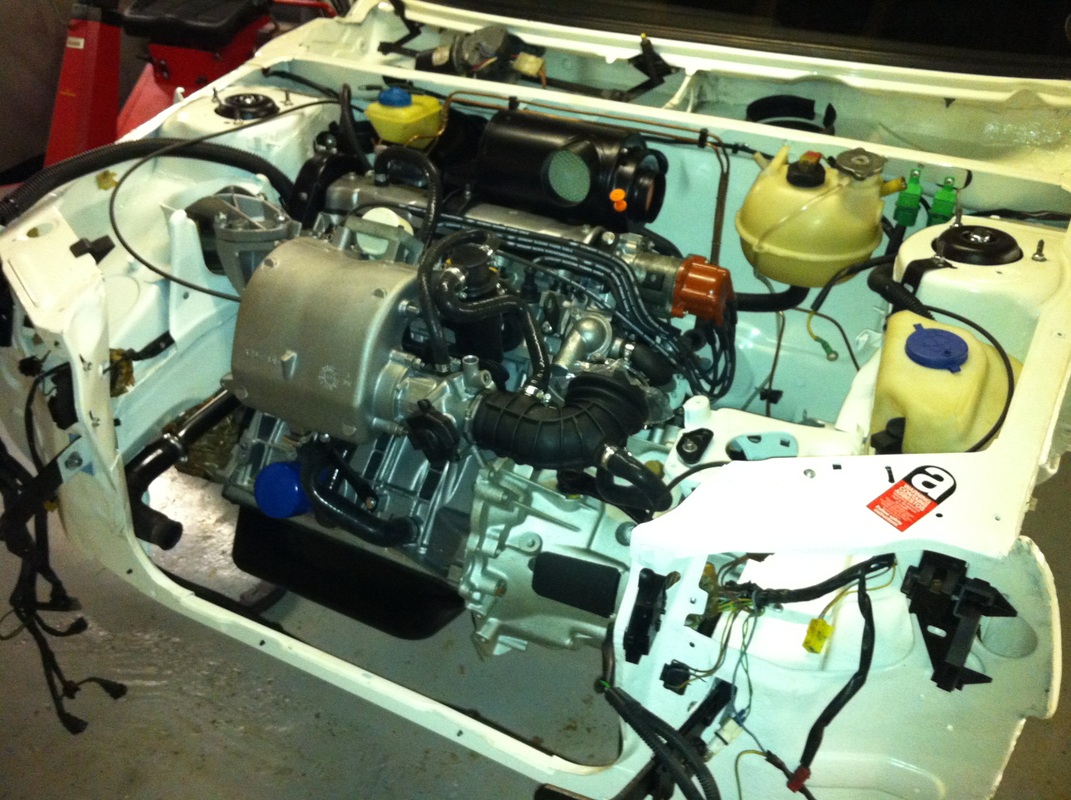
I then left it to warm up while checking for leaks until the thermostat opened - and there it was - a running car once more!
This is a picture after its first run, down and up the drive.
I then left it to warm up while checking for leaks until the thermostat opened - and there it was - a running car once more!
This is a picture after its first run, down and up the drive.

So now I'm waiting for the wings, bonnet, bumper and grille to return from the paint shop and then I'm definitely into the final straight before it's ready for MOT and the open road!
Thank-you, as always for your time and interest!
Thank-you, as always for your time and interest!
 RSS Feed
