Hi, and first an apology for the far too long time without an update, call this a New Year's resolution if you will, but I have promised myself to get back in the habit of sharing my projects and their progress, not only the 205 project but also all the other work that i have been up to over the last few months.
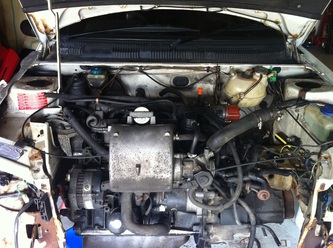
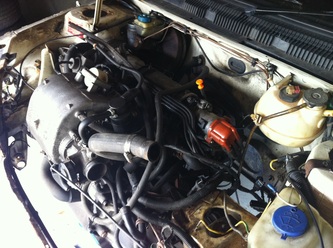
So where to begin? Well, I will start at the point where I left the 205 "Bulkhead Forwards" restoration, and that was at the point of stripping it apart and removing the engine.
So where to begin? Well, I will start at the point where I left the 205 "Bulkhead Forwards" restoration, and that was at the point of stripping it apart and removing the engine.
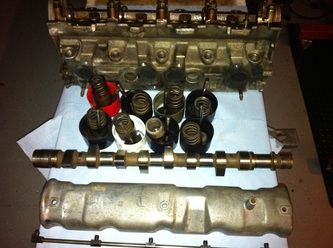
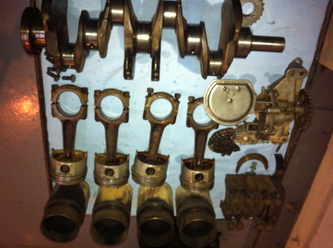
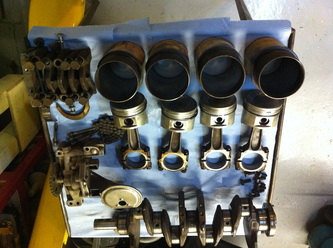
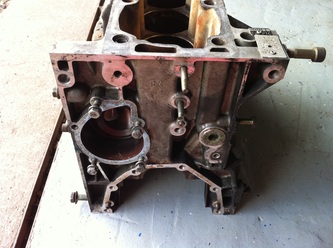
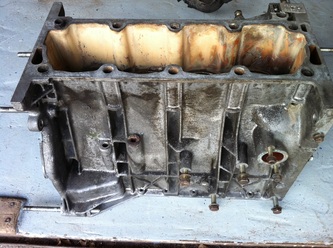
Once that ratchet is set to un-do it really doesn't take long to pull a car apart. I had the engine out and in pieces in just one weekend, and when I say in pieces, that's exactly what I ended up with!
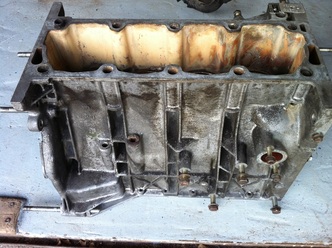
Once out and with the head removed it was clear that the cylinder liners could do with re-honing, and the main and big end bearings, although not totally worn, were definitely showing signs of wear.
In the head the valves all looked to be ok, but in need of de-coaking and lapping, and the stem seals were very crunchy.
So the strip was all the way to a component level, and I was now facing the prospect of checking the crank and liner dimensions, to make sure they were serviceable. Before making a concerted effort to source all the right replacement parts.
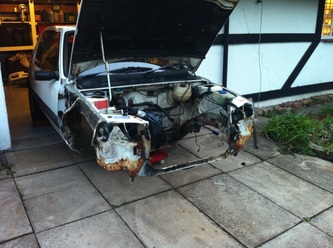
On the body side of things, after a close inspection and a poke with a screwdriver it really wasn't looking too bad, there was a fair amount of superficial rust, but only the chassis leg, that I already knew about and the right hand head light panel were badly rotted, and there was another small hole through the bulkhead just where the right chassis leg attaches to it (where there is a little recess that was full of damp dirt, so not surprising it had rotted really).
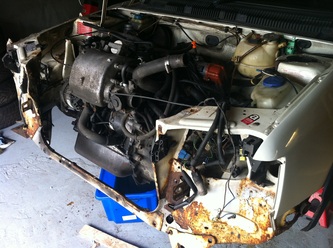
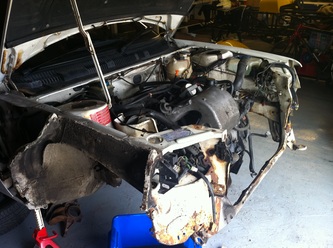
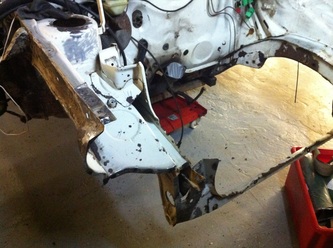
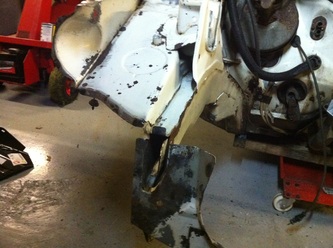
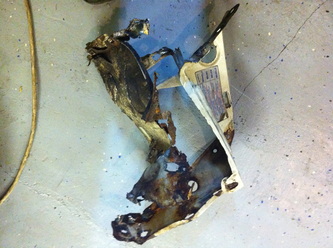
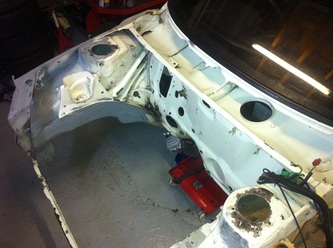
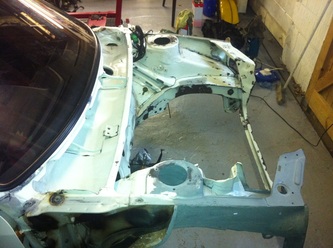
The pictures below show before and after removal of the offending headlight panel. It's quite a complicated shaped part which needed careful removal so as not to damage the other panels, and their flanges that would provide locations for puddle welding on the new part.
The pictures below show before and after removal of the offending headlight panel. It's quite a complicated shaped part which needed careful removal so as not to damage the other panels, and their flanges that would provide locations for puddle welding on the new part.
I sourced a new panel, from E-Bay, which was a good match and then by sub assembling the bolt on slam panel and the bonnet made sure I had it in exactly the right position before welding it in place.
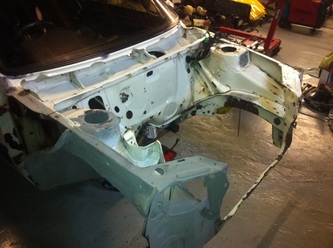
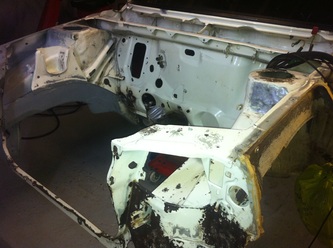
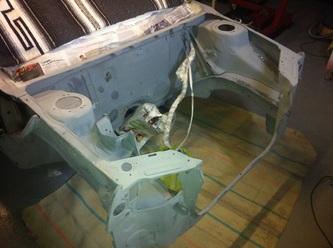
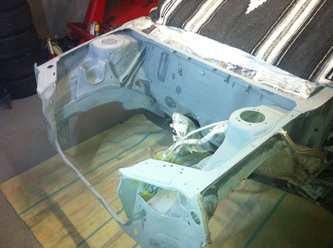
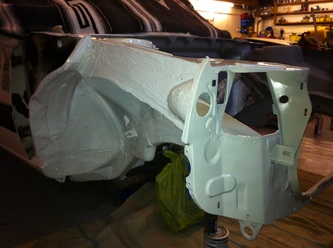
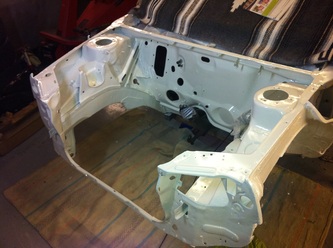
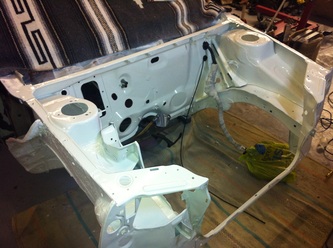
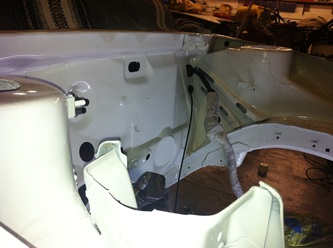
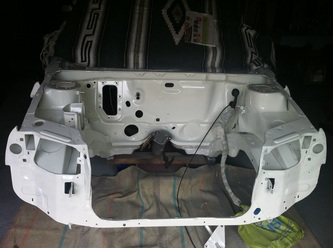
By this time I had also stripped the rest of the engine bay of all it's parts, and cleaned it all down with thinners, then a wire brush and finally a good rub with a scotch bright pad to 'key' the remaining paint ready for primer, and then the top coat. The end result being a nice shiny white engine bay, which was then just waiting for a nicely restored engine to fit into it (and a nicely restored pedal-box and servo, and a nicely restored wiring loom, and new break lines, and restored brackets etc etc! It's never quite as straight forwards as you hope it might be is it?). But it is all very enjoyable and to see the body starting to really improve was motivation enough to push me down the long road of engine restoration! Which I will cover in my next blog entry (I promise it won't be such a long gap this time either!).
By this time I had also stripped the rest of the engine bay of all it's parts, and cleaned it all down with thinners, then a wire brush and finally a good rub with a scotch bright pad to 'key' the remaining paint ready for primer, and then the top coat. The end result being a nice shiny white engine bay, which was then just waiting for a nicely restored engine to fit into it (and a nicely restored pedal-box and servo, and a nicely restored wiring loom, and new break lines, and restored brackets etc etc! It's never quite as straight forwards as you hope it might be is it?). But it is all very enjoyable and to see the body starting to really improve was motivation enough to push me down the long road of engine restoration! Which I will cover in my next blog entry (I promise it won't be such a long gap this time either!).
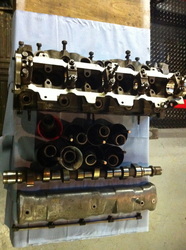
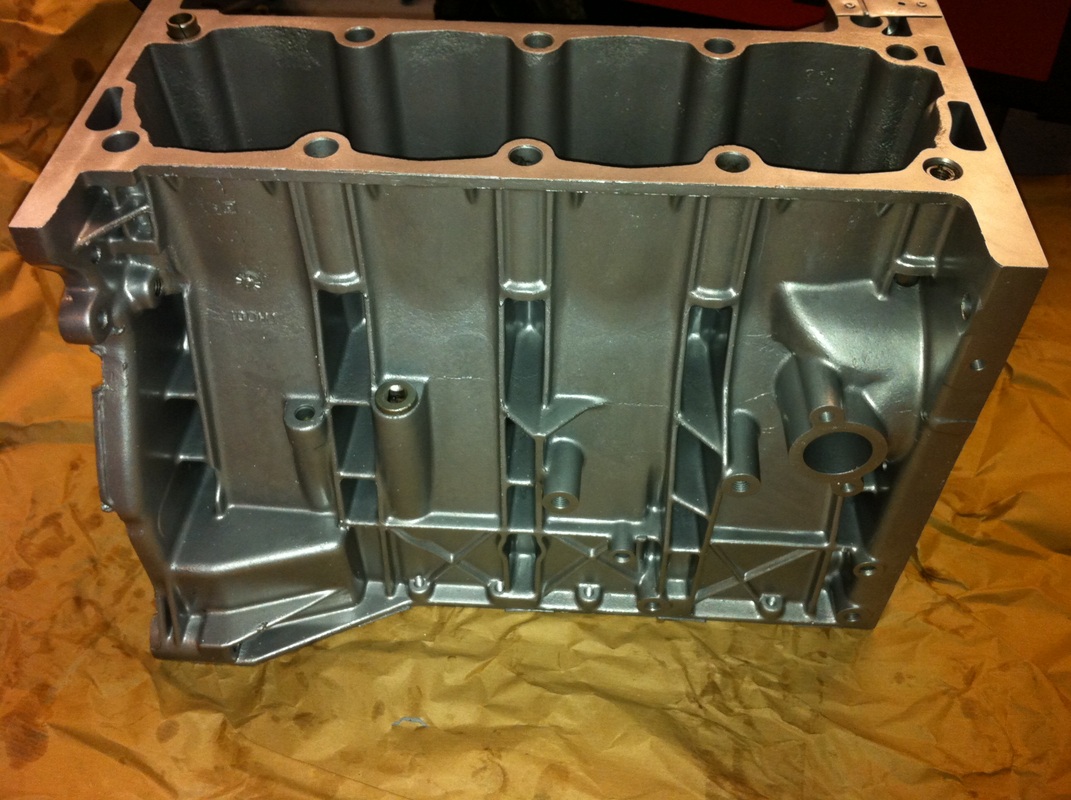
As a little teaser for my next blog. I decided to experiment with the 'new to me' component cleaning method of "Aqua Blasting" for all the Ally engine components. It's a process that blasts using a soft grit impregnated water jet, and is said to be gentle enough to only clean and not leave a surface finish of it's own (like you get with normal grit blasting). The only area that I protected was the cam bearing journals in the head, as the cam run's in the parent metal of the head and I really didn't want any damage or dimension change on that surface, but looking at the end result, I'm not sure i needed to bother. Anyway, more on that next time...
Thank-you for your time.
Rob.
Thank-you for your time.
Rob.

 RSS Feed
