Hi again. Here is the story of my Peugeot 1.9 205 GTI "XU9JA" engine restoration. In the previous blog entries I have taken you through the engine removal and the first part of the engine bay restoration. Now for the meet of the job, the engine work.
Having stripped the whole engine to basic components, the first job is always to clean and inspect everything, some of this is done visually, as with the bearings, and some is done by measurement, the rings, thrust washers and crank journals etc.
What I found was the engine was in basically very good condition for it's age (approx 90,000 miles), but the various components that are designed to wear over time were all at least half way through their usefull life, and so, for this to be a comprehensive re-build, to last the car for another lifetime, those parts needed to be replaced.
So the crank, pistons, rods, piston liners, block, head, valves and the drive sprockets were all perfectly capable of being reused. The bearing liners (big end and mains), rings, every seal and gasket and the drive belts, along with most of the external hoses, and other servicable items, water-pump, thermostat etc all had to be replaced.
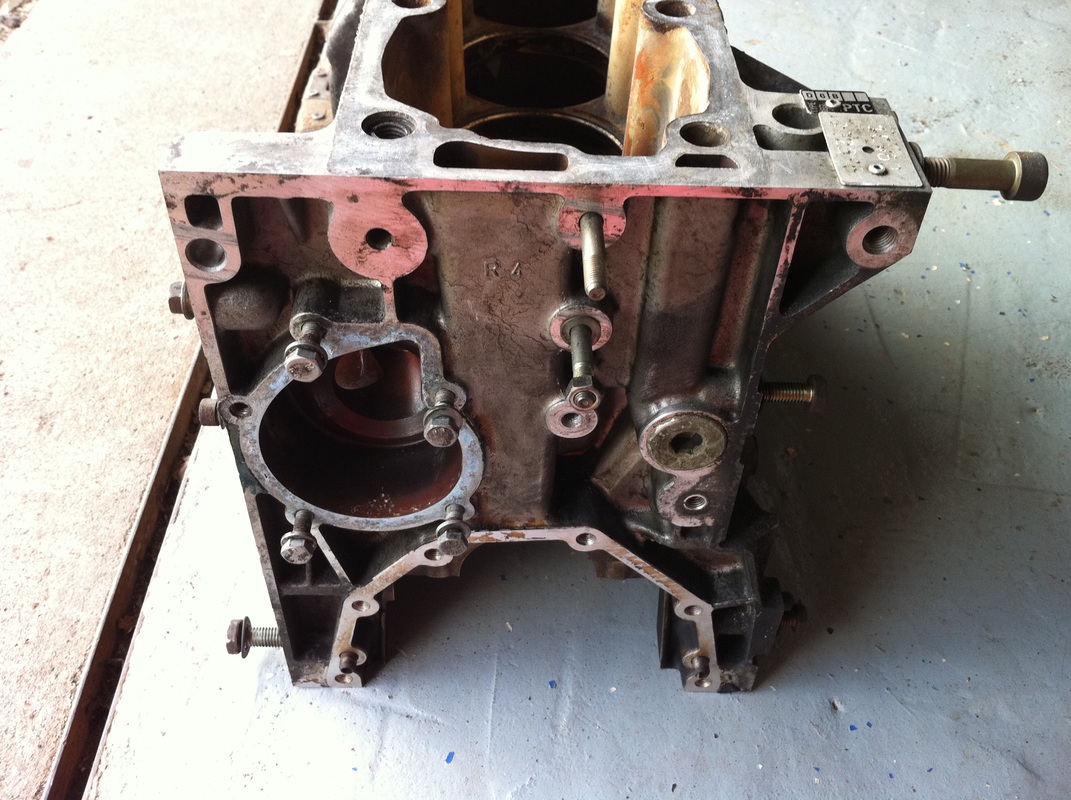
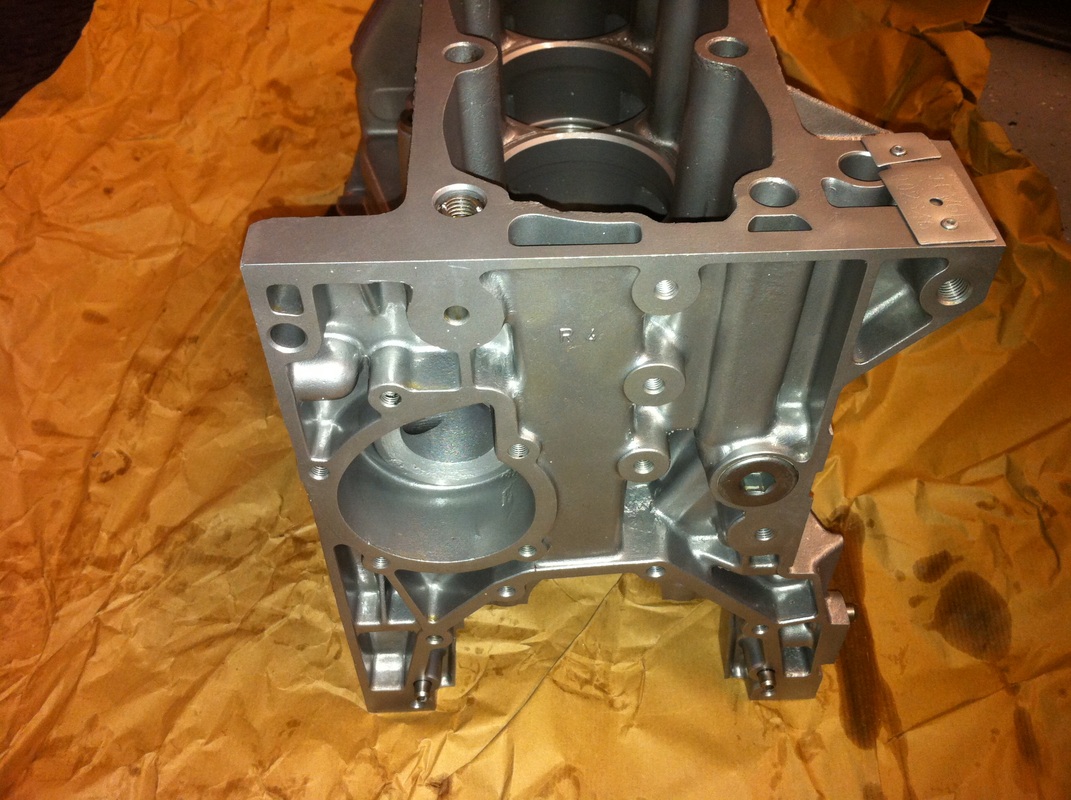
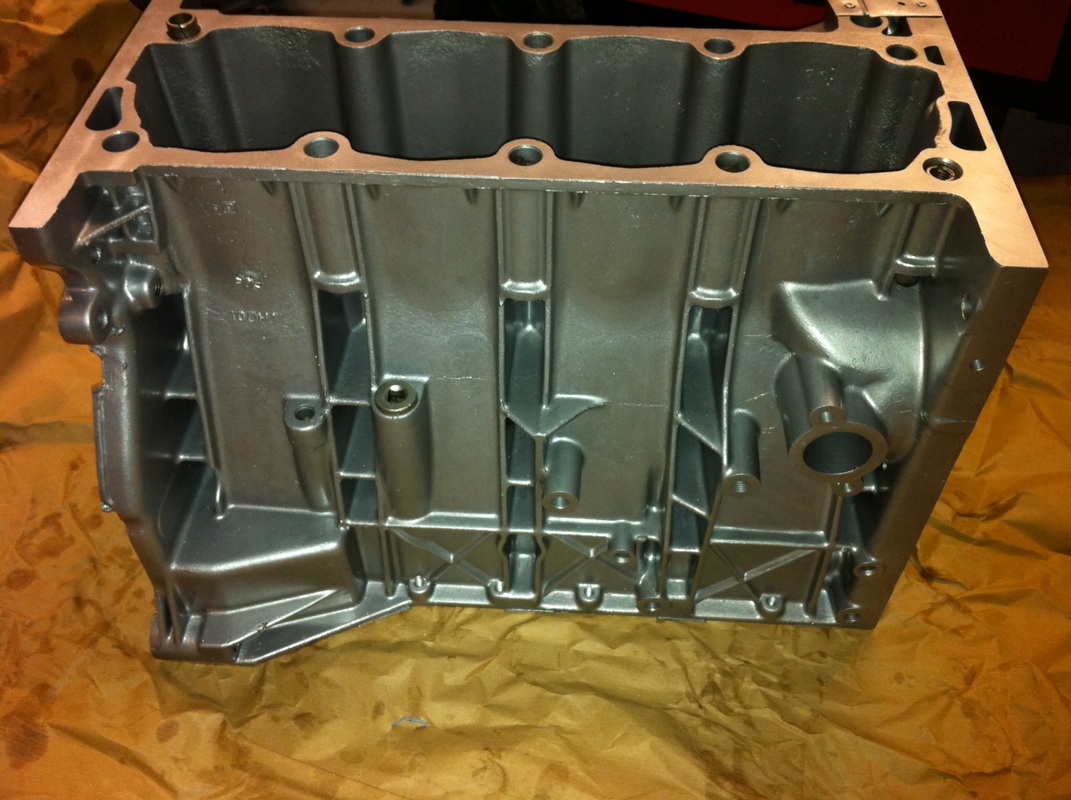
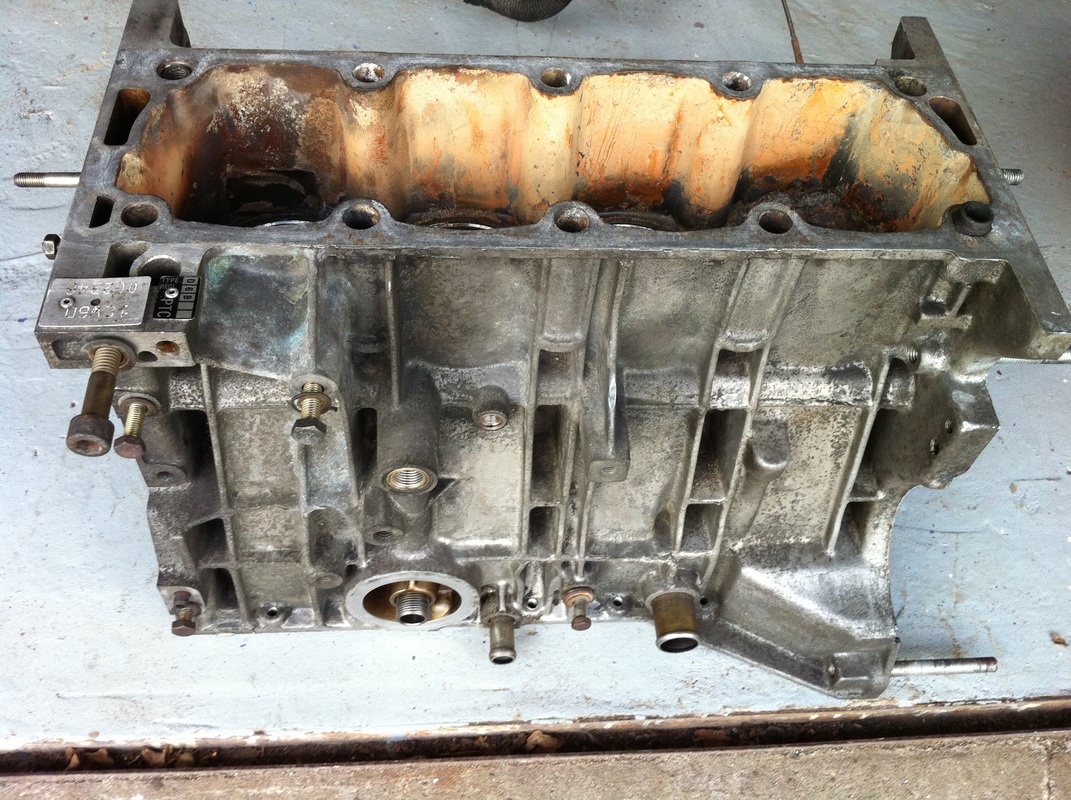
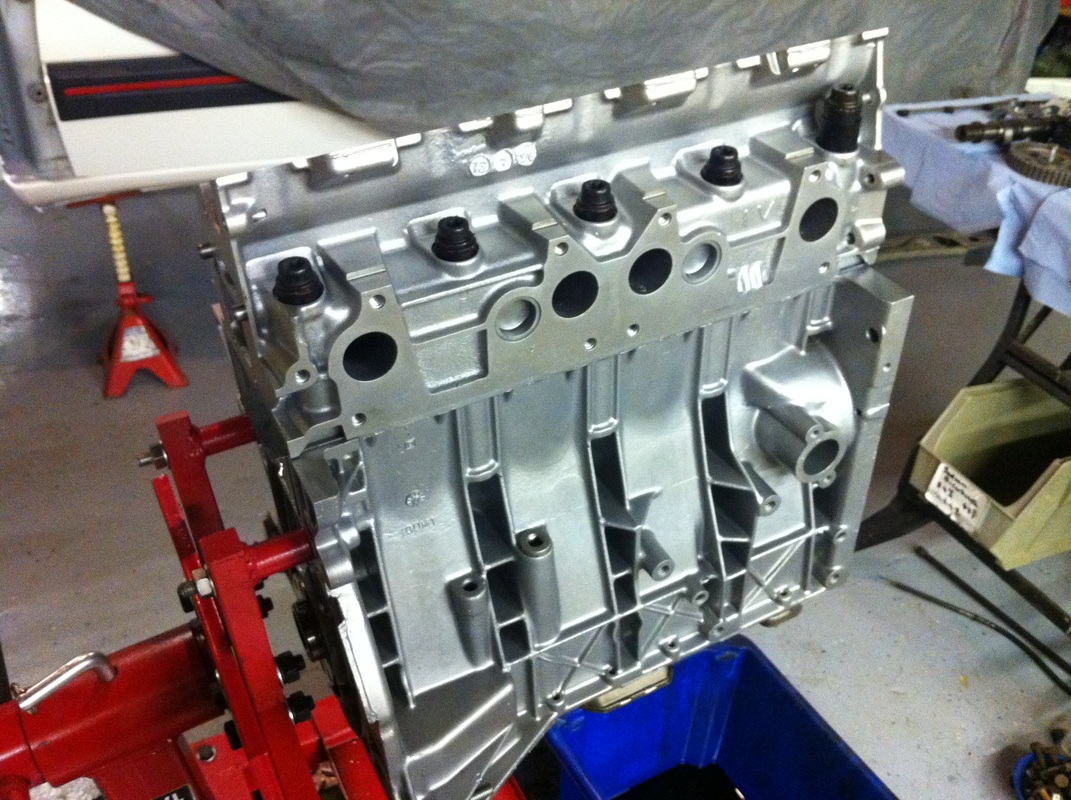
While carrying out the process of finding the most cost effective sources for all the parts, I degreased all the Aluminium parts and sent them away for Aqua Blasting, the results of which i have to say surpassed my expectation.
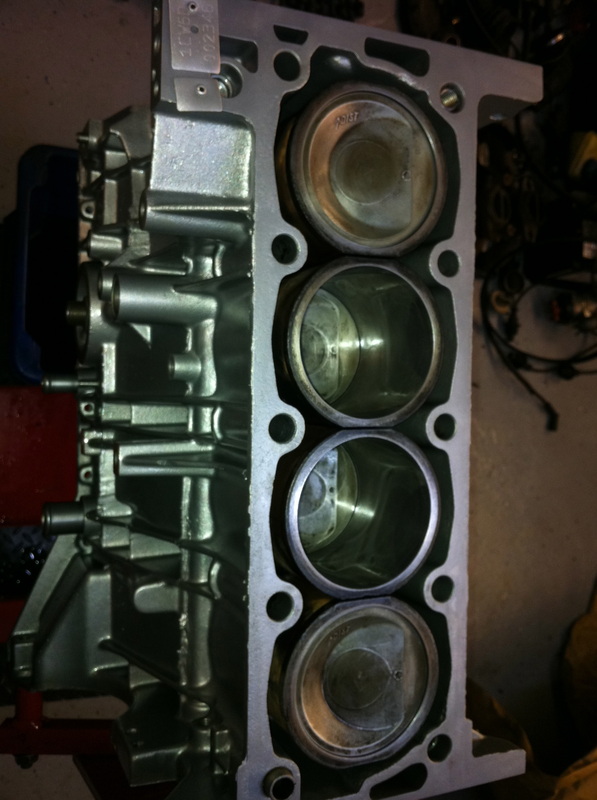
Here's the Cylinder Block "Before" and "After" Pictures
Having stripped the whole engine to basic components, the first job is always to clean and inspect everything, some of this is done visually, as with the bearings, and some is done by measurement, the rings, thrust washers and crank journals etc.
What I found was the engine was in basically very good condition for it's age (approx 90,000 miles), but the various components that are designed to wear over time were all at least half way through their usefull life, and so, for this to be a comprehensive re-build, to last the car for another lifetime, those parts needed to be replaced.
So the crank, pistons, rods, piston liners, block, head, valves and the drive sprockets were all perfectly capable of being reused. The bearing liners (big end and mains), rings, every seal and gasket and the drive belts, along with most of the external hoses, and other servicable items, water-pump, thermostat etc all had to be replaced.
While carrying out the process of finding the most cost effective sources for all the parts, I degreased all the Aluminium parts and sent them away for Aqua Blasting, the results of which i have to say surpassed my expectation.
Here's the Cylinder Block "Before" and "After" Pictures


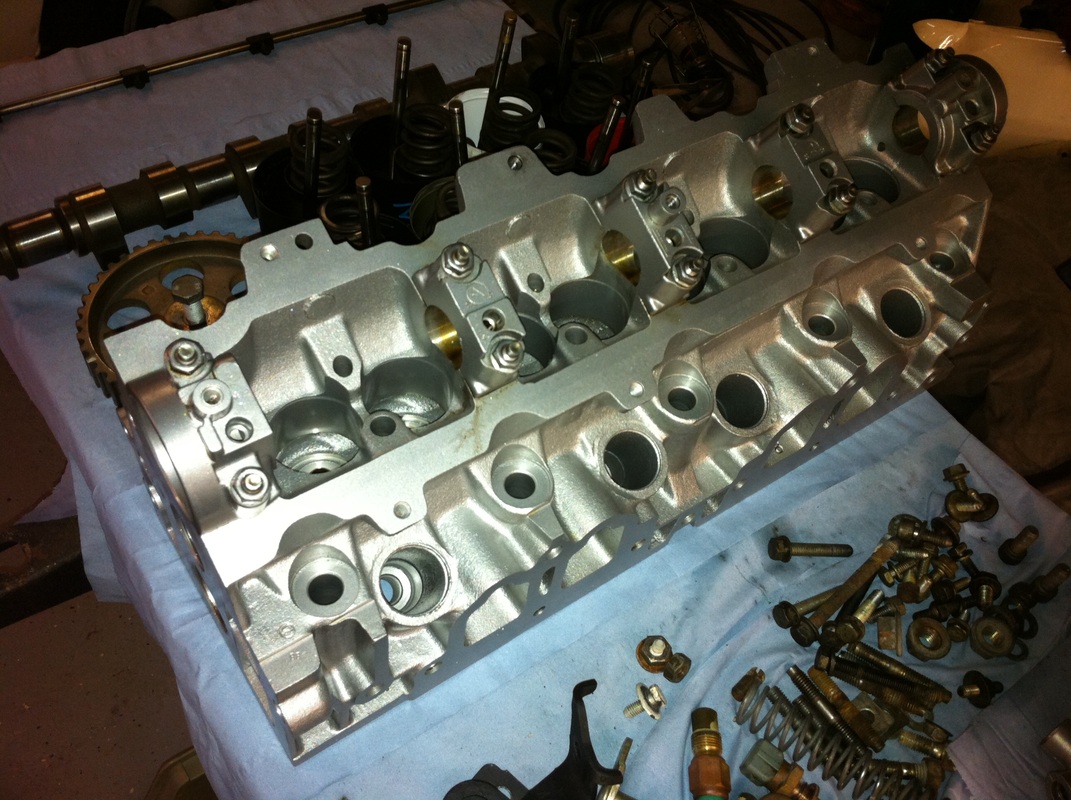
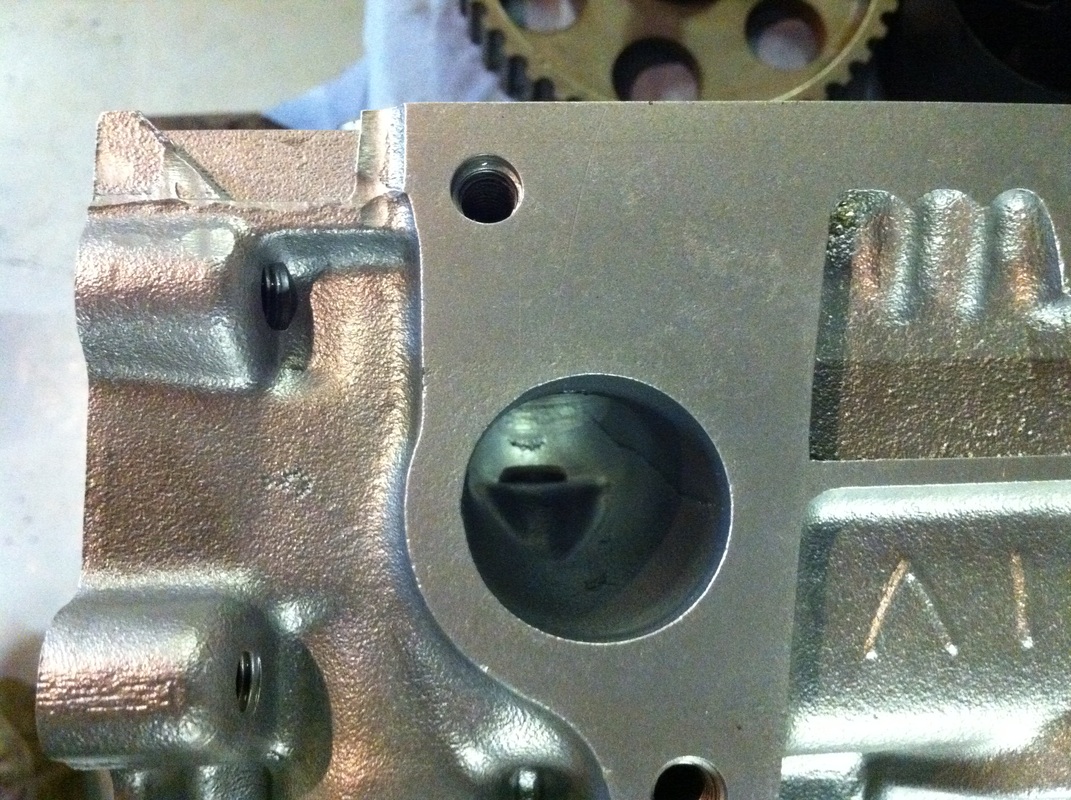
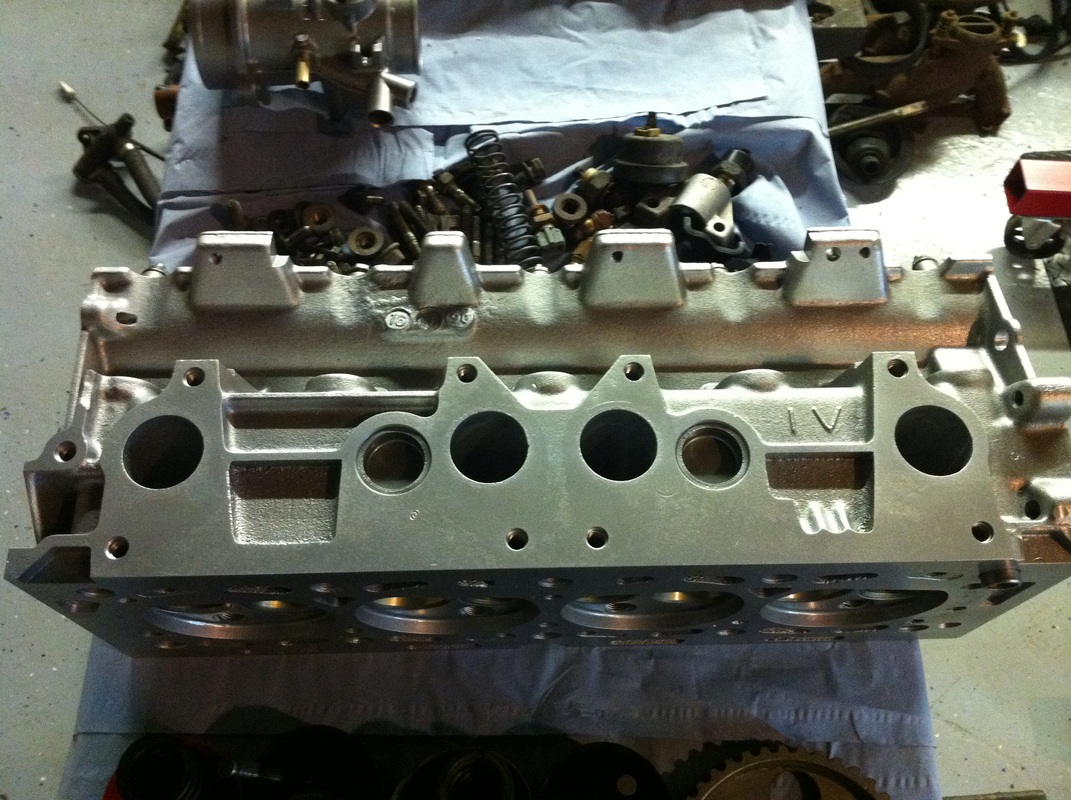
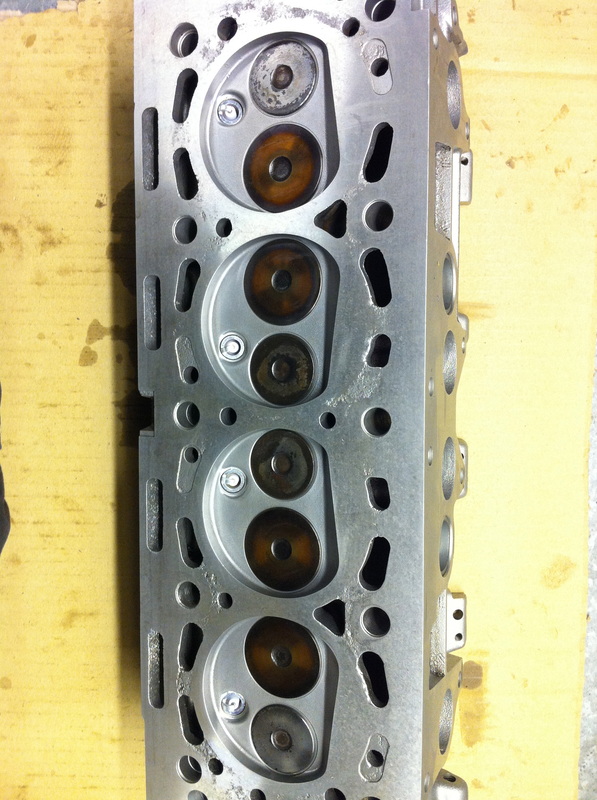
And here's the cleaned Cylinder Head, note the Cam Journals haven't been Aqua-Blasted, I protected these by clamping a piece of rubber hose into them before sending the head away, I wanted to be sure they weren't damaged as the cam runs in the head parent metal. As it turns out the blasting process is so gentle that I could have probably not worried. Look into the clean exhaust port and you can clearly see the original casting joint split line, it really did bring everything up just link new.
Well almost, it also uncovered a little bit of corrosion on the head flame face - if you click on the 2nd pick to enlarg it, you can see what i mean - some of the damage was very close to the gasket sealing beads, so I decided to take the cautious approach and have the head skimmed. I only had a minimum amount of metal removed (0.2mm) so as not to increase the compression ratio significantly.
A compression ratio increase allows the engine to run with a more advance spark for increased power, but this goes hand in hand with the need to run higher octane fuel. My plan is to have the car as a daily driver, so I didn't wish to go down the "tuned" route at the expense of having to fill the car with Super all the time.
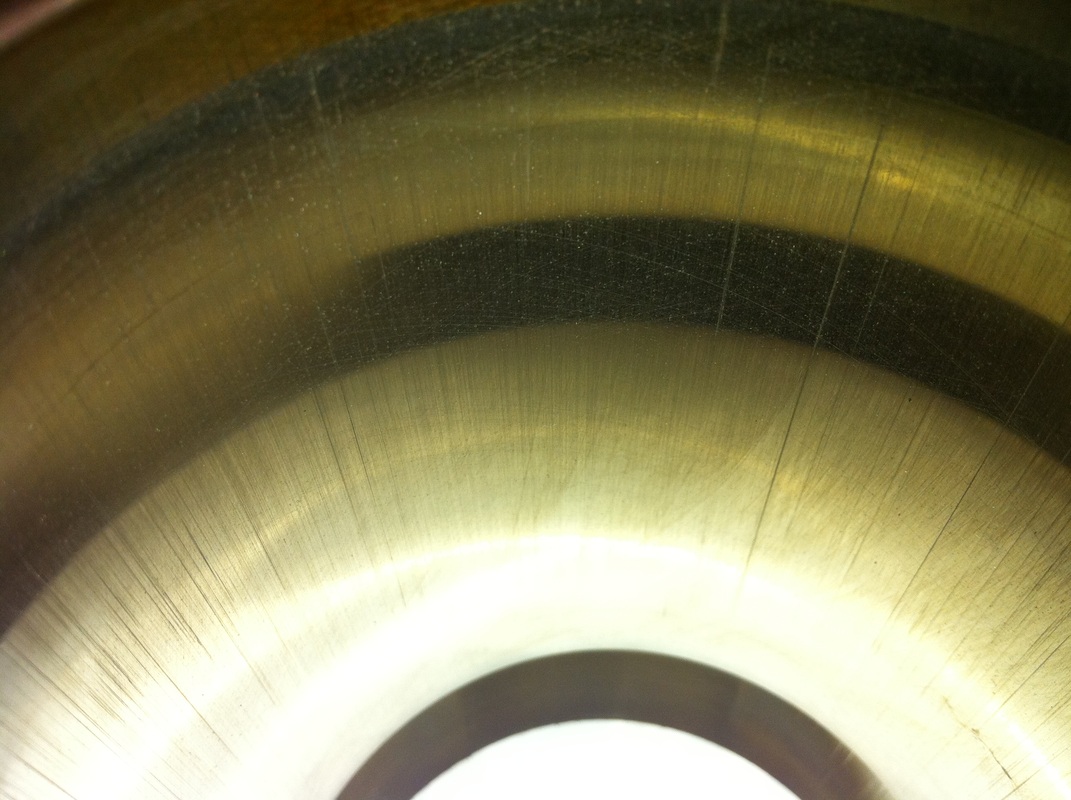
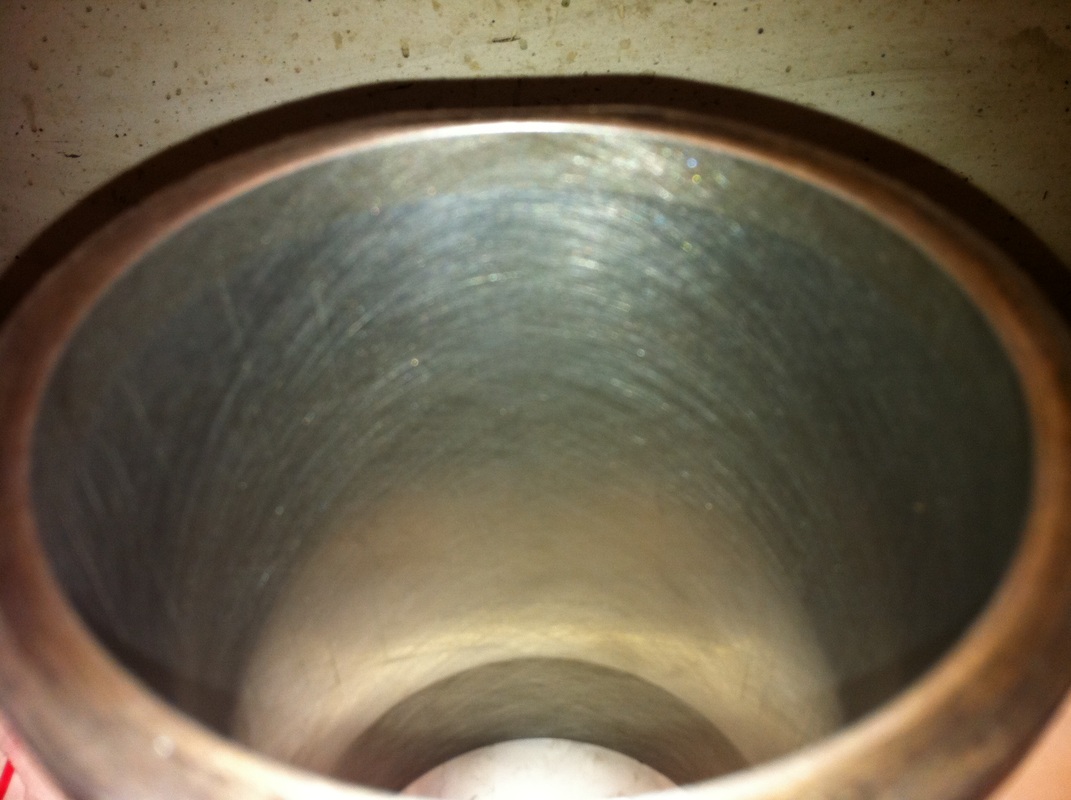
Also while the block was away being cleaned I got on with the job of re-honeing the cylinder liners, in the 'before' picture on the left you can clearly see the vertical lines of bore wear, I used a "Flexi-Hone' tool to re-hone the bores and give then a nice nutral finish with the marks at approximately 45 degrees to the line of the piston stroke, this type of finish is designed to hold a film of oil on the bore surface when the engine is operating, to lubricate the rings as they slide up and down.
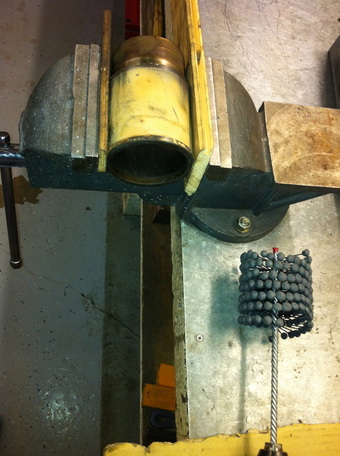
Here's the "Flexi-Hone" Tool, which simply mounts into a hand drill chuck, and a liner gently held in the vice ready for work to begin.
Once the Ally parts returned from cleaning, it was time for re-assembly to begin in ernest.
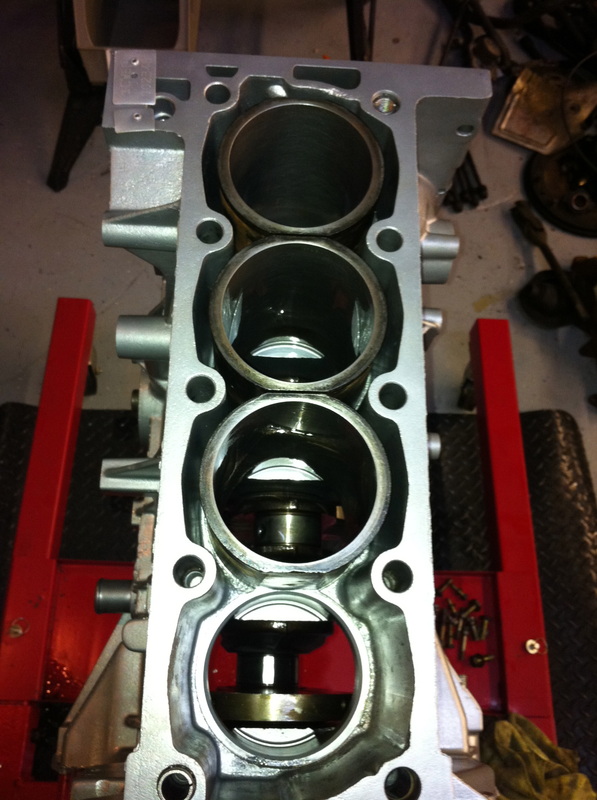
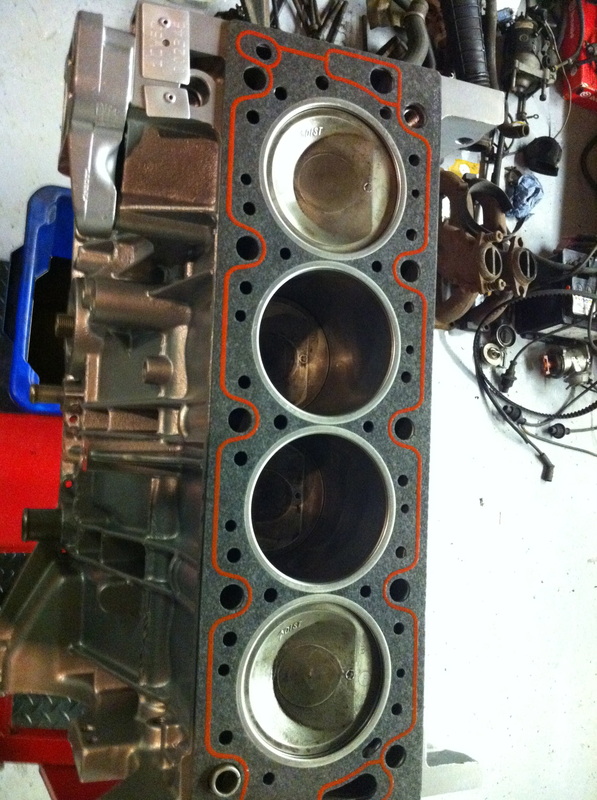
One part that has a bad reputation on 205 GTI ("XU") engines (both 1.6 and 1.9), is the very small section 'o' rings that seal the bottom of the liner into the block. These are very critical as a failure will see all the coolant leaking from the block water jacket into the oil sump, and the first time you will know it's happened will either be when the engine overheats through lack of coolant or when the bearings destroy themselves because they are being lubricated by an emulsified mess of mixed oil and coolant. They are notorious for leaking after major engine work, but that's almost always because the work has been done while trying not to disturb the liners or the seals, once disturbed it's impossible to know if the o'rings have broken or if some dirt has gone across the seal. So I would have to advise that it's much better to bite the bullet and remove the liners, do a very thorough job of cleaning everything, and ALWAYS build with new 'o' rings. I help the initial seal, and help hold them in place on the liner with a light smear of LM grease. Using these rules and this method I have not had a problem.
In the Pictures below you can also see the process of checking the gap dimension on the new piston rings, if they are too tight they can be adjusted by carefully filing the ends with a needle file, fortunately for me all the new parts were inside the spec limits.
Once the Ally parts returned from cleaning, it was time for re-assembly to begin in ernest.
One part that has a bad reputation on 205 GTI ("XU") engines (both 1.6 and 1.9), is the very small section 'o' rings that seal the bottom of the liner into the block. These are very critical as a failure will see all the coolant leaking from the block water jacket into the oil sump, and the first time you will know it's happened will either be when the engine overheats through lack of coolant or when the bearings destroy themselves because they are being lubricated by an emulsified mess of mixed oil and coolant. They are notorious for leaking after major engine work, but that's almost always because the work has been done while trying not to disturb the liners or the seals, once disturbed it's impossible to know if the o'rings have broken or if some dirt has gone across the seal. So I would have to advise that it's much better to bite the bullet and remove the liners, do a very thorough job of cleaning everything, and ALWAYS build with new 'o' rings. I help the initial seal, and help hold them in place on the liner with a light smear of LM grease. Using these rules and this method I have not had a problem.
In the Pictures below you can also see the process of checking the gap dimension on the new piston rings, if they are too tight they can be adjusted by carefully filing the ends with a needle file, fortunately for me all the new parts were inside the spec limits.


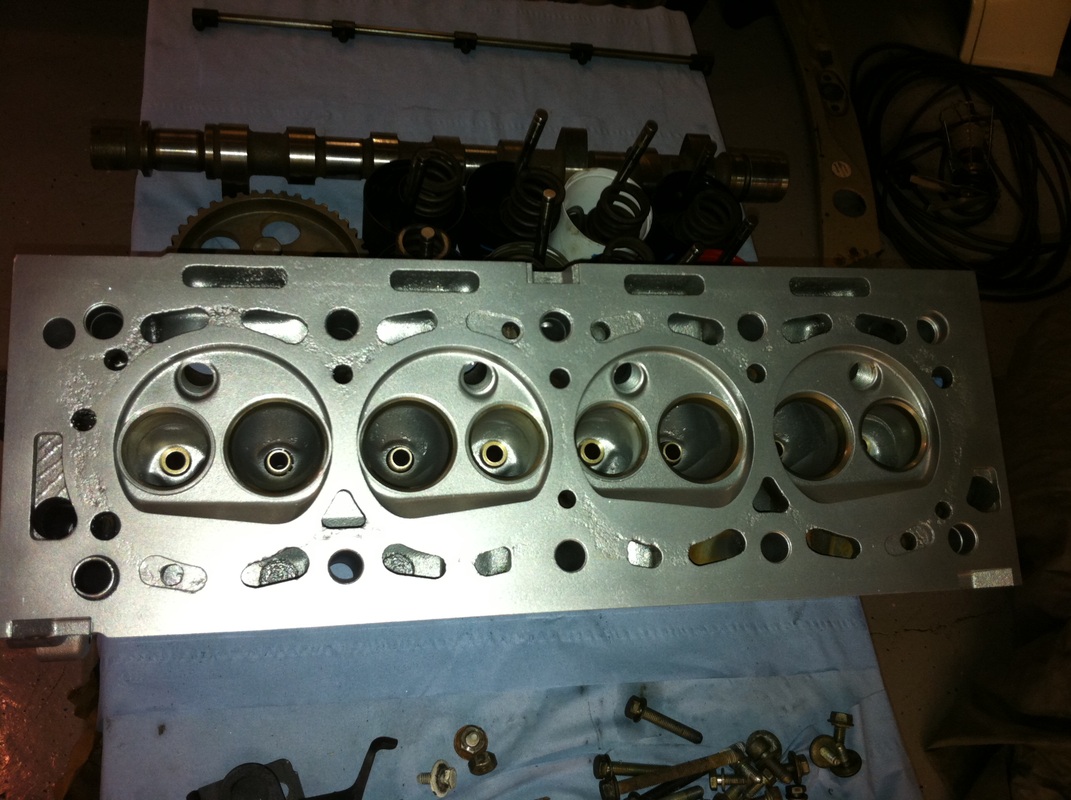
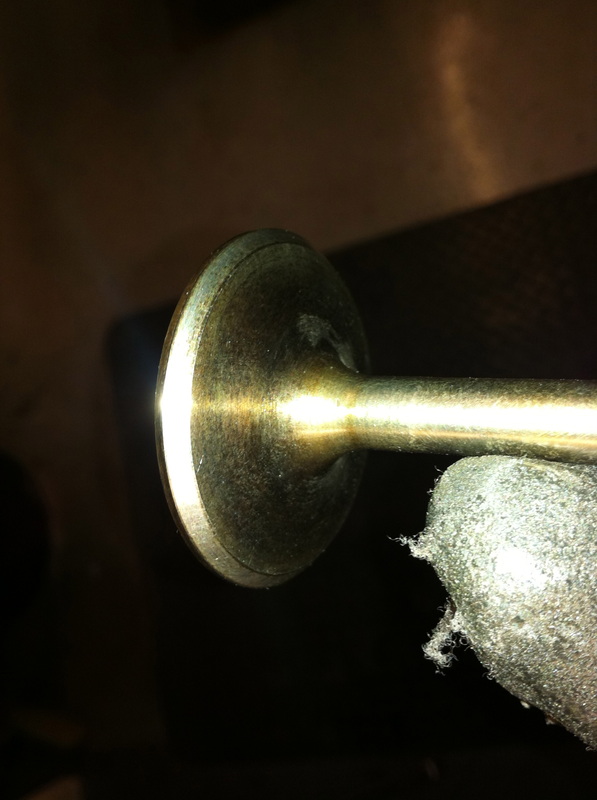
With the bottom end comming together, next up was the head re-assembly, which basically means lapping and then fitting the valves, springs and collets. I had checked the valve stems and seats for wear and although not in as-new condition, they were not worn enough the justify the expense of replacing them.
Valve lapping is simply the process for 're-seating' the valves into the head to make sure they seal the combustion chamber perfectly. A grinding paste is added between the valve and the seat and the valve is rotated to grind the seat and valve into a matched pair.
In the right hand picture below you can also see the head face after the skimming process, there is still some evidence of corrosion damage but now it's nowhere near the gasket sealing bead paths.
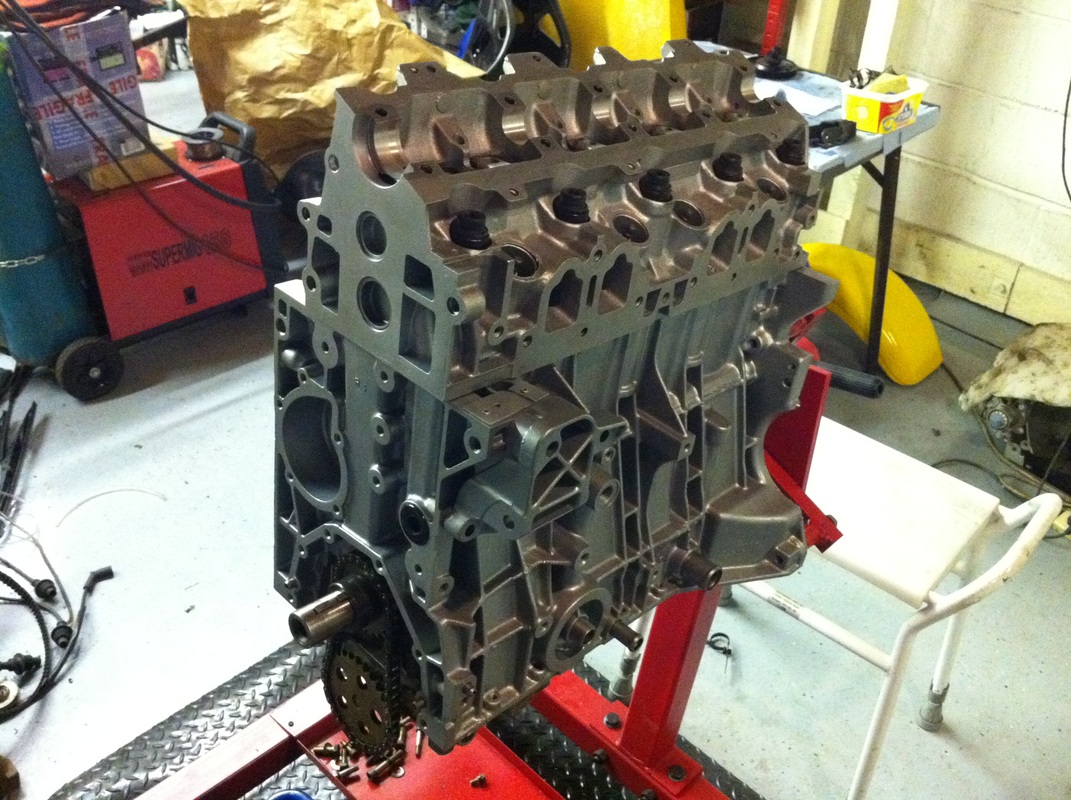
With the top and bottom ends build, the next step was to fit them together, not forgetting the little in-line oil filter that sits in the lubrication feed to the head. It's job is important if somewhat short lived, it's simply there to catch any dirt that's trapped in the block oil galleries during the engine build process and it mainly protects the cam bearings, which as mentioned before run the the parent metal of the head and have a very close running clearance. Once the engine has run for a few cycles, the normal Oil Filter does the job of ensuring only clean oil enters the lubrication system, and the little in-line filter is relegated to the role of passenger!


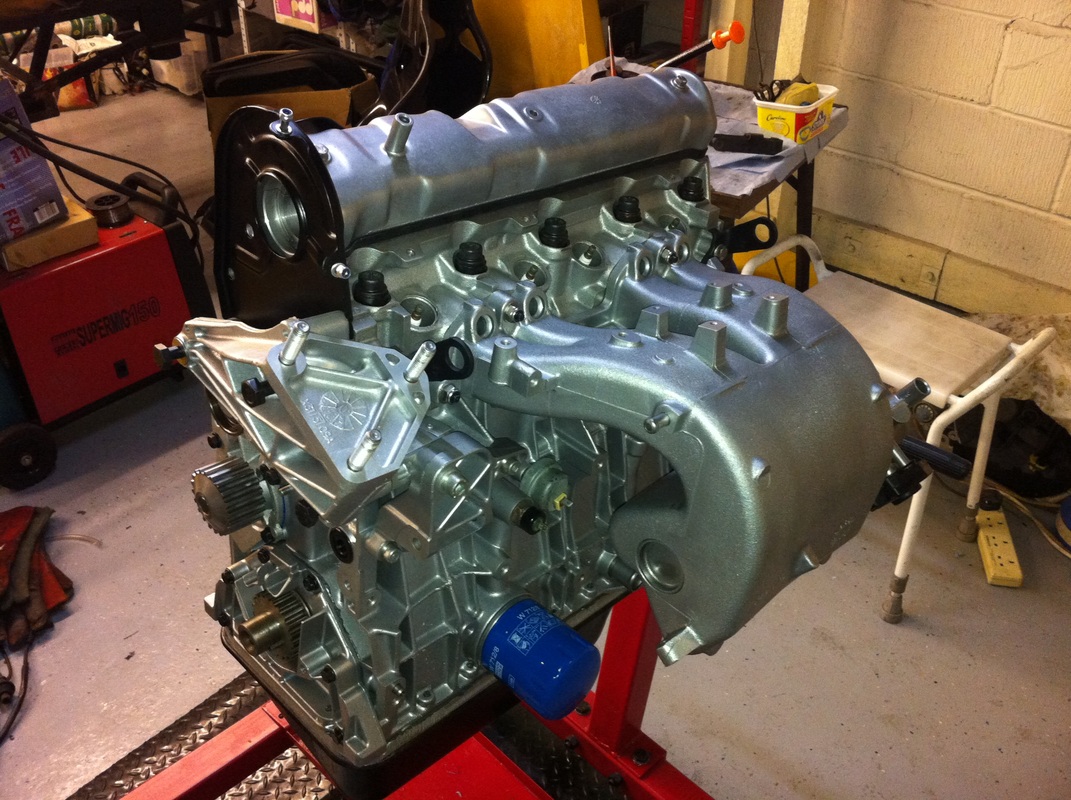
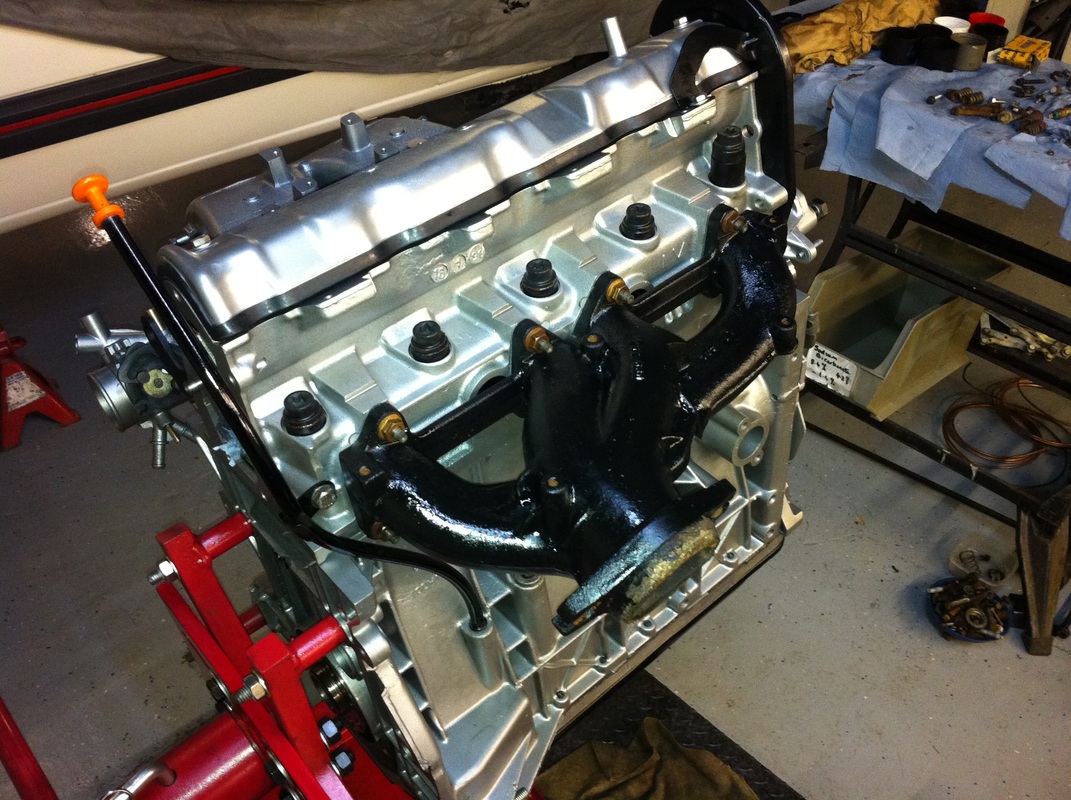
Now the job becomes a little less serious, but just as satisfying, dressing the engine with the Oil Pump, Primary Drive, Mounting Brackets, Covers, Manifolds and then then Fuel System and Throttle Body and even the Air Filter.
Having had such a great result with the Aluminimum Aqua Blasting, I went down the road of having all the steel parts shot-blasted and powder-coated, which set them off a treat too.
Having had such a great result with the Aluminimum Aqua Blasting, I went down the road of having all the steel parts shot-blasted and powder-coated, which set them off a treat too.
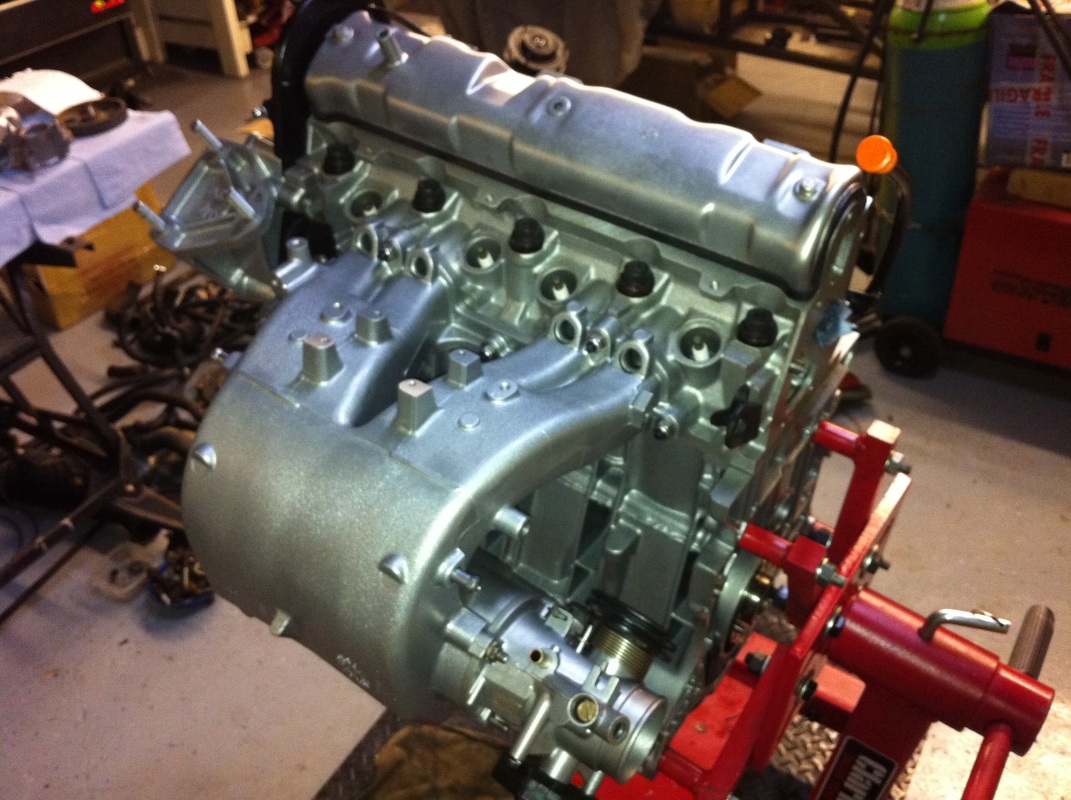


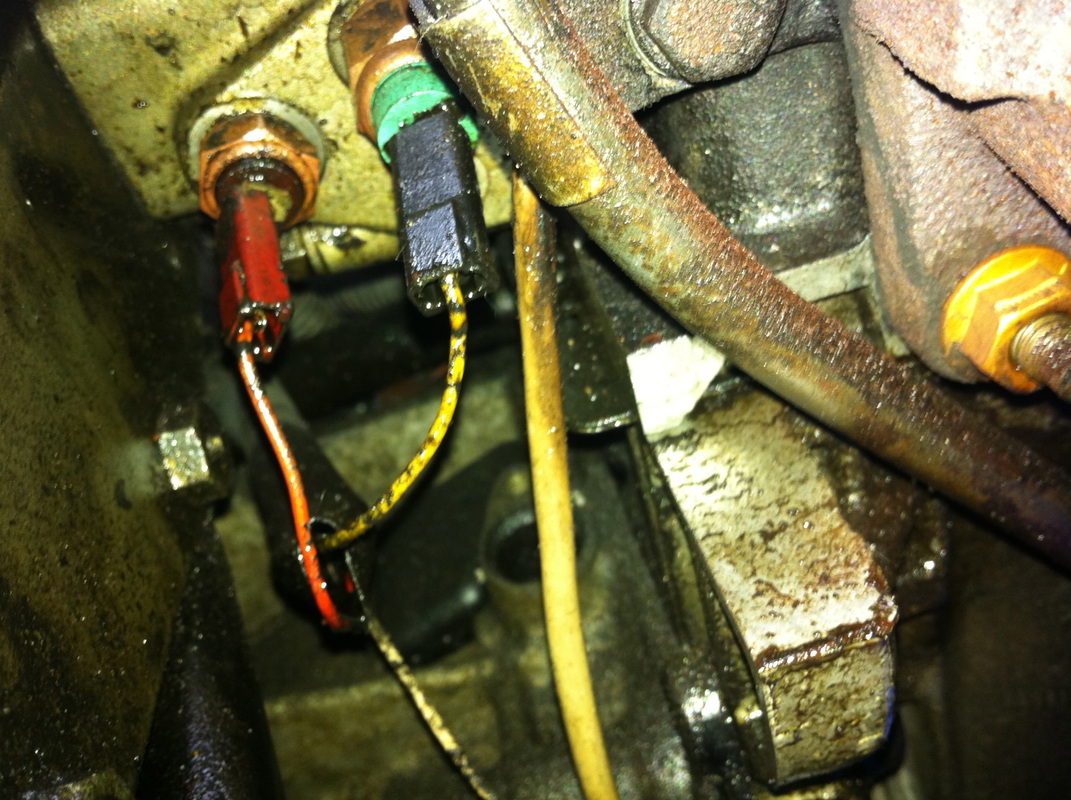
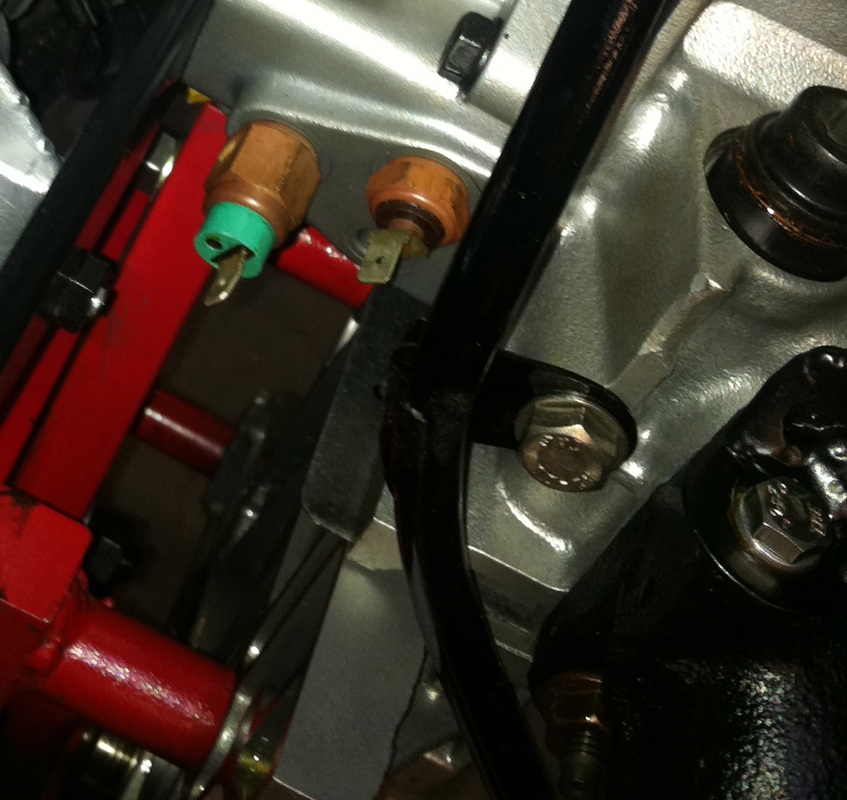
This is a nice little detail before and after pair, showing how far I have come, sometimes it's very satisfying to look back! (I took this to make sure I got the coolant sensors back in the right place (I'm glad I did because I clearly got it wrong at the first attempt!)
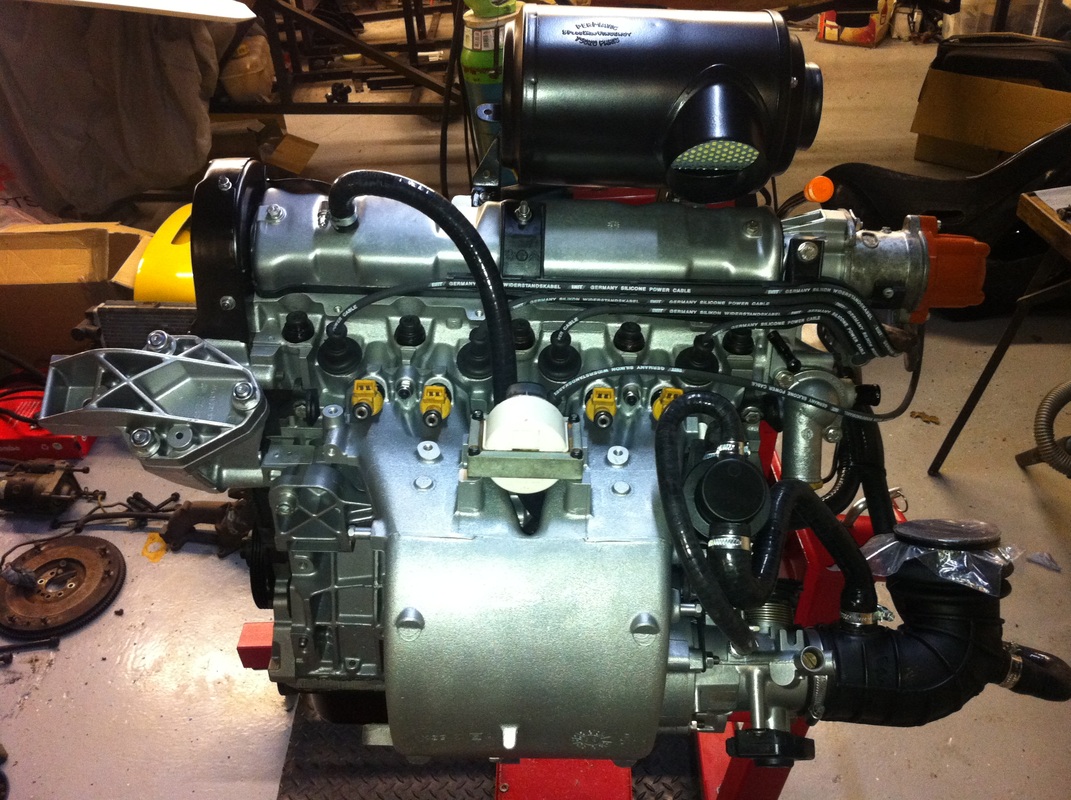
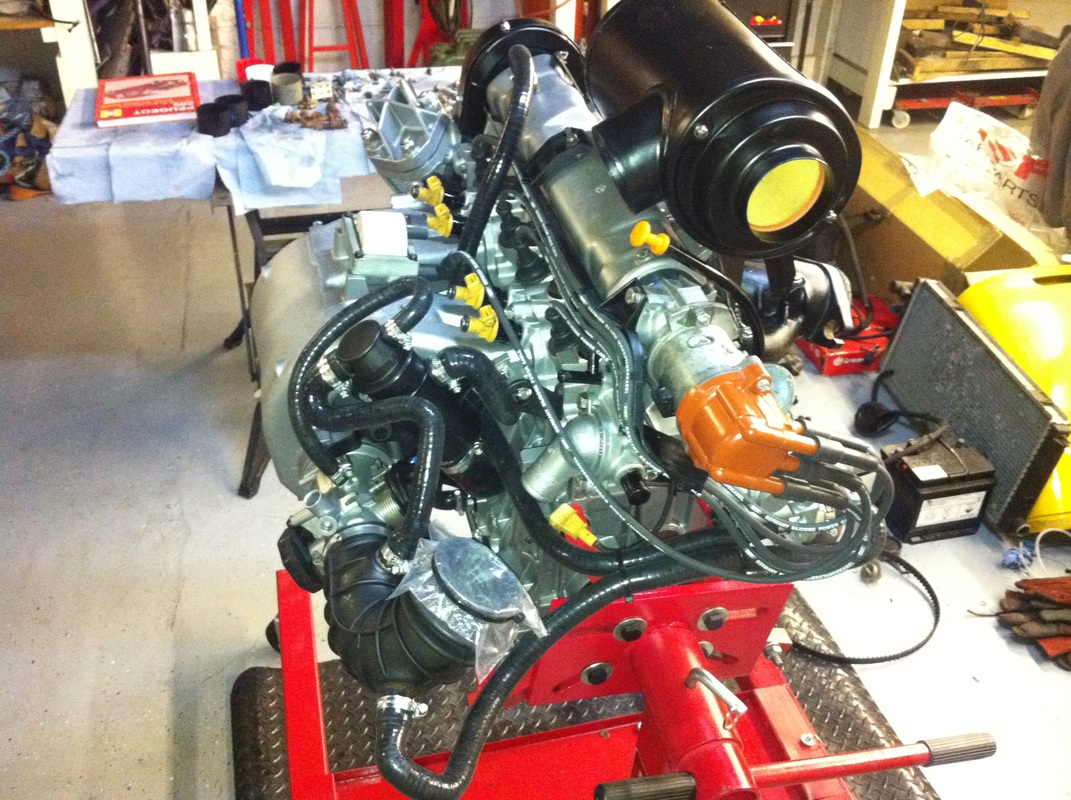
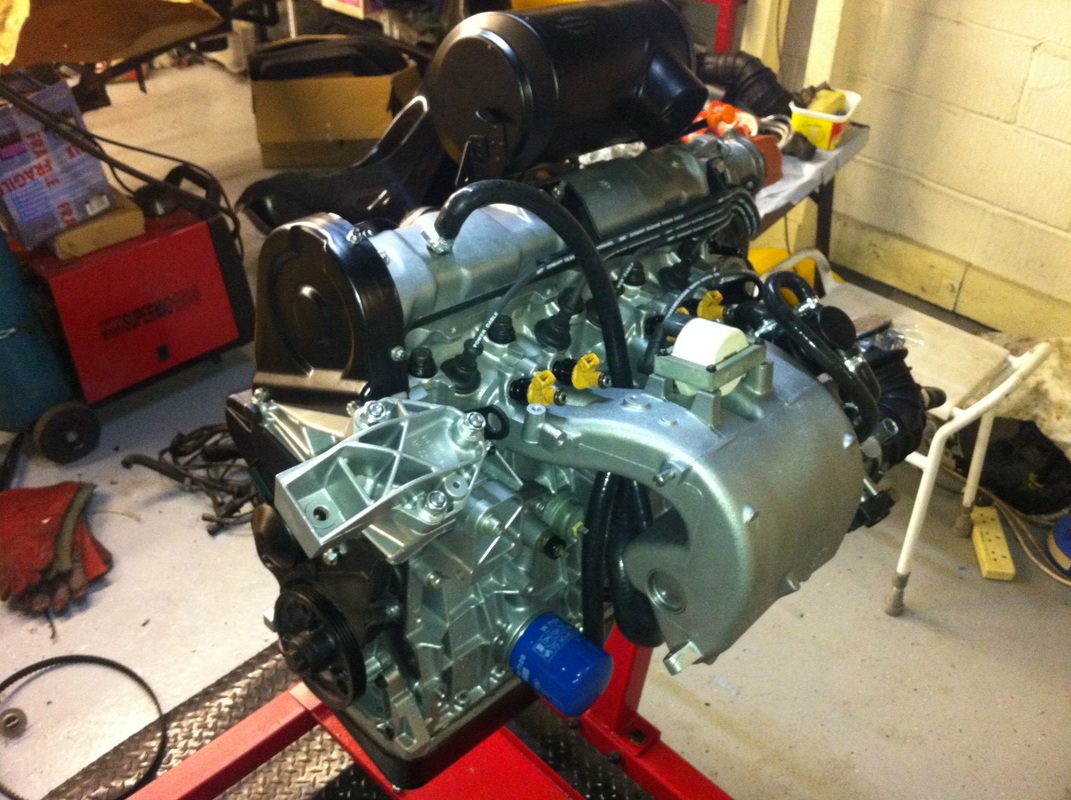
And there we have it, the fully restored engine, ready for installation. But before that can happen there is some more work to do, preparing the body and a little gearbox make over to be completed too. But that will have to wait until next time.
Thanks as always for you time!
Thanks as always for you time!
 RSS Feed
